What Is Color Correction Makeup?
The beginner’s color correction makeup guide starts with the idea that color correction makeup isn’t just about covering blemishes – it’s actually a technique for correcting uneven skin tone. This makeup utilizes specific colors to neutralize unwanted tones, such as redness, dark circles, or dullness. For example, green corrector reduces redness, peach or orange correctors eliminate dark circles, and lavender brightens dull skin. Utilizing this color theory, even beginners can achieve a flawless complexion with ease.
Once you understand the basic techniques in this color correction makeup guide, every makeup look will look smoother, cleaner, and more professional. You’ll be able to create an even skin tone without having to apply heavy concealer, resulting in a lighter, more natural-looking foundation.
Understanding The Science Of Color Theory
Before learning about color correction, it’s essential to understand the science behind it. The basic idea is simple – colors that are opposite each other on the color wheel cancel each other out. For example, green neutralizes red tones, peach or orange covers blue or purple under-eye circles, and lavender brightens yellow or dull undertones.
This principle will teach you how to select the ideal shade for your specific skin concerns. The beginner’s color correction makeup guide clearly states that applying the proper correction in the right places instantly transforms your makeup. Maintaining balance is key here; not overusing the product, but strategically using a small amount and blending it perfectly is the key to success.
Why Every Newbie Needs A Color Correction Makeup Guide
Every makeup lover eventually realizes that foundation alone can’t solve all skin problems. That’s where this beginner’s color correction makeup guide becomes essential. Whether it’s redness around the nose, acne scars, or purple under-eye circles after waking up at night, all can be brought under control with the proper color correction.
Many beginners skip this step, thinking it’s only for professionals. But once you learn the basics, you’ll never forget them again. This guide demonstrates that color correction not only saves time but also reduces product usage, highlighting the natural beauty of your skin and eliminating the need for heavy makeup.
How Color Correction Changes Your Makeup Routine
Adding color correction to your daily makeup routine can completely change that. Instead of using a lot of concealer, you apply a small amount of corrector to specific areas, which neutralizes unwanted blemishes and tones. The result? Bright, even-toned skin that doesn’t require additional coverage.
Following this beginner’s color correction makeup guide will make your makeup look and feel more natural, as if it were part of your skin. It’s especially beneficial for those who prefer a light, natural, or “no-makeup” look, but also want to cover imperfections perfectly.
Color Corrector Shades Explained: Green, Orange, Yellow, And More
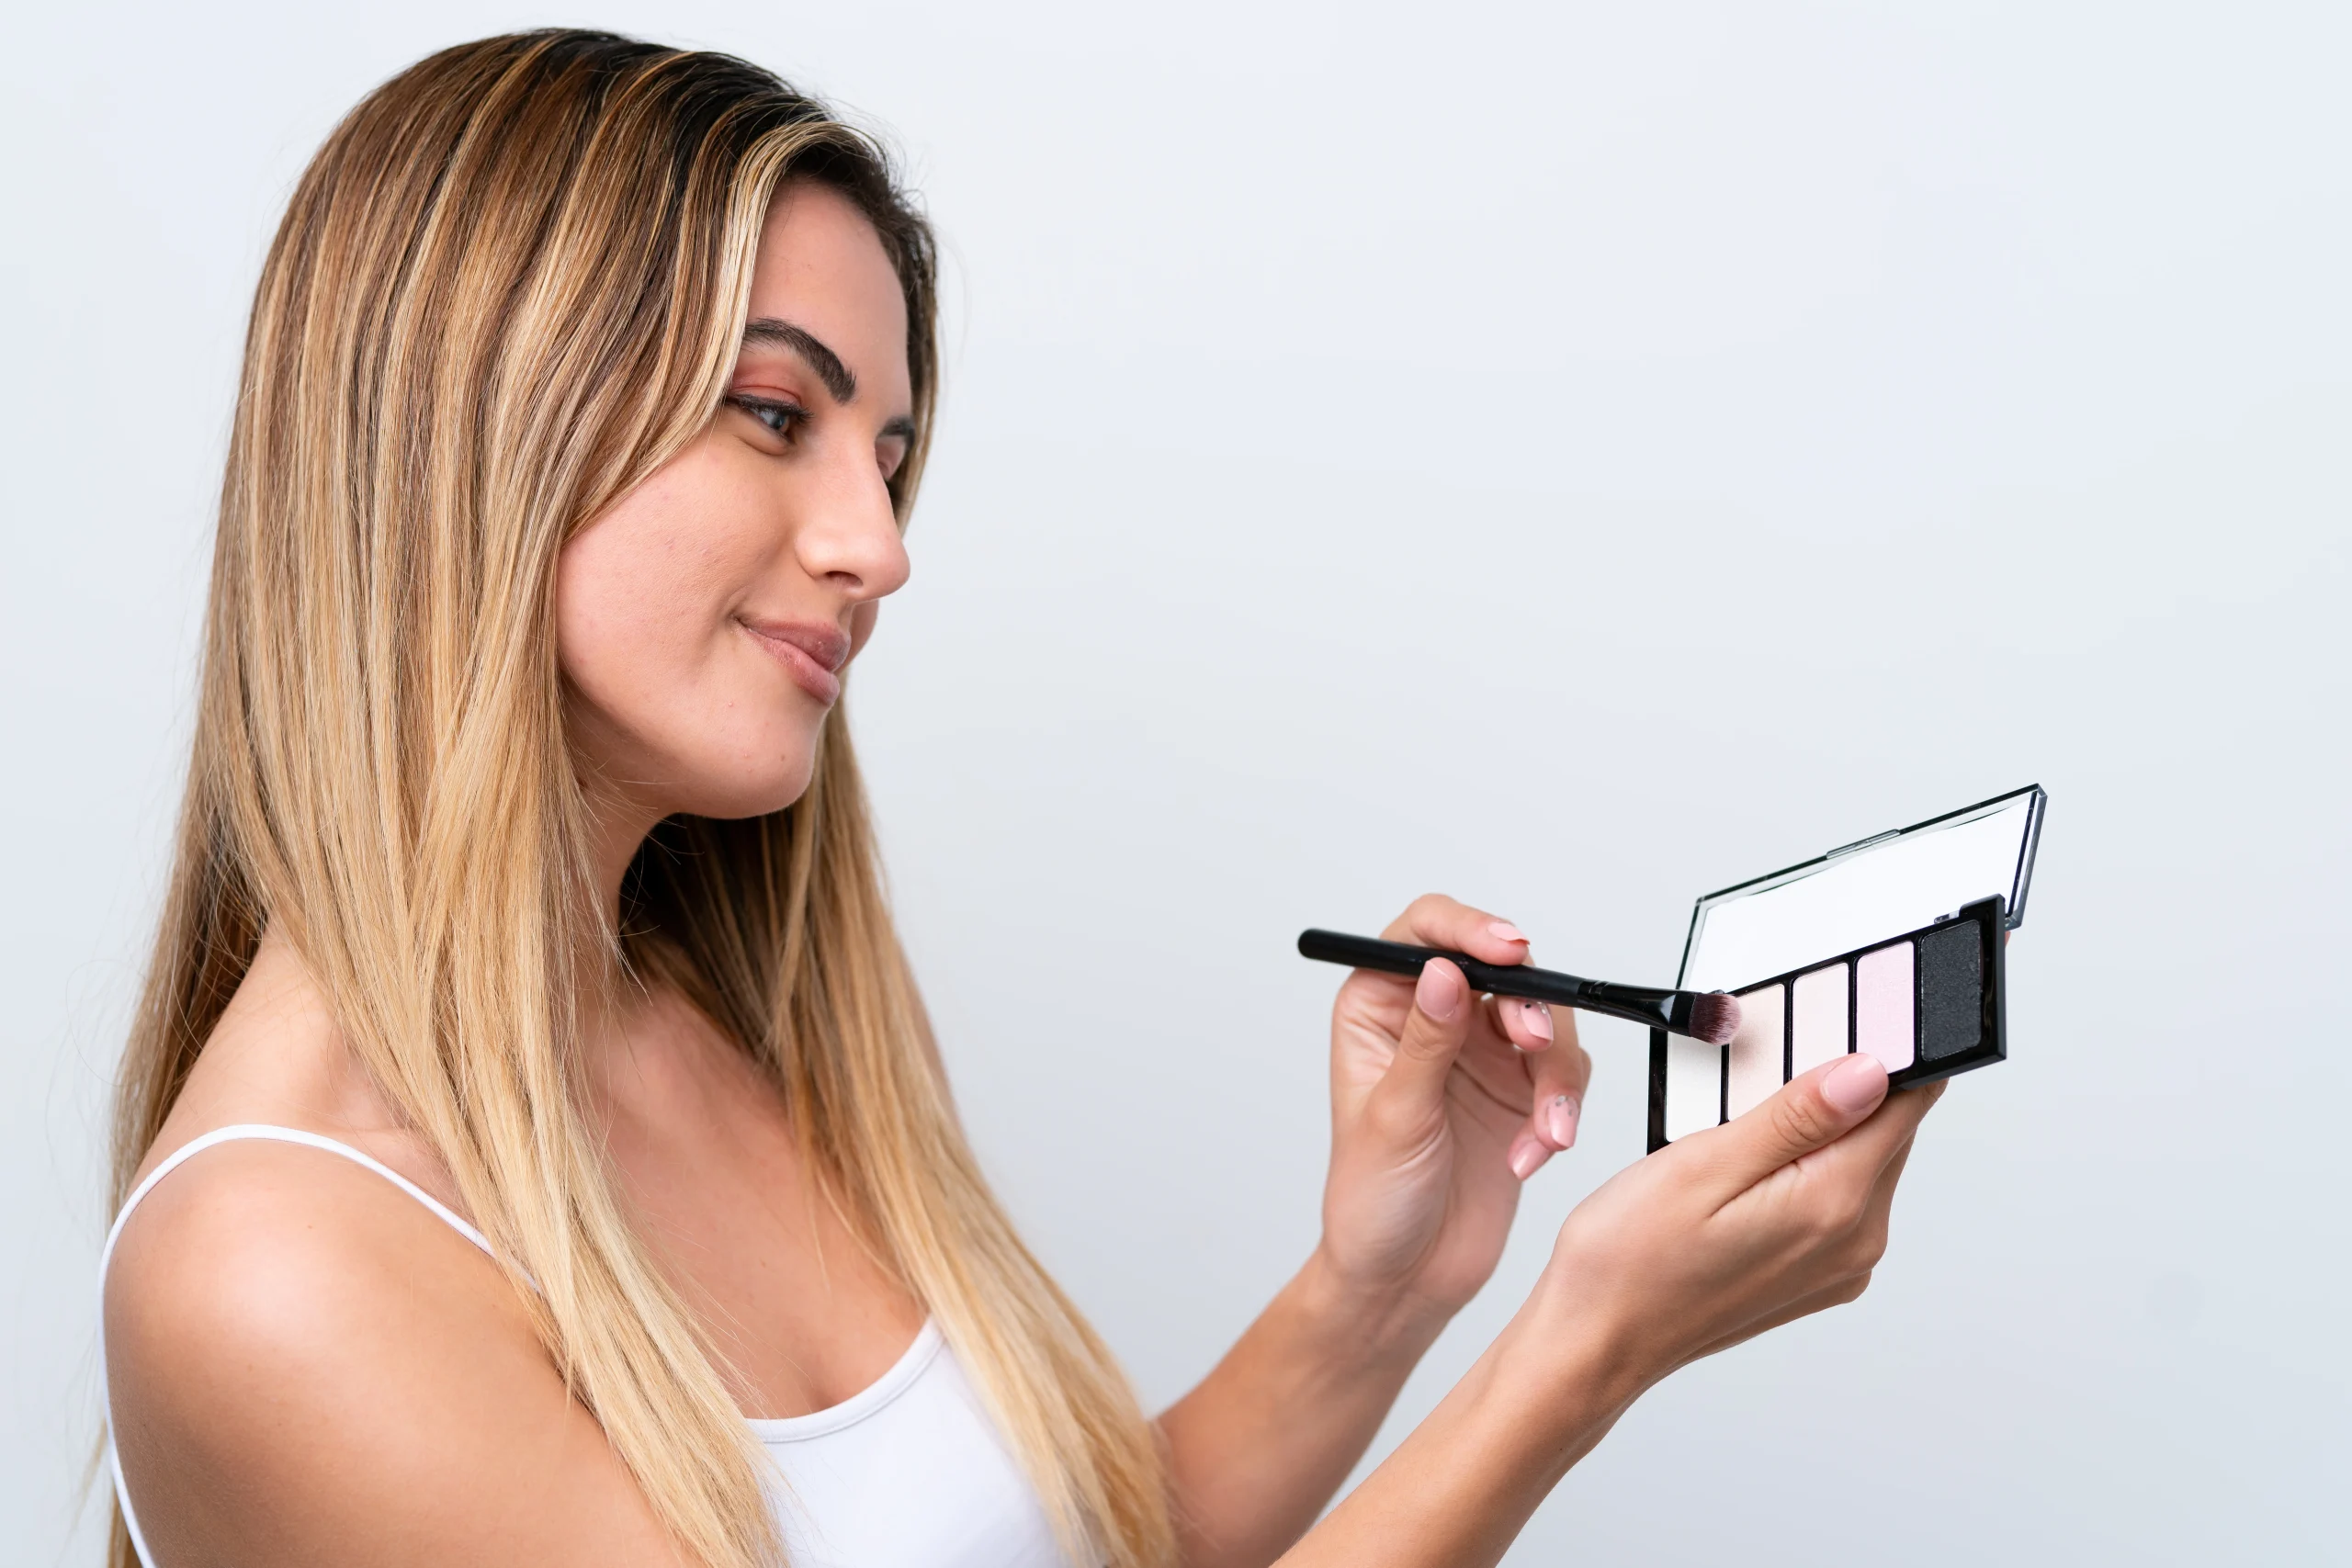
Each color corrector has its own purpose, and these shades are the foundation of a beginner’s color correction makeup guide. Green correctors can help reduce redness caused by acne or rosacea. Orange and peach tones can help cover up blue or purple under-eye circles. Yellow correctors can help reduce dullness and balance calm redness. Lavender or purple shades, on the other hand, balance yellow undertones and bring out a natural glow to the skin.
The key is to identify your skin concern and match the right color to it. Once you understand how a color works with your skin tone, the whole process becomes easy and natural.
Choosing The Right Shade For Skin Concerns
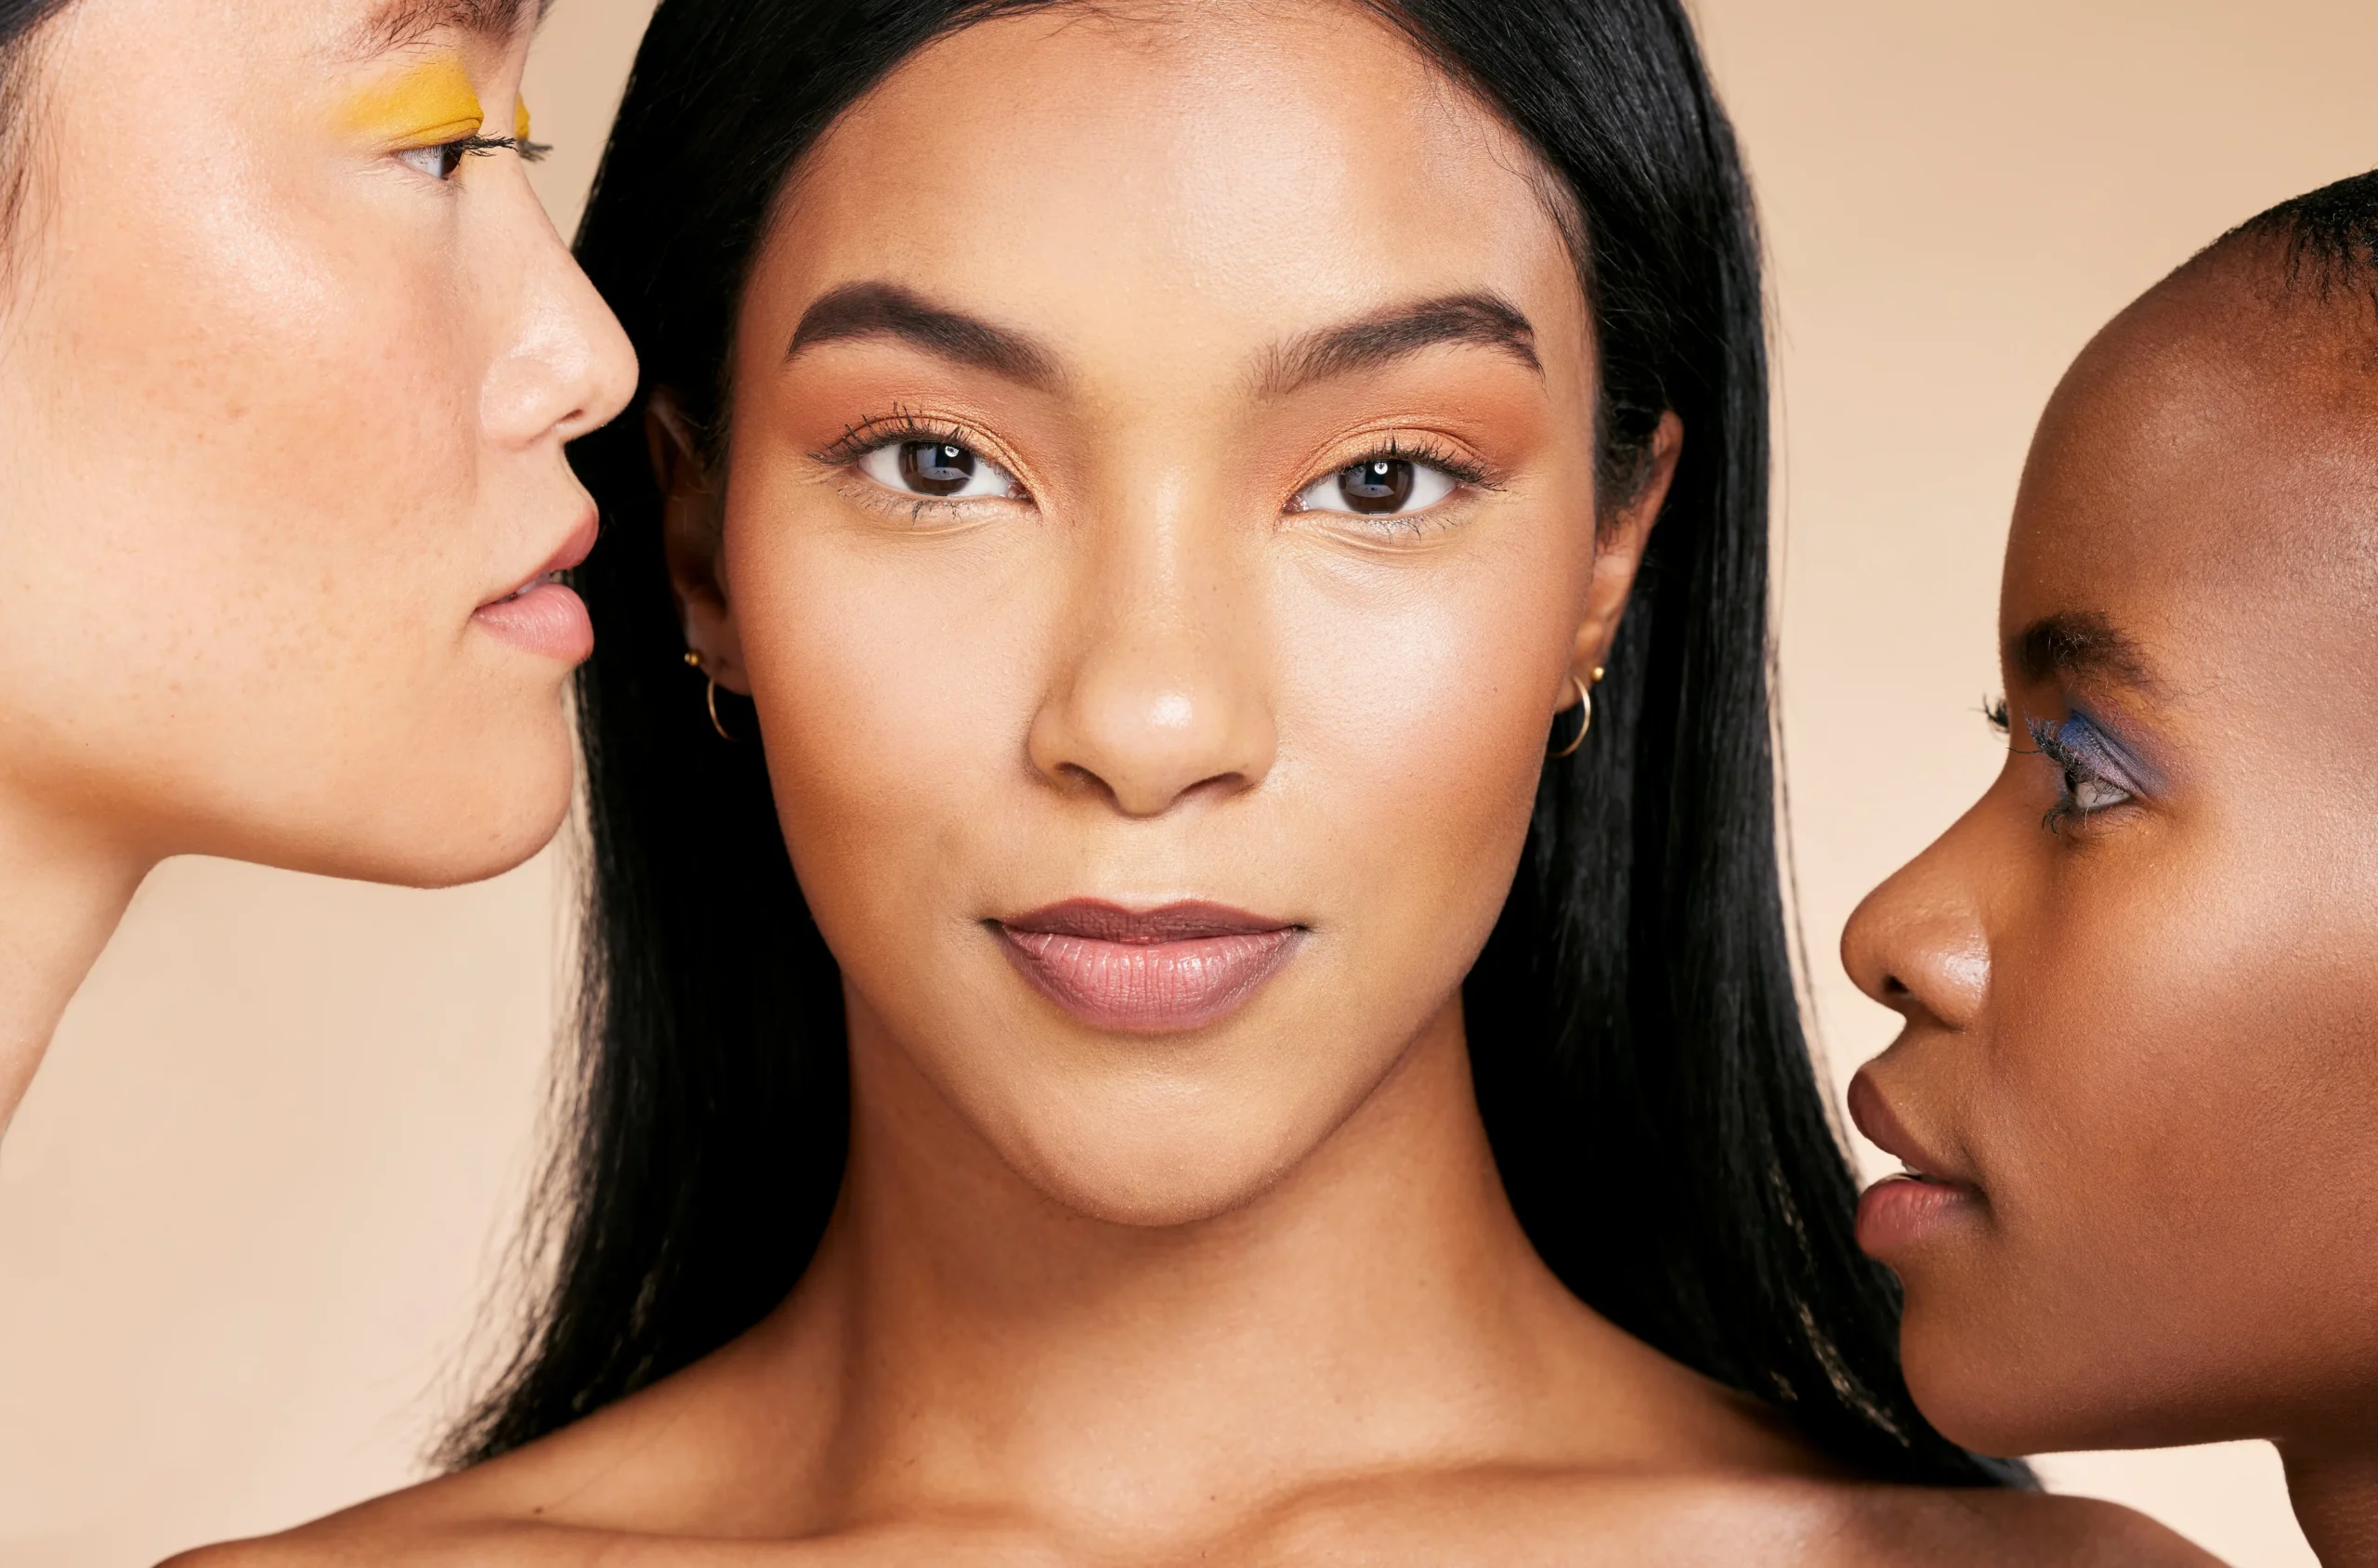
Choosing the right tone is crucial for achieving natural and flawless results. For fair skin, peach or light green correctors are best, while darker skin requires orange or deep yellow shades. In this beginner’s color correction makeup guide, we emphasize that the undertone of the corrector must match your skin.
If the corrector is too light, it will look white or chalky on your face; if it is too dark, it will show through under your foundation. So always test it on your jawline or under your eyes before applying it all over your face.

Step-By-Step Beginner Color Correction Makeup Guide
The most important part of this beginner’s color correction makeup guide is learning each step correctly. By following the step-by-step method, you will get even, perfect, and long-lasting results.
Step 1: Preparing The Skin
Start with a clean and moisturized face. Adequate moisture on the face. Adequate moisture helps concealer blend smoothly and prevents blemishes or patches on the skin. Using a light primer enhances the durability of concealer and creates a smooth, even base.
When your skin is well-prepped, you can start correcting. A smooth, flat canvas makes every step of your makeup routine, from foundation to finishing powder, better.
Step 2: Applying The Corrector Correctly
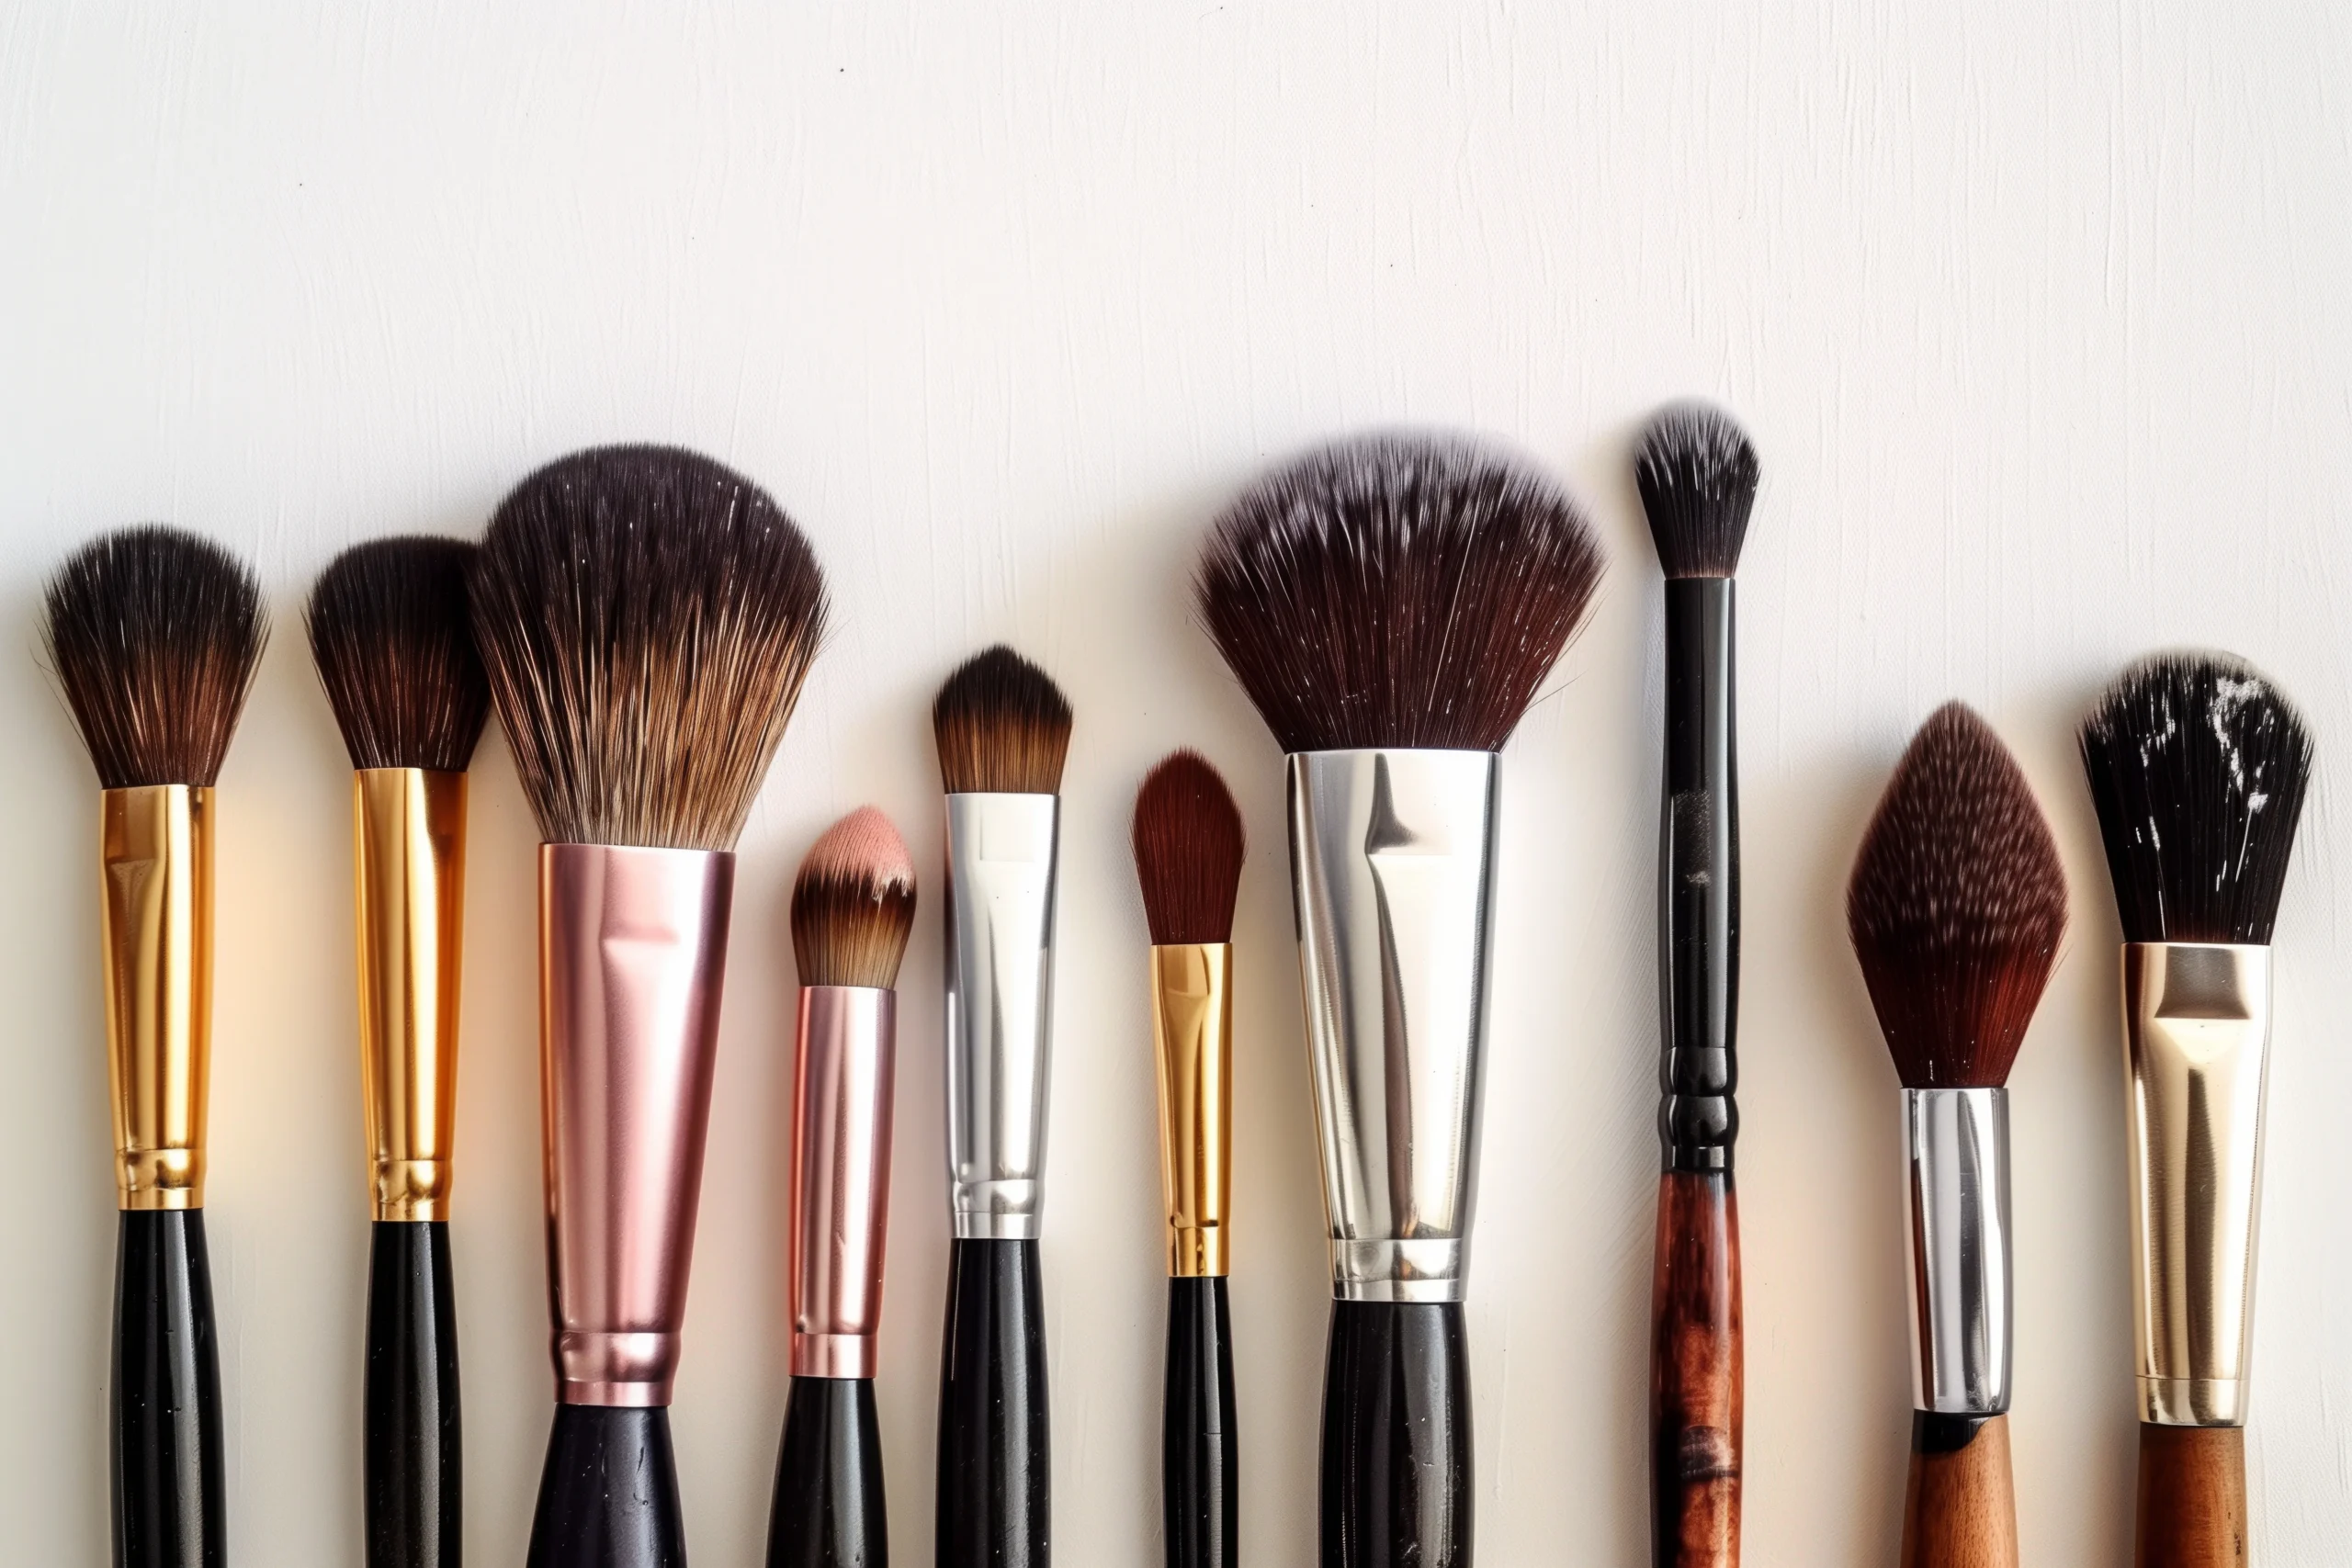
Apply the corrector only to the areas that need it, using a small brush or your fingertips. Press gently, don’t rub. This beginner’s color correction makeup guide suggests working in thin layers. The goal is to make subtle corrections, not complete coverage.
Wait a few seconds after application to allow the product to set into the skin. Remember, perfect results depend on precision. More can be added later if needed, but excess product is much harder to remove.
Step 3: Blend Naturally
Blending is where the real magic happens. Gently tap the sponge or soft brush against the skin until the product is thoroughly blended. Avoid over-blending, as this can ruin the effect of the correction.
This beginner’s color correction makeup guide advises blending outward and upward, which creates a natural lift effect on the face. Once mixed, gently pat the foundation in so that the corrector and foundation blend perfectly and naturally.
The Best Color Correction Techniques For Different Skin Types
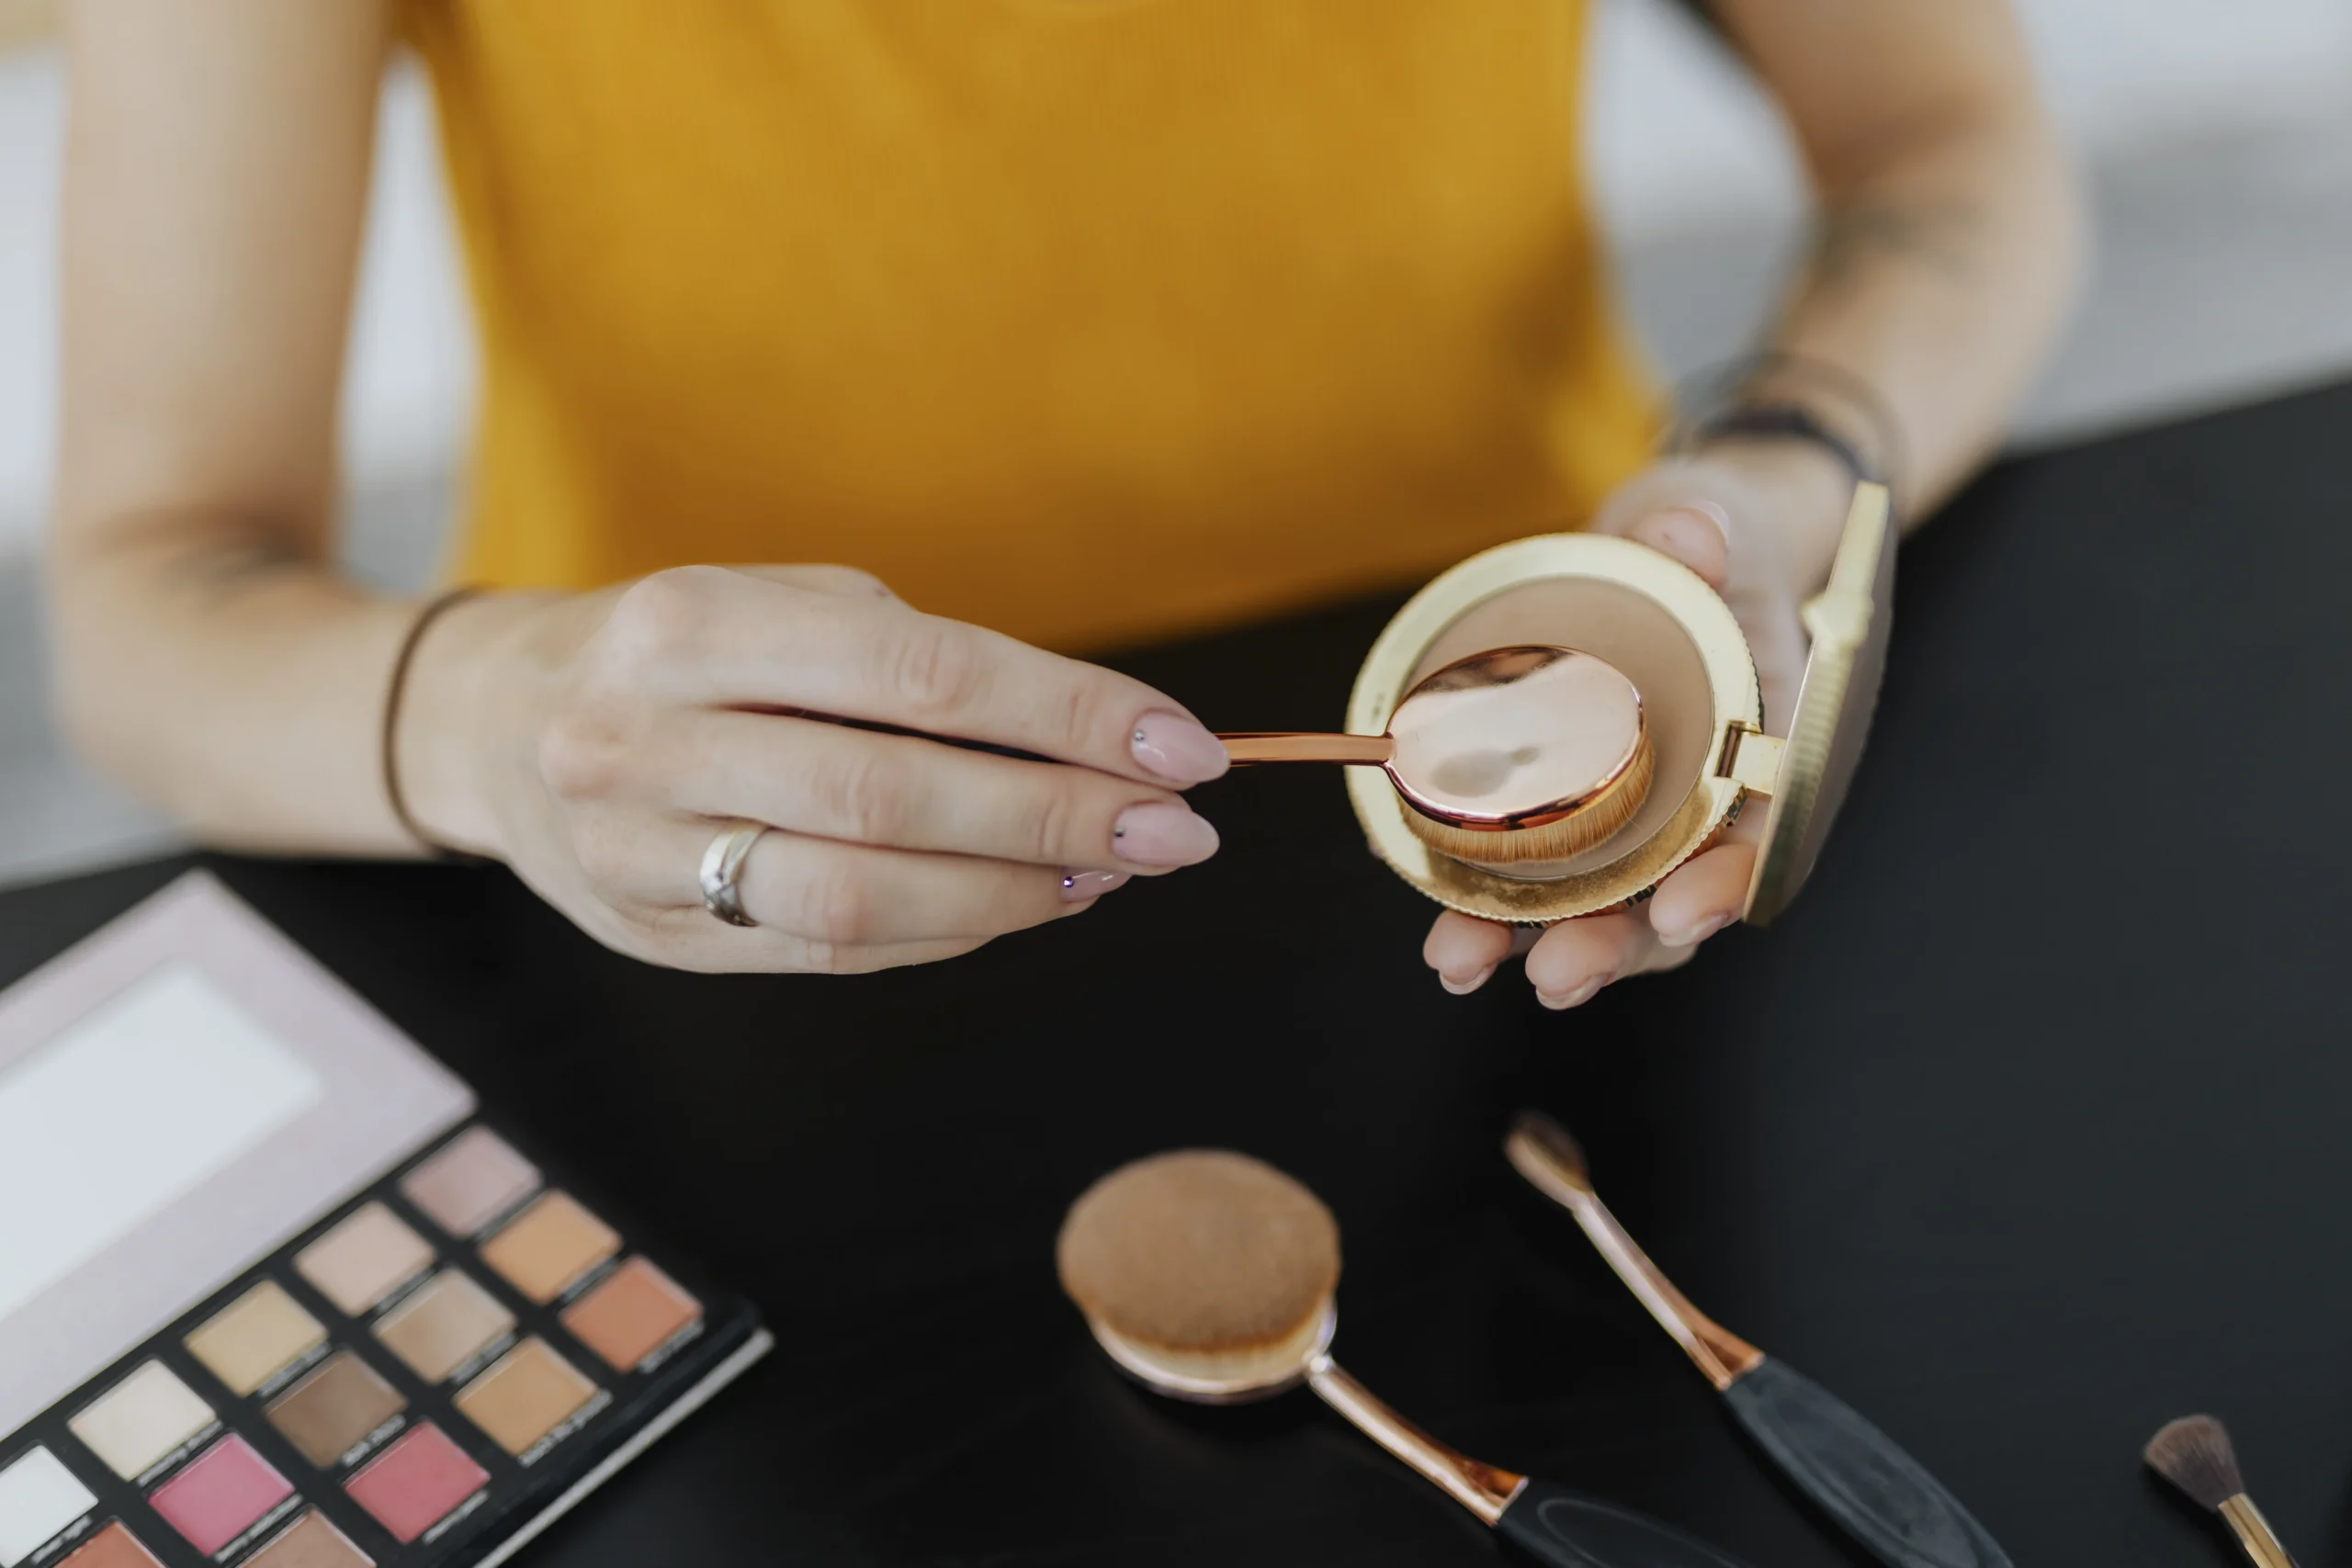
In this beginner’s color correction makeup guide, it’s crucial to understand your skin type before using any product because every skin type reacts differently to textures and formulas, which affects the longevity and finish of your makeup.
For oily skin, a cream-to-powder concealer or matte liquid formula is ideal, as it helps control excess shine. Avoid using heavy creams, as they can easily melt on the face. After applying concealer, set it with translucent powder to ensure your makeup stays in place all day.
For dry skin, opt for a hydrating corrector with a creamy or serum-like texture. Using a light moisturizer or a dewy primer before applying foundation helps the product blend in more smoothly and prevents flakiness or dryness.
For combination skin, it’s best to use two formulas – a matte texture for the cheeks or dry areas, and a more moisturizing formula for the rest of the face. This will help keep each part of the face looking evenly balanced.
Sensitive skin requires extra care. Use a fragrance-free and hypoallergenic corrector that contains soothing ingredients, such as aloe vera or chamomile. Be sure to perform a patch test before using it on your entire face.
The ideal color correction technique may vary depending on the individual’s skin type. Still, regular skin care and the right product selection will give you a perfect, comfortable, and long-lasting finish.
How To Set And Layer Products Without Creasing
Corrector, when applied correctly, lasts all day and prevents creasing or fading. This beginner’s color correction makeup guide emphasizes the importance of thin and patient layering.
After applying and blending the corrector, wait about 30 seconds. This allows it to set correctly on the skin. Then apply a light foundation using a stippling motion (i.e., by tapping lightly). Never drag the brush, as this can move the corrector underneath.
Use a light concealer under the eyes, then set with finely milled translucent powder. Dust the powder lightly with a small, fluffy brush. Using too much powder can make the skin look cakey or dry; therefore, use it sparingly.
A well-set concealer gives your makeup a professional finish. It ensures a crease-free, oxidation-resistant look all day long. This layering technique will provide you with a smooth, airbrushed complexion that lasts even in hot or humid weather.
Common Mistakes Beginners Make In Color Correction Makeup
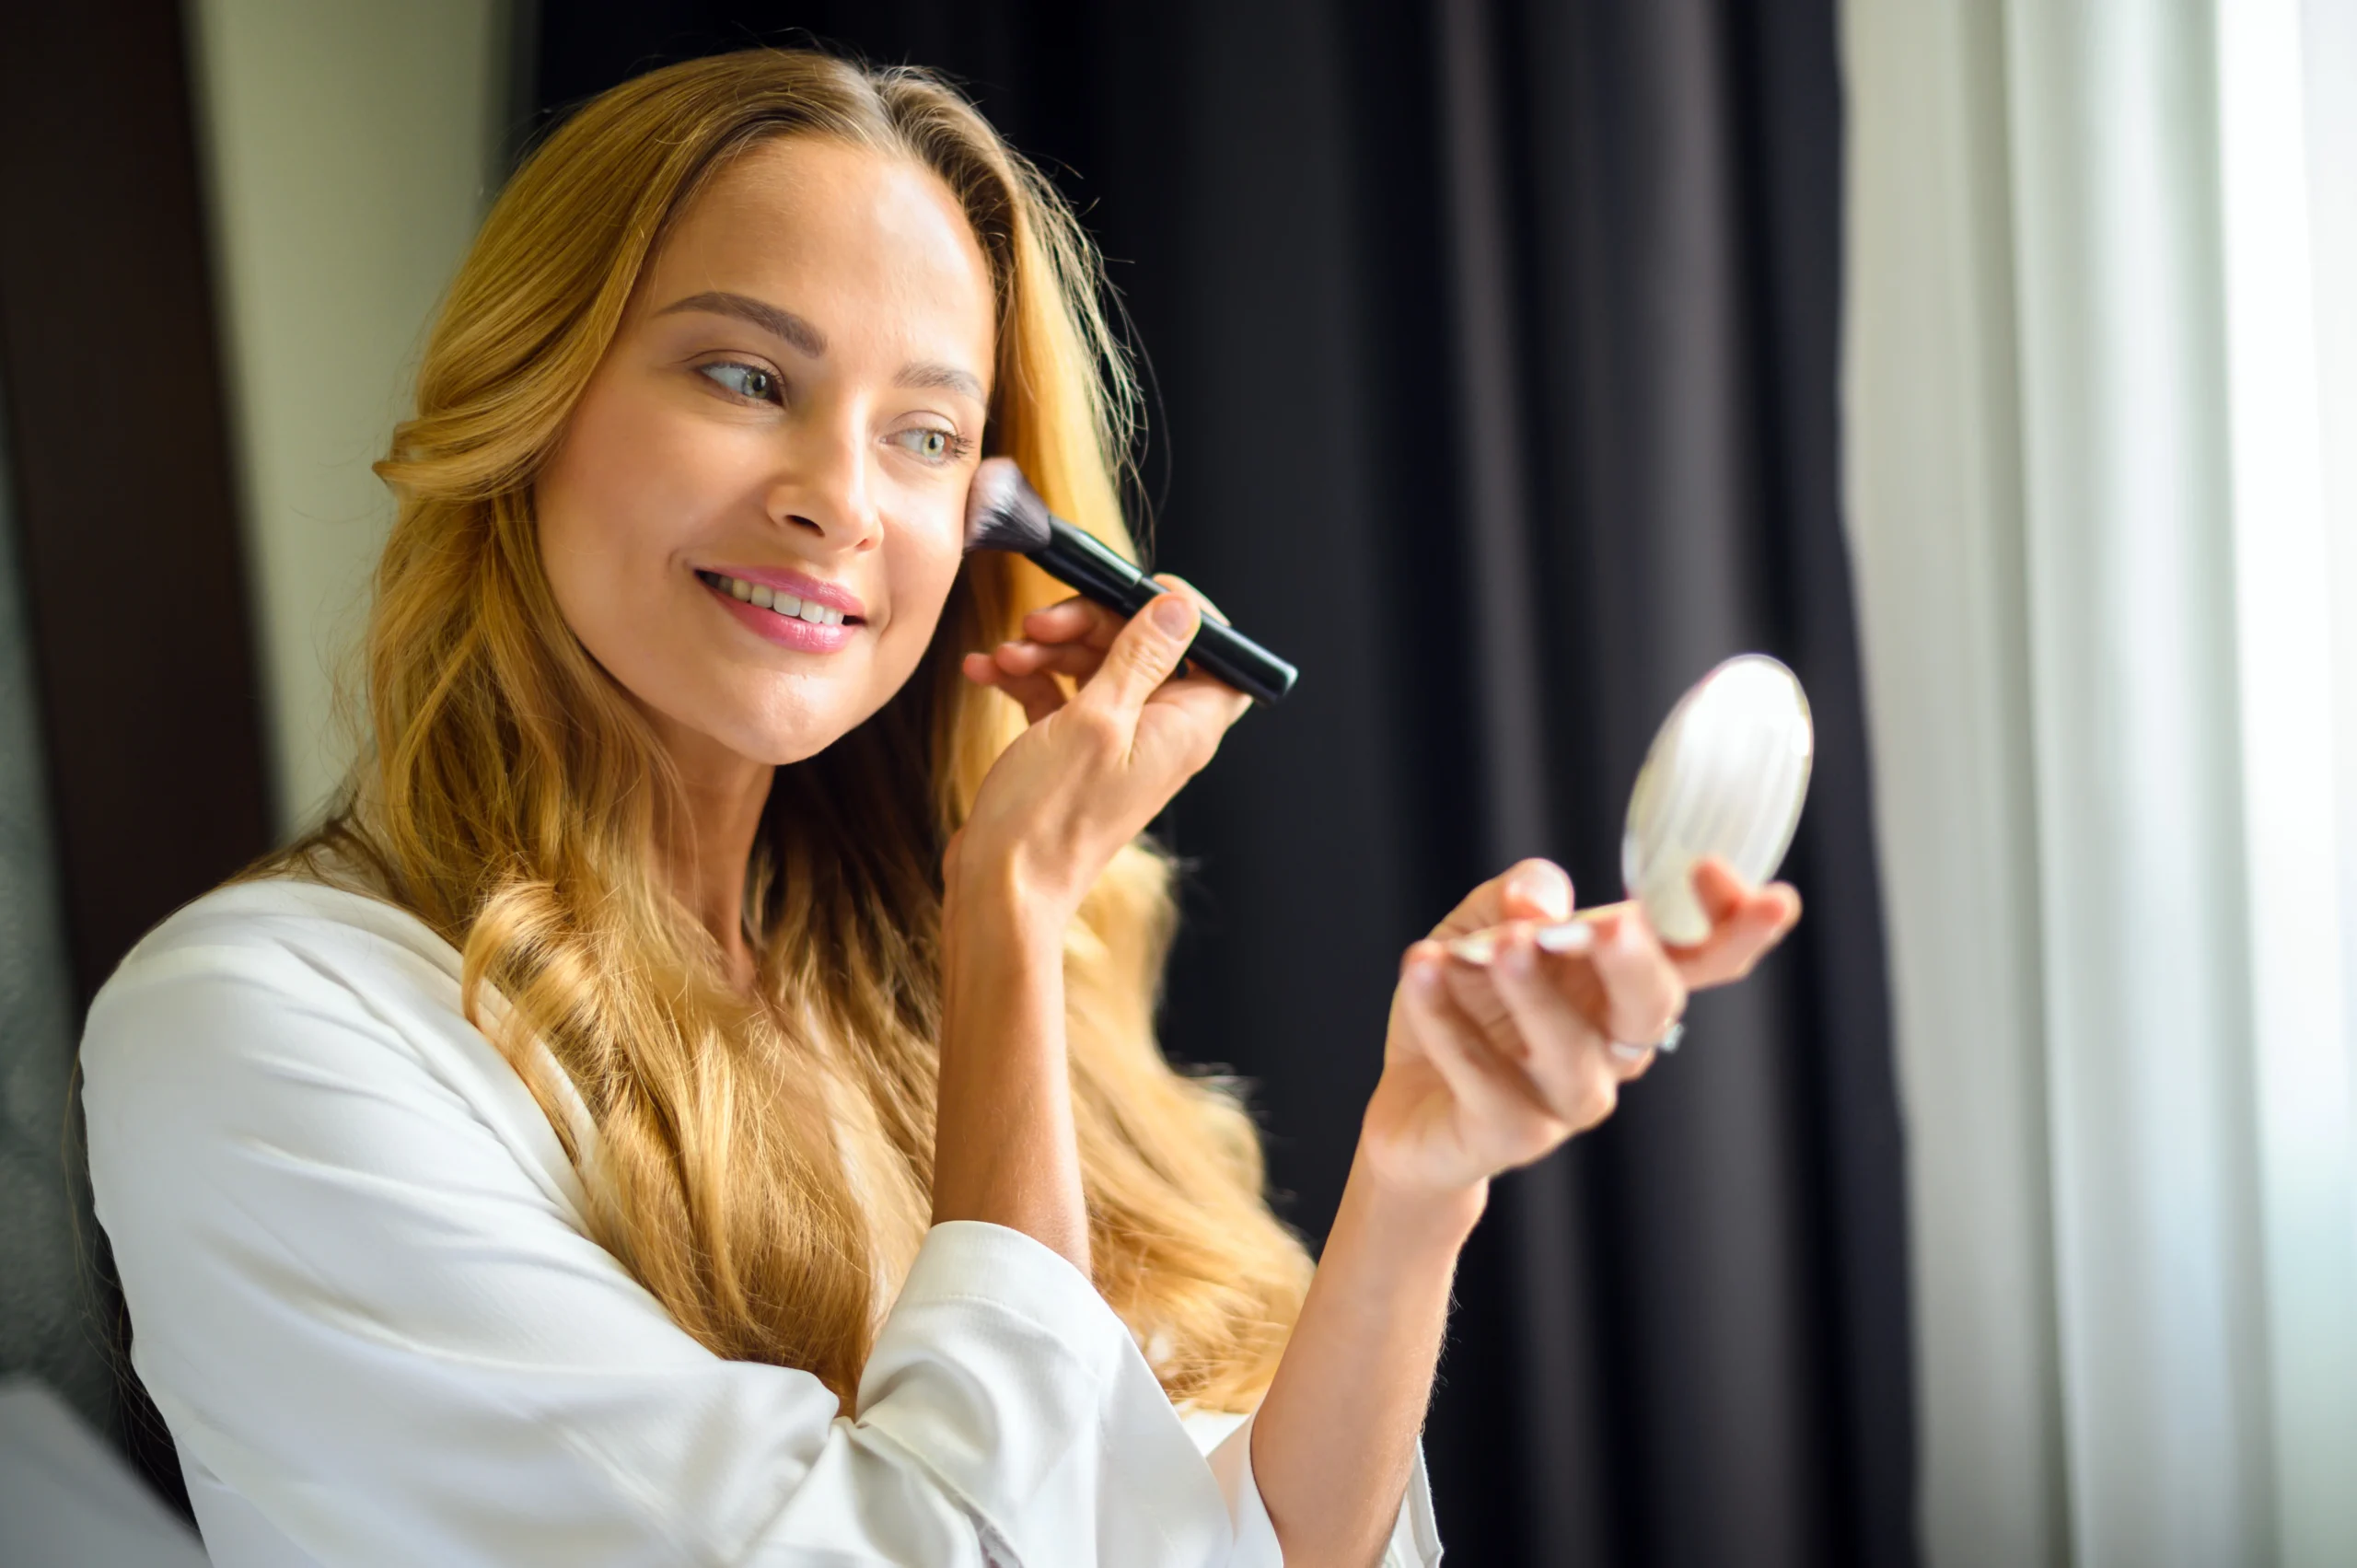
Even if you follow the best beginner color correction makeup guide, there are still some mistakes you can make when trying it for the first time. One of the multiple common mistakes is utilizing too much product. Remember, color correctors are highly pigmented, so only a small amount is enough. Applying too much can make blending difficult and result in a patchy or uneven appearance.
Another big mistake is using the wrong shade. Using a green corrector where an orange corrector is needed can make the entire makeup look unnatural. First, understand the type of skin problem you are trying to address: redness, dark spots, or dullness.
Many beginners think that the foundation will fix everything without blending, but this is a misconception. If not appropriately blended, the corrector can be clearly visible on the skin, which ruins the natural beauty of the makeup.
Finally, avoid skipping the setting step. If you don’t set your makeup properly, it can easily melt in hot or humid weather.
By avoiding these common mistakes, you can consistently achieve a perfect, professional-level finish.
The Best Products For Beginners In Color Correction Makeup
A complete beginner’s color correction makeup guide is never complete without product recommendations. There are many affordable and premium options available on the market today that cater to all skin types and skill levels.
Affordable Options
- L.A. Girl HD Pro Conceal Correctors – Creamy texture, ideal for beginners.
- NYX Color Correcting Palette – Multiple shades in one palette, versatile.
- e.l.f. Camo Color Correctors – Lightweight, easy to blend, and budget-friendly.
High-End Options
- Bobbi Brown Corrector – A creamy formula that’s great for brightening the under-eye area.
- Charlotte Tilbury Magic Vanish Color Corrector – Smooth texture and high pigmentation.
- NARS Radiant Creamy Corrector – Long-lasting formula, perfect for a professional finish.
Each product is prepared to meet different skin needs. The key is to choose a formula that suits your skin texture, and master its proper use with this color correction makeup guide.
How To Match The Shade Of Color Corrector And Foundation
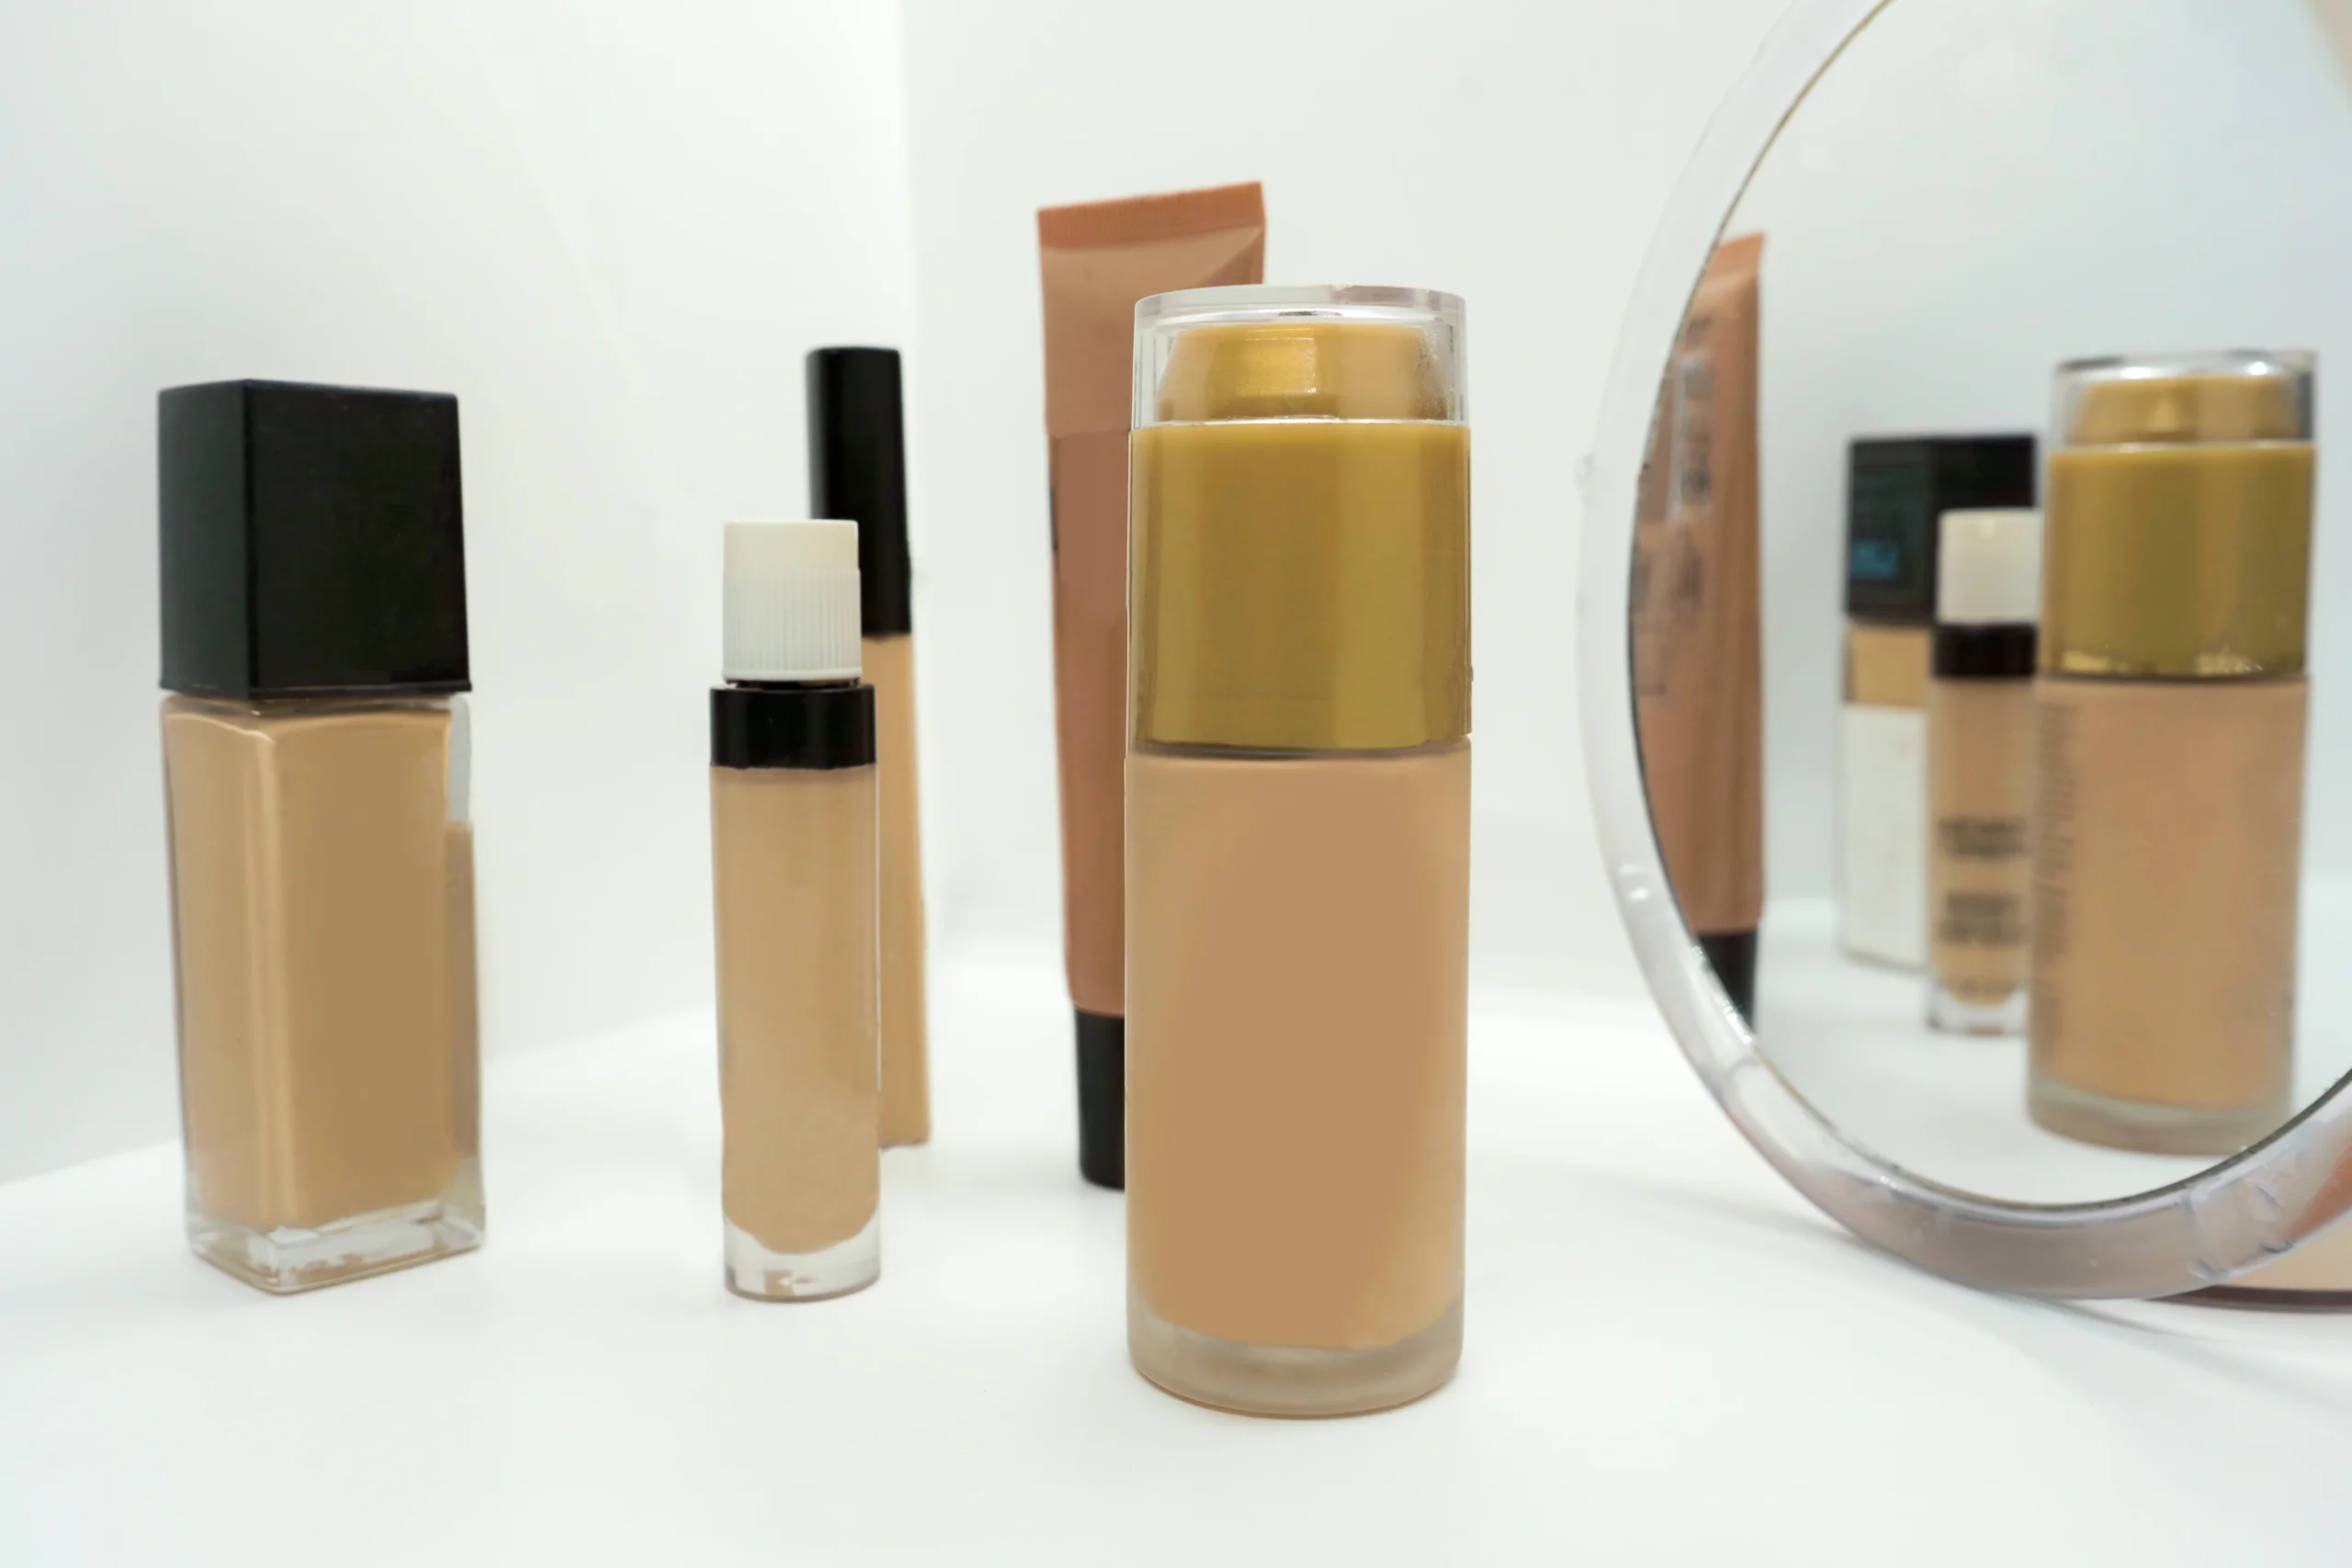
One of the most critical steps in the beginner’s color correction makeup guide is the correct combination of foundation and color corrector. If you don’t mix them properly, the base can look uneven or patchy.
To achieve the perfect balance, first select a foundation that complements your undertone. After blending the corrector well, apply a light layer of foundation over it and check if it appears gray or ashy; if so, your foundation tone is not compatible with the corrector you are using.
The secret to success lies in the layering technique. Use a light to medium coverage foundation so that the corrector’s effect is subtly revealed. However, if you use a high-coverage foundation, reduce the amount of corrector; such a foundation itself covers many blemishes.
Finally, softly blend the layers of concealer and foundation so that the two blend beautifully. This technique gives your skin an even, smooth, and natural look, which will look perfect in any light.
Expert-Approved Color Correction Makeup Hacks
This beginner’s color correction makeup guide features expert-approved tips that will instantly enhance your results.
A simple but effective trick is to mix a small amount of corrector with your primer. This is ideal for mild discoloration or uneven tone, as it gives a natural glow to the entire face.
Warm the concealer between your fingers before applying it under your eyes. This will help it blend more seamlessly into your skin. If you’re in a hurry, apply concealer lightly after your foundation instead of full coverage-it’s a very natural and quick fix.
Another pro hack is to use a wet sponge, not a dry one. This will help blend more evenly and prevent the product from clumping. For long-lasting makeup, after blending your concealer but before foundation, lightly spritz a setting spray-it will lock in the makeup.
These small but powerful tricks will instantly elevate your ordinary makeup to a professional level.
Discover More Articles On Makeup And Beauty Here
Final Thoughts To Perfect Your Look
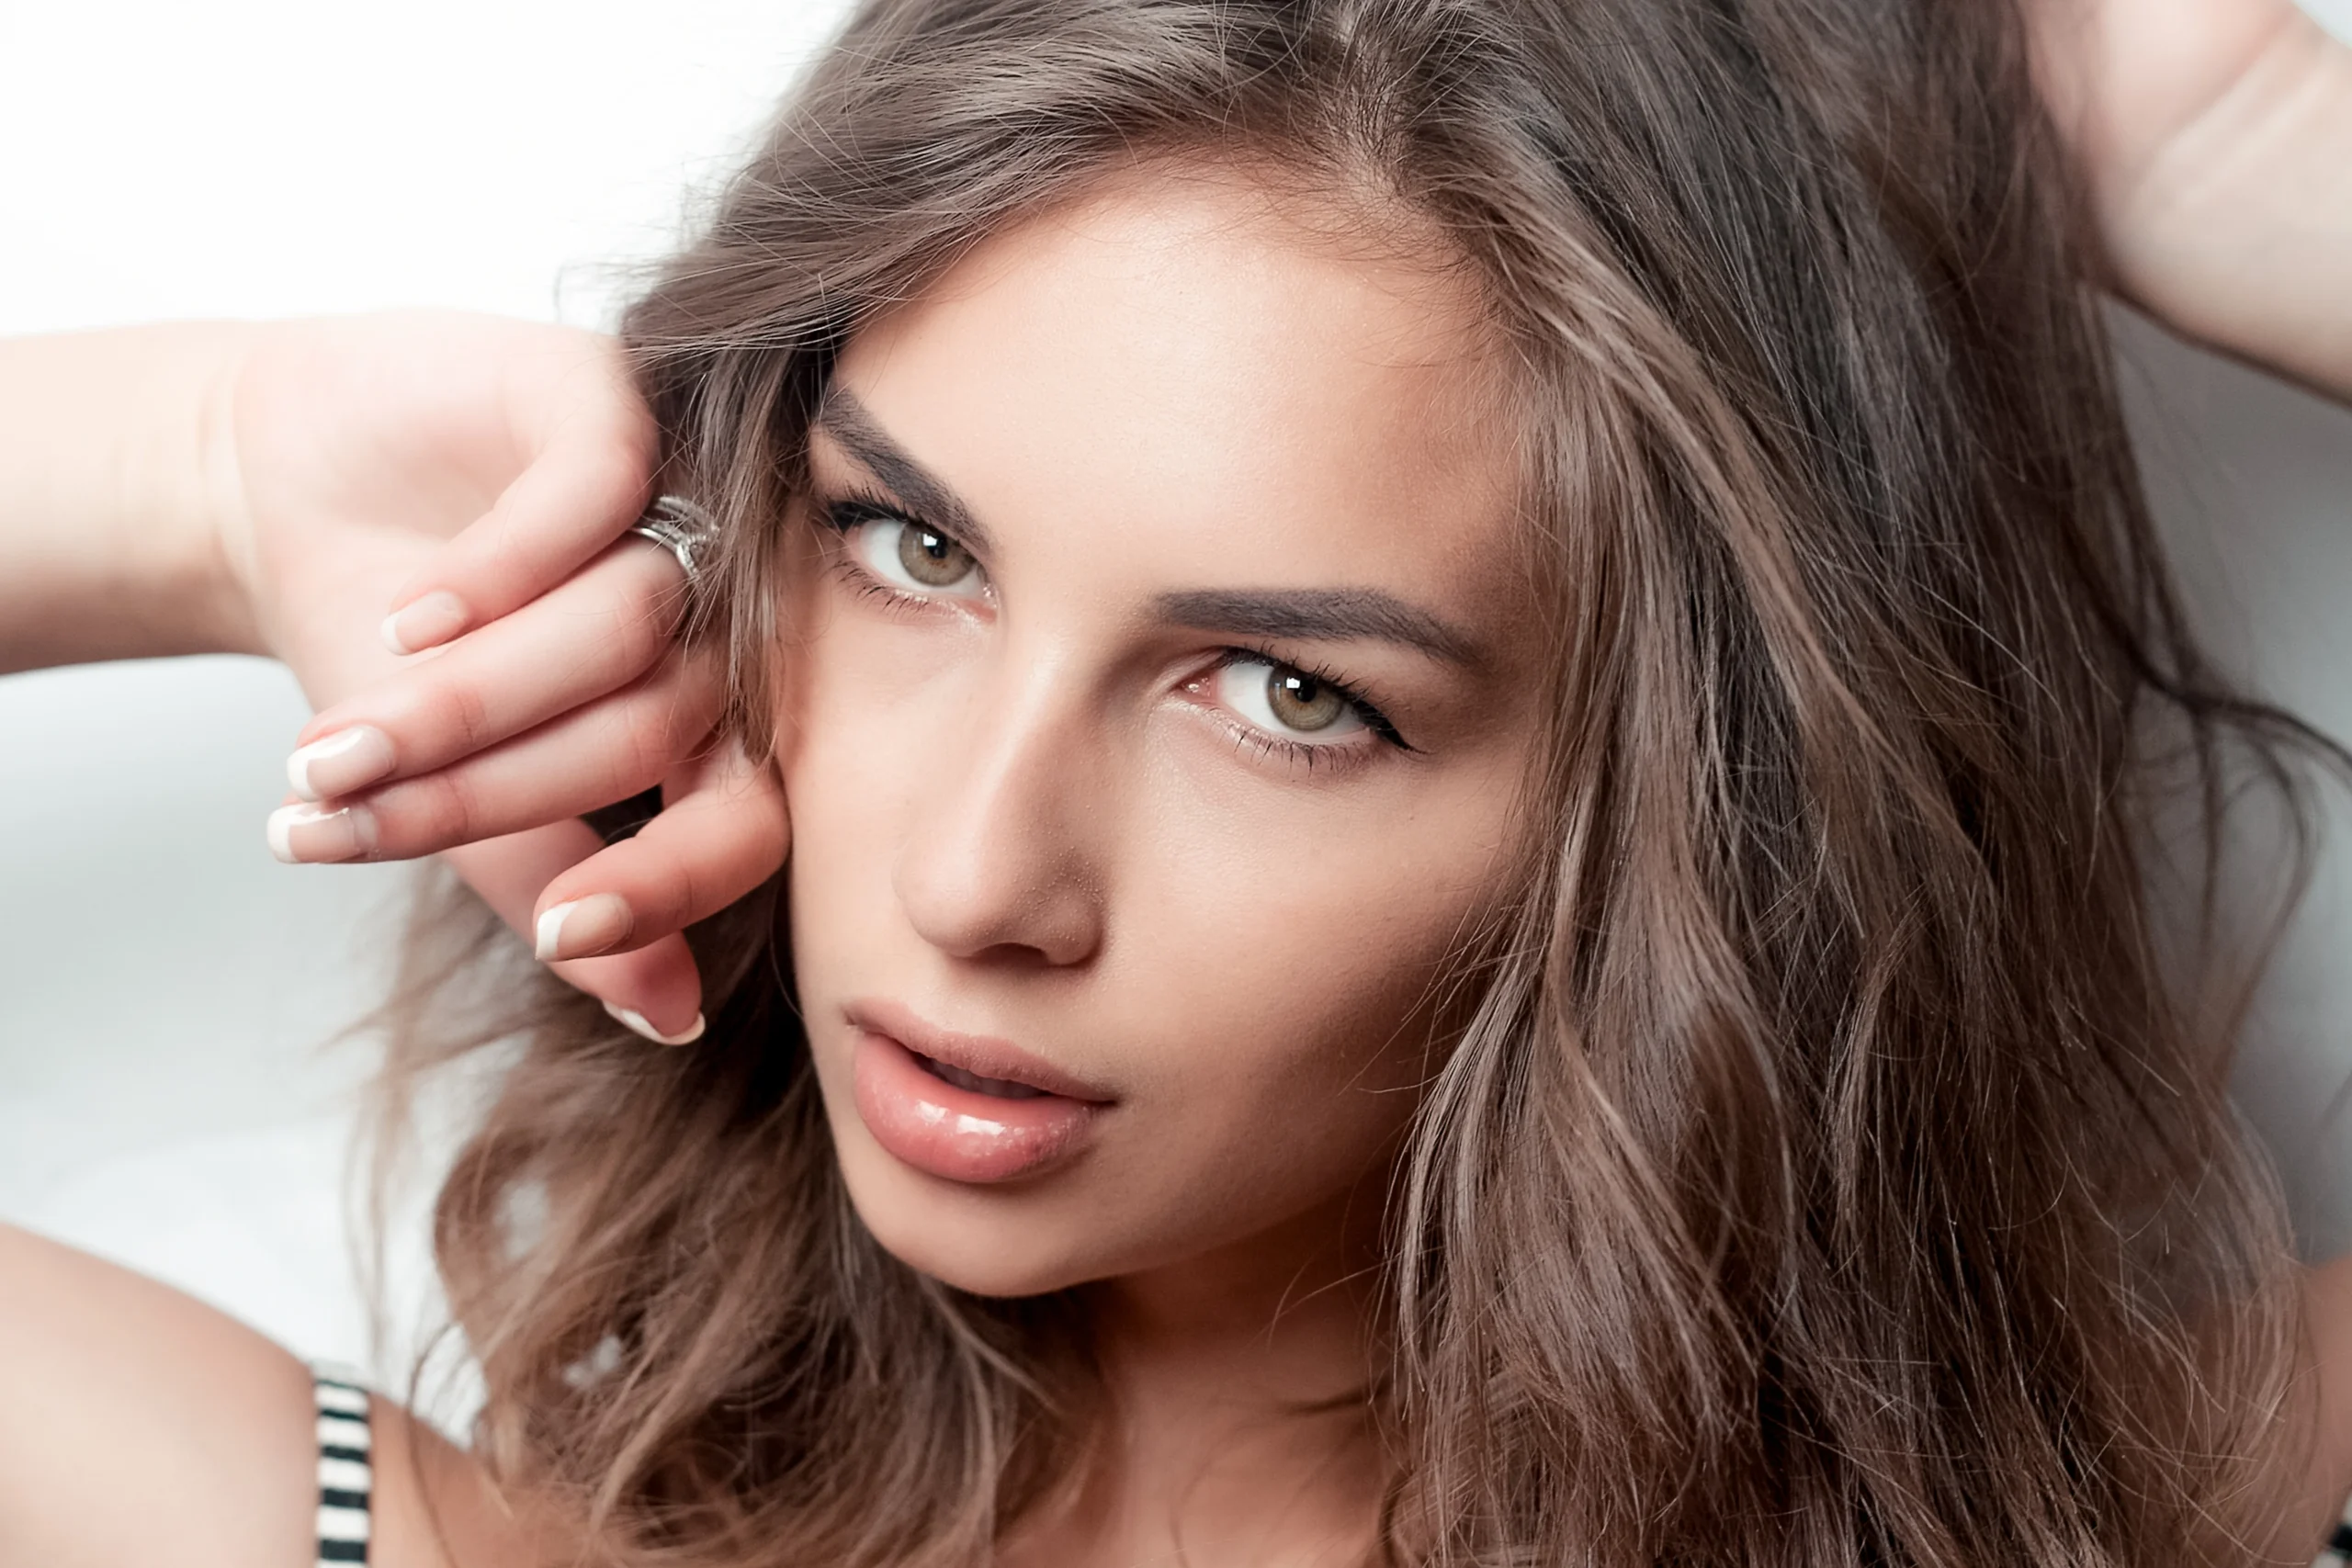
It takes some time and practice to master the beginner’s color correction makeup guide. Still, once you understand the color wheel and application techniques, it will become a natural habit. The primary goal is not to conceal the face, but to create balance, allowing your skin’s natural harmony to be revealed.
Color correction transforms dull or uneven skin into a bright, fresh canvas-ideal for any makeup look. From choosing the right shade to blending techniques, every step builds your skills and confidence.
As you follow this guide, remember, great makeup starts with perfect correction. Whether you’re preparing for a photoshoot, attending an office meeting, or simply going out for a walk, the secret to achieving flawless skin lies in understanding your skin tone.


