Understanding The Technique For Covering Up Black Eyes
Knowing how to cover a black eye with makeup is an art and a matter of case. The primary goal is to effectively conceal puffiness or discoloration without damaging the sensitive skin around the eyes. Makeup doesn’t just cover up color – it balances skin tone, giving you a natural and confident look. The first rule is simple: to get maximum coverage, always treat your skin gently. The skin around your eyes needs both moisture and care.
Black eyes are usually caused by injury, irritation, or inflammation. They go through different color stages – first red, then blue, purple, green, and finally yellow. Each stage requires a different color correction technique. Understanding these subtle changes and finding the right color match will make the stain or darkness almost invisible. So, the key to understanding how to cover a black eye with makeup is to respect this process and work with patience.
Preparing The Skin Before Makeup
Skin preparation is crucial for any makeup application, but it’s even important when it comes to covering up dark circles. The skin under your eyes is very delicate, thin, and can easily become dry or puffy. Skipping this step can cause your makeup to go on unevenly, smudge, or cake, which can ruin your entire makeup look.
Cleansing And Moisturizing For Smooth Makeup
First, cleanse your face thoroughly with a mild, gentle cleanser to remove any oil, dirt, or impurities. Then, use a hydrating moisturizer specifically formulated for the eye area. This will support your makeup to glide on smoothly and last longer. When your skin is well-moisturized, your makeup will appear more natural, and dark circles will be less noticeable.
A nourishing eye cream, especially one containing hyaluronic acid or peptides, helps reduce puffiness and firm the skin. This leaves the under-eye area soft and smooth, creating an ideal surface for makeup.
Ice And Anti-Inflammatory Care Before Makeup
If your dark circles are new, apply ice to the affected area for a few minutes before applying makeup. This will help reduce swelling and redness, allowing your concealer to work more effectively. A cooling gel or anti-inflammatory cream with arnica can also help lighten dark circles quickly. However, ensure the area is dry before applying makeup, as it can slip or appear uneven if it’s wet.
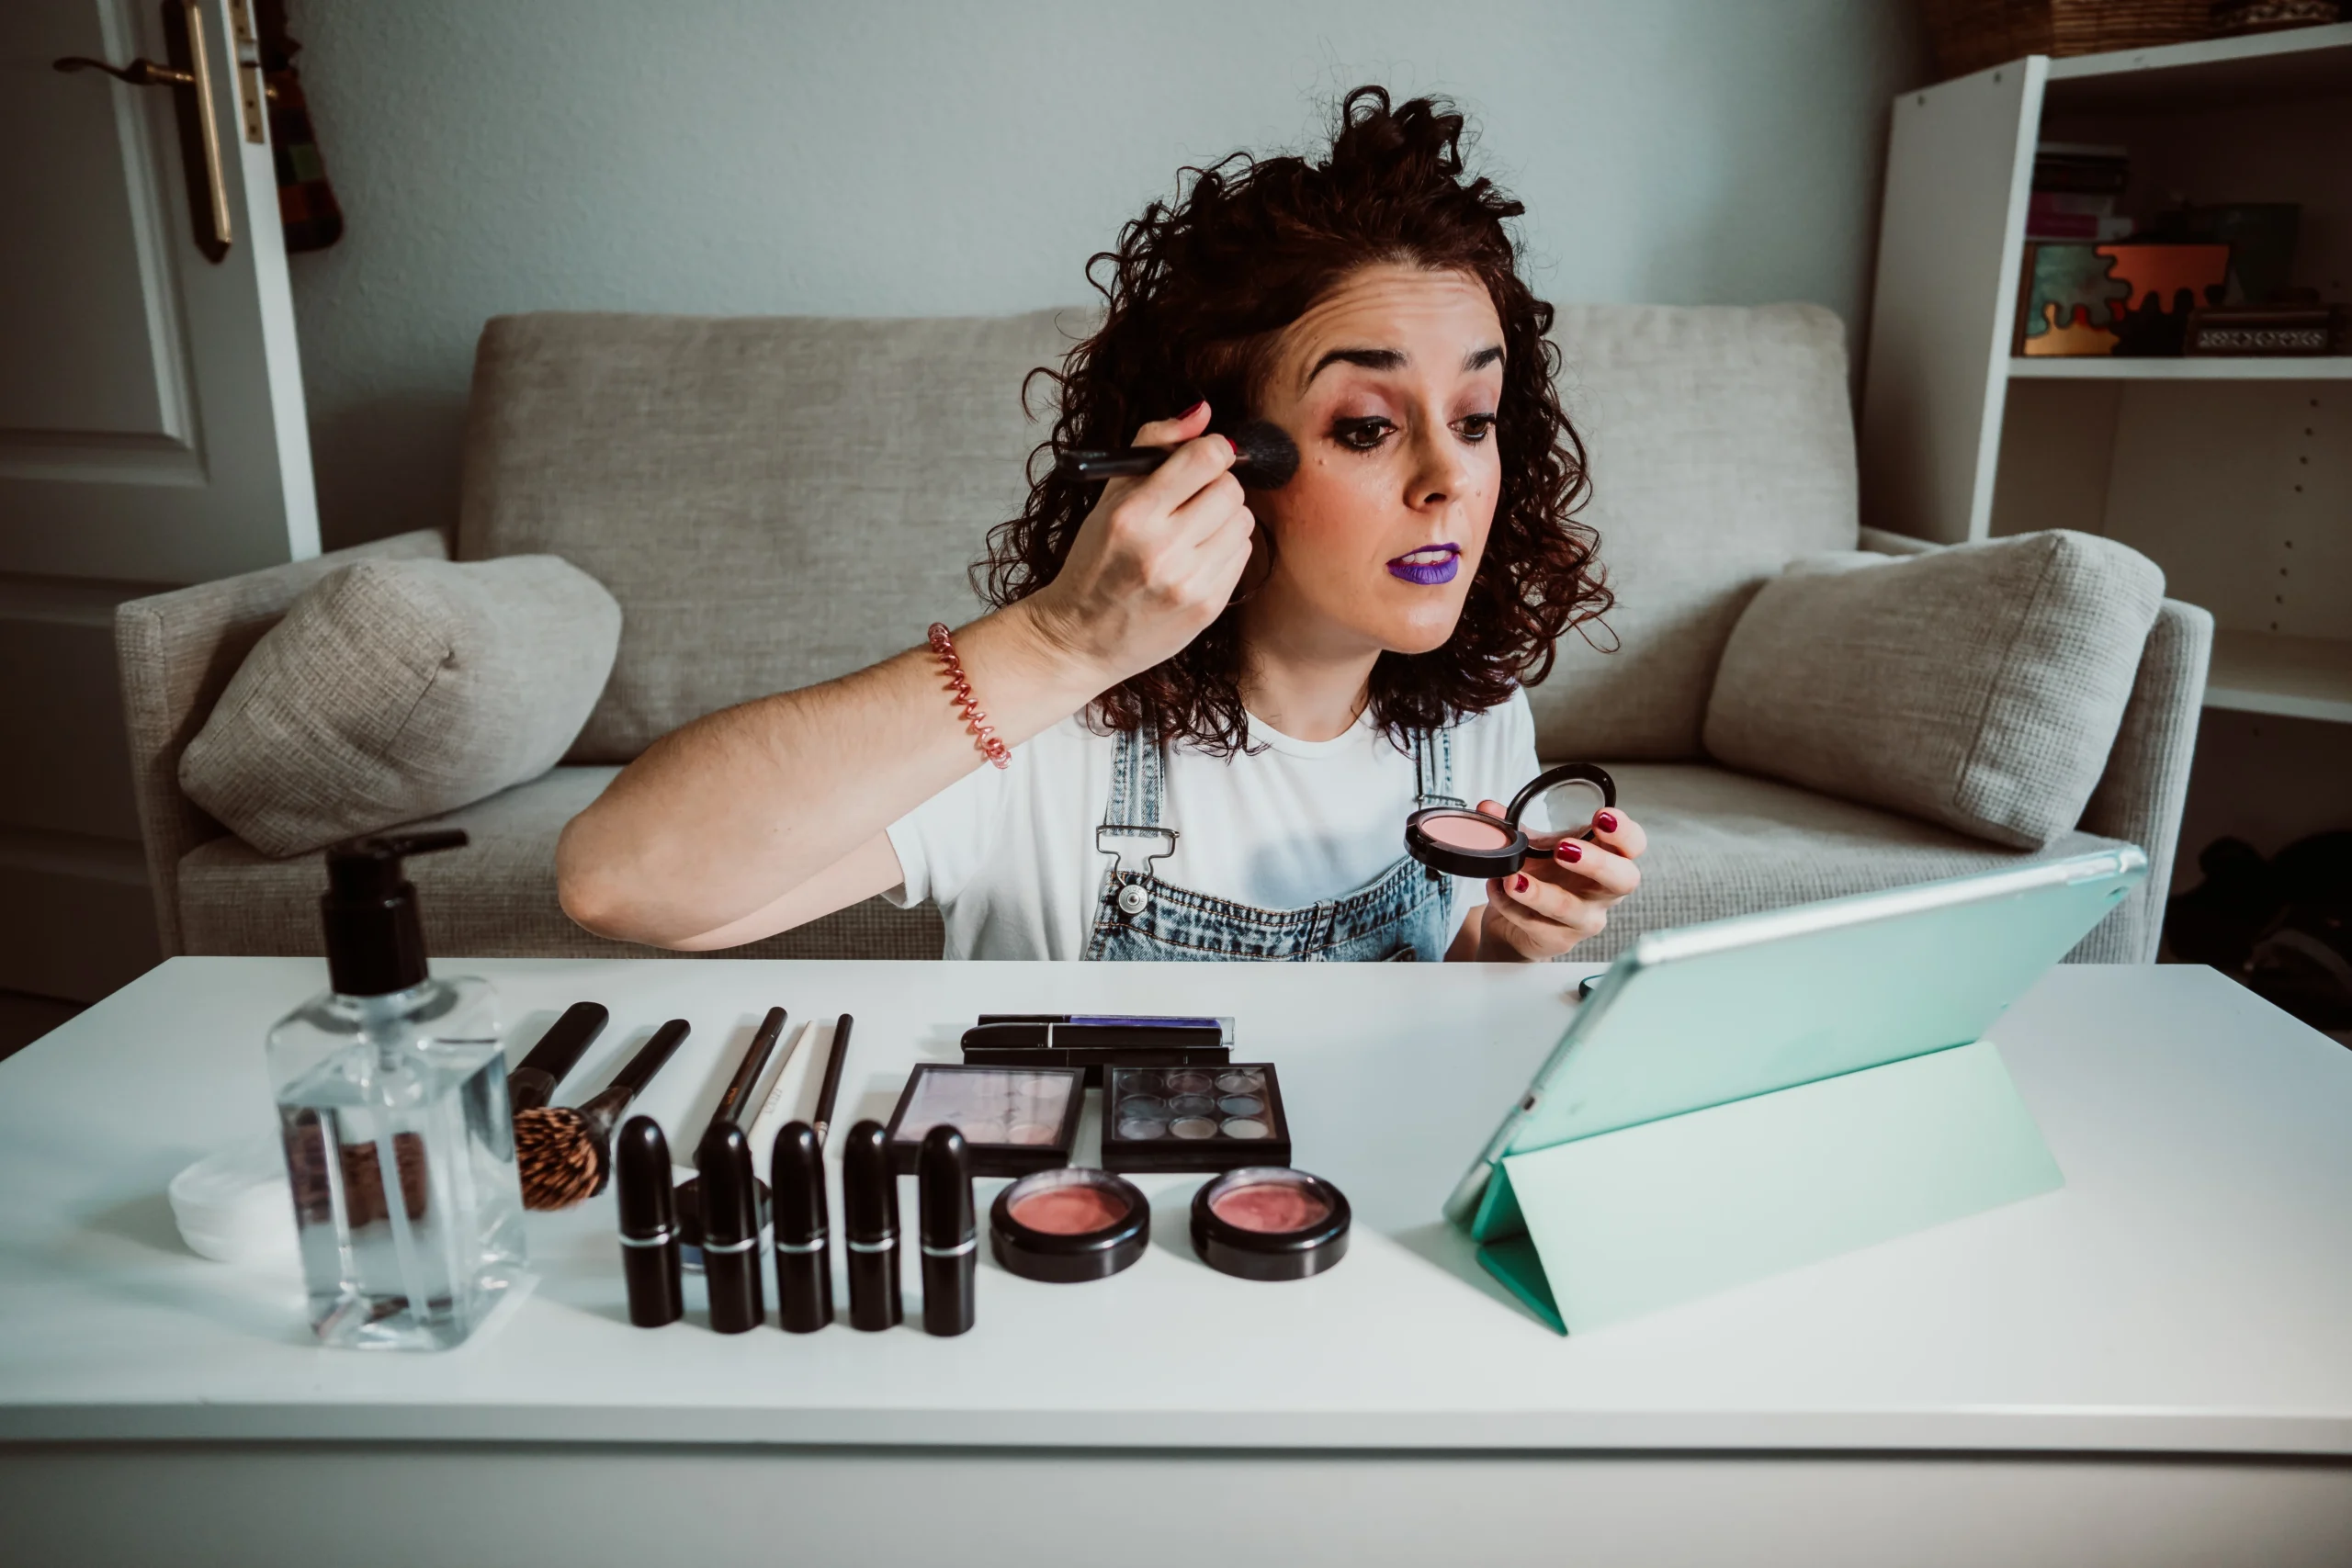
Choosing The Right Product
Choosing the right makeup product is crucial for covering dark circles. The key here is not just applying a thick layer, but layering it intelligently with the right texture and tone.
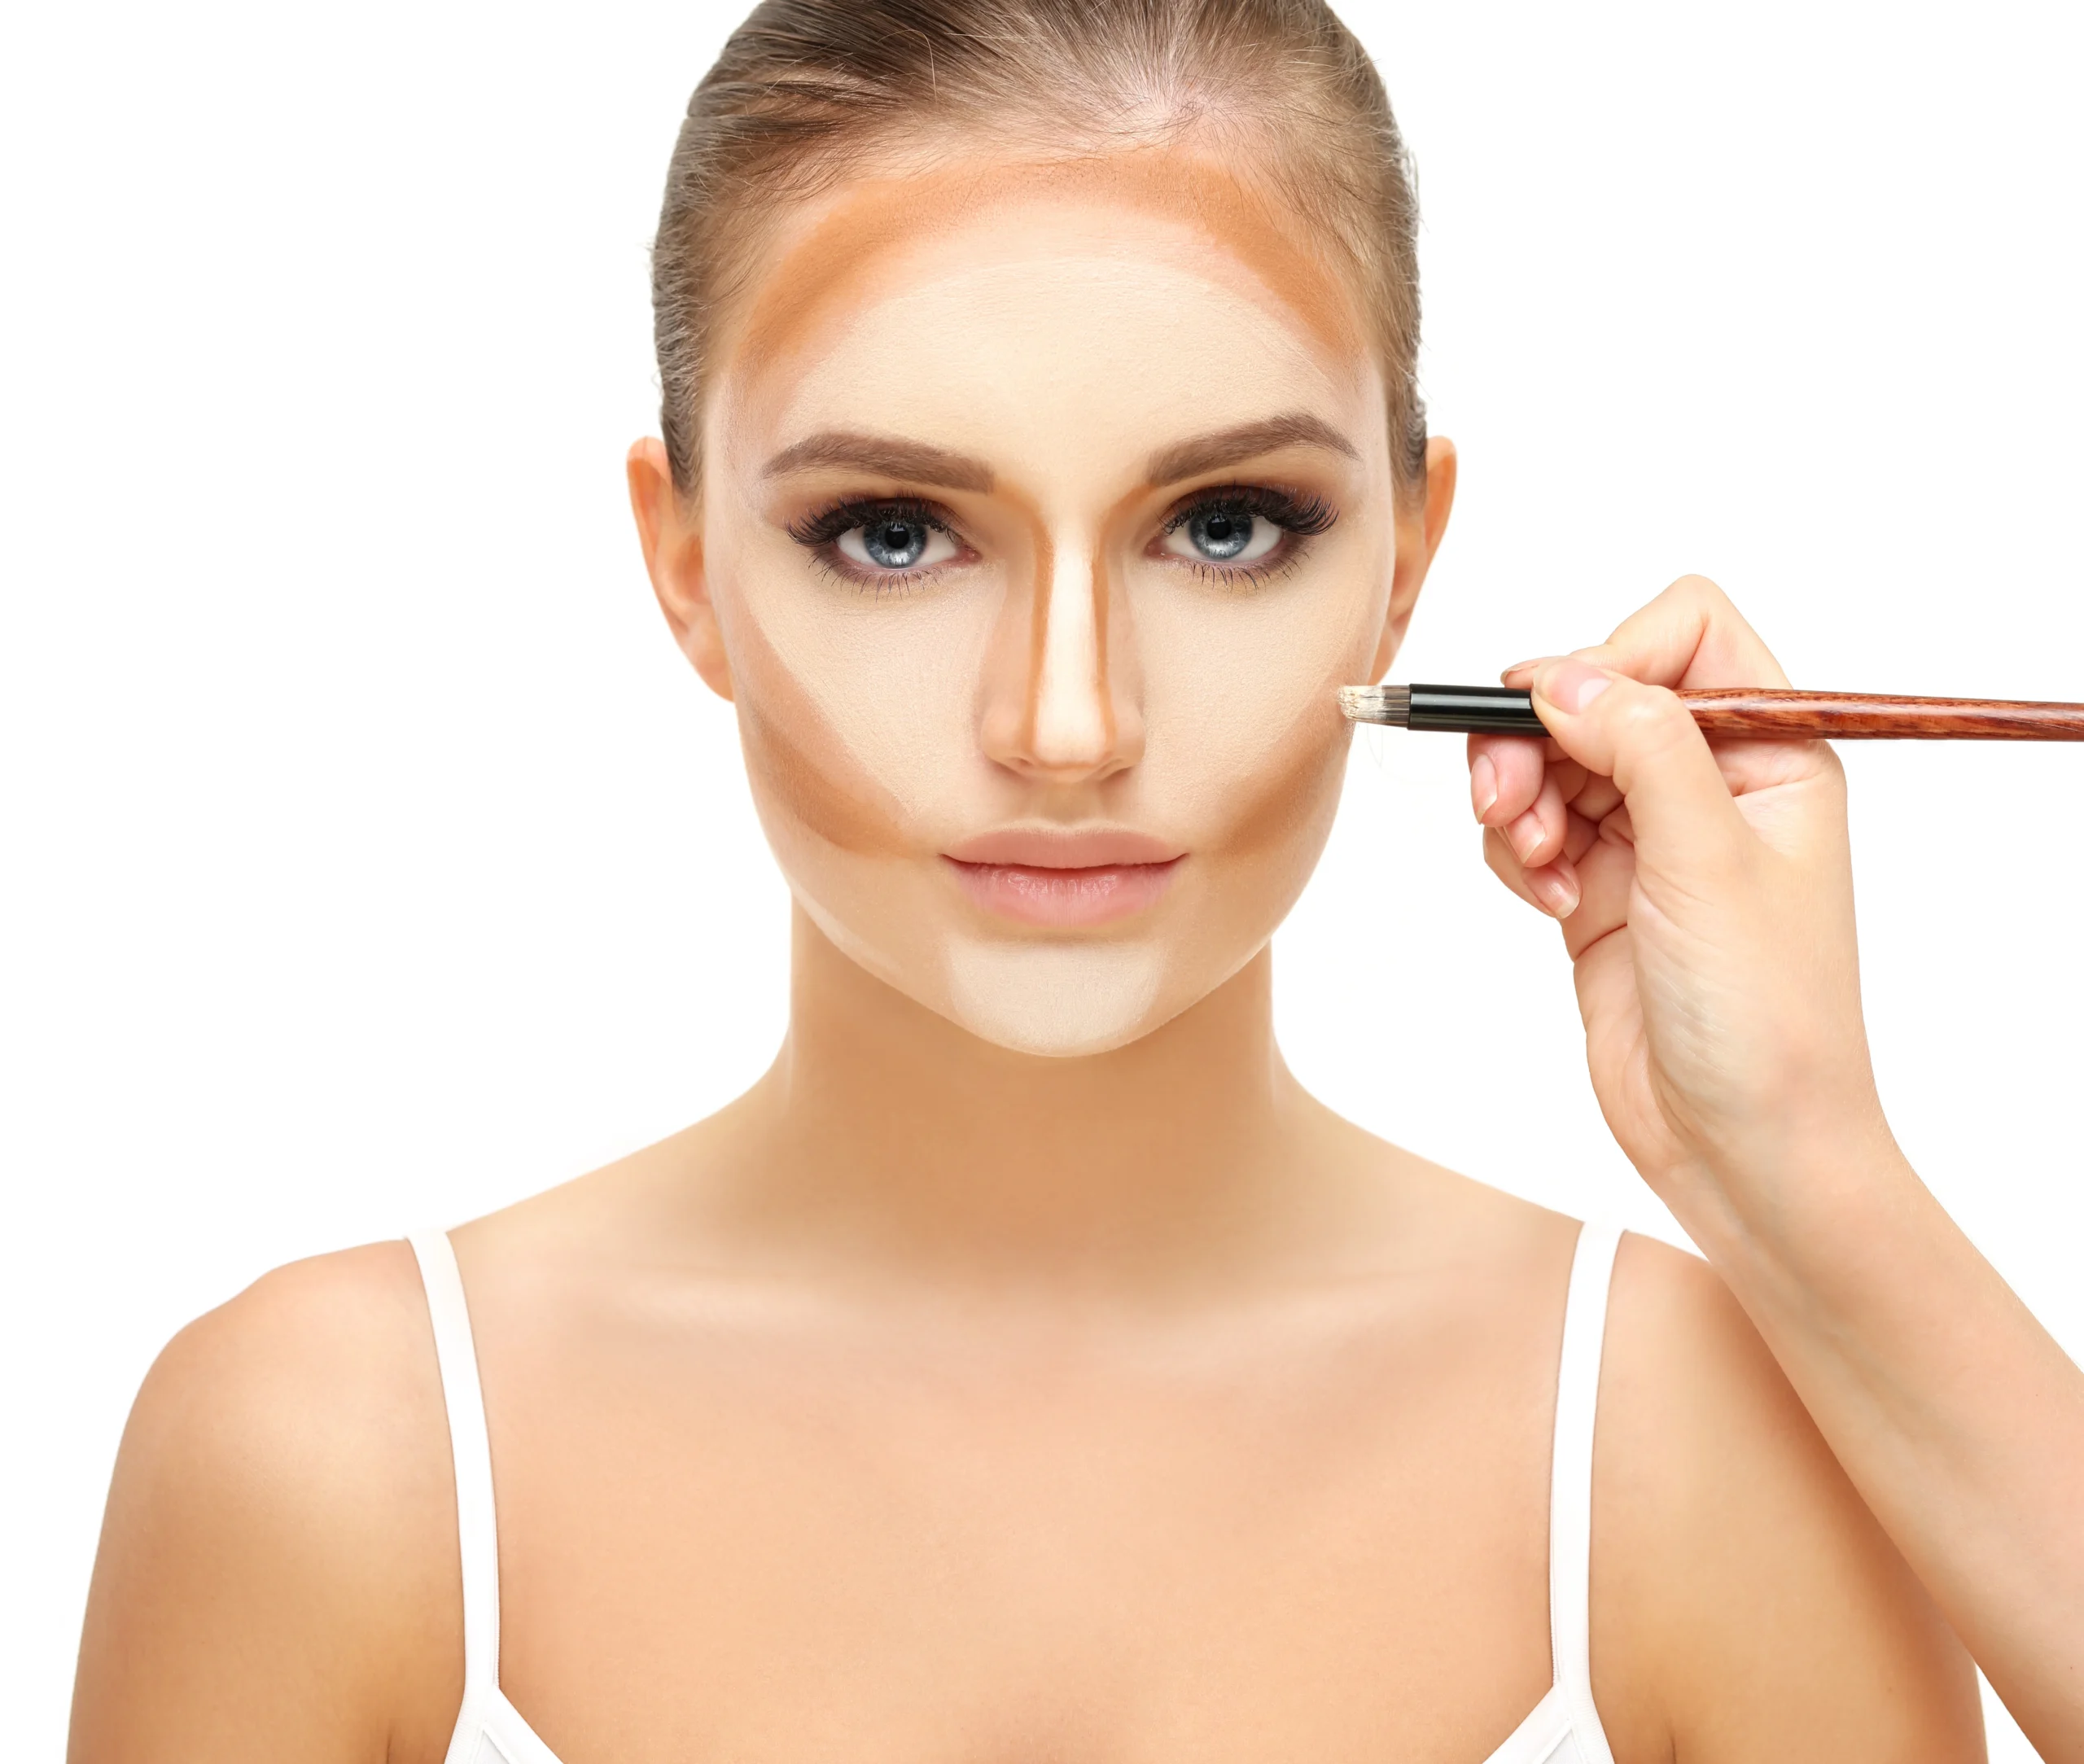
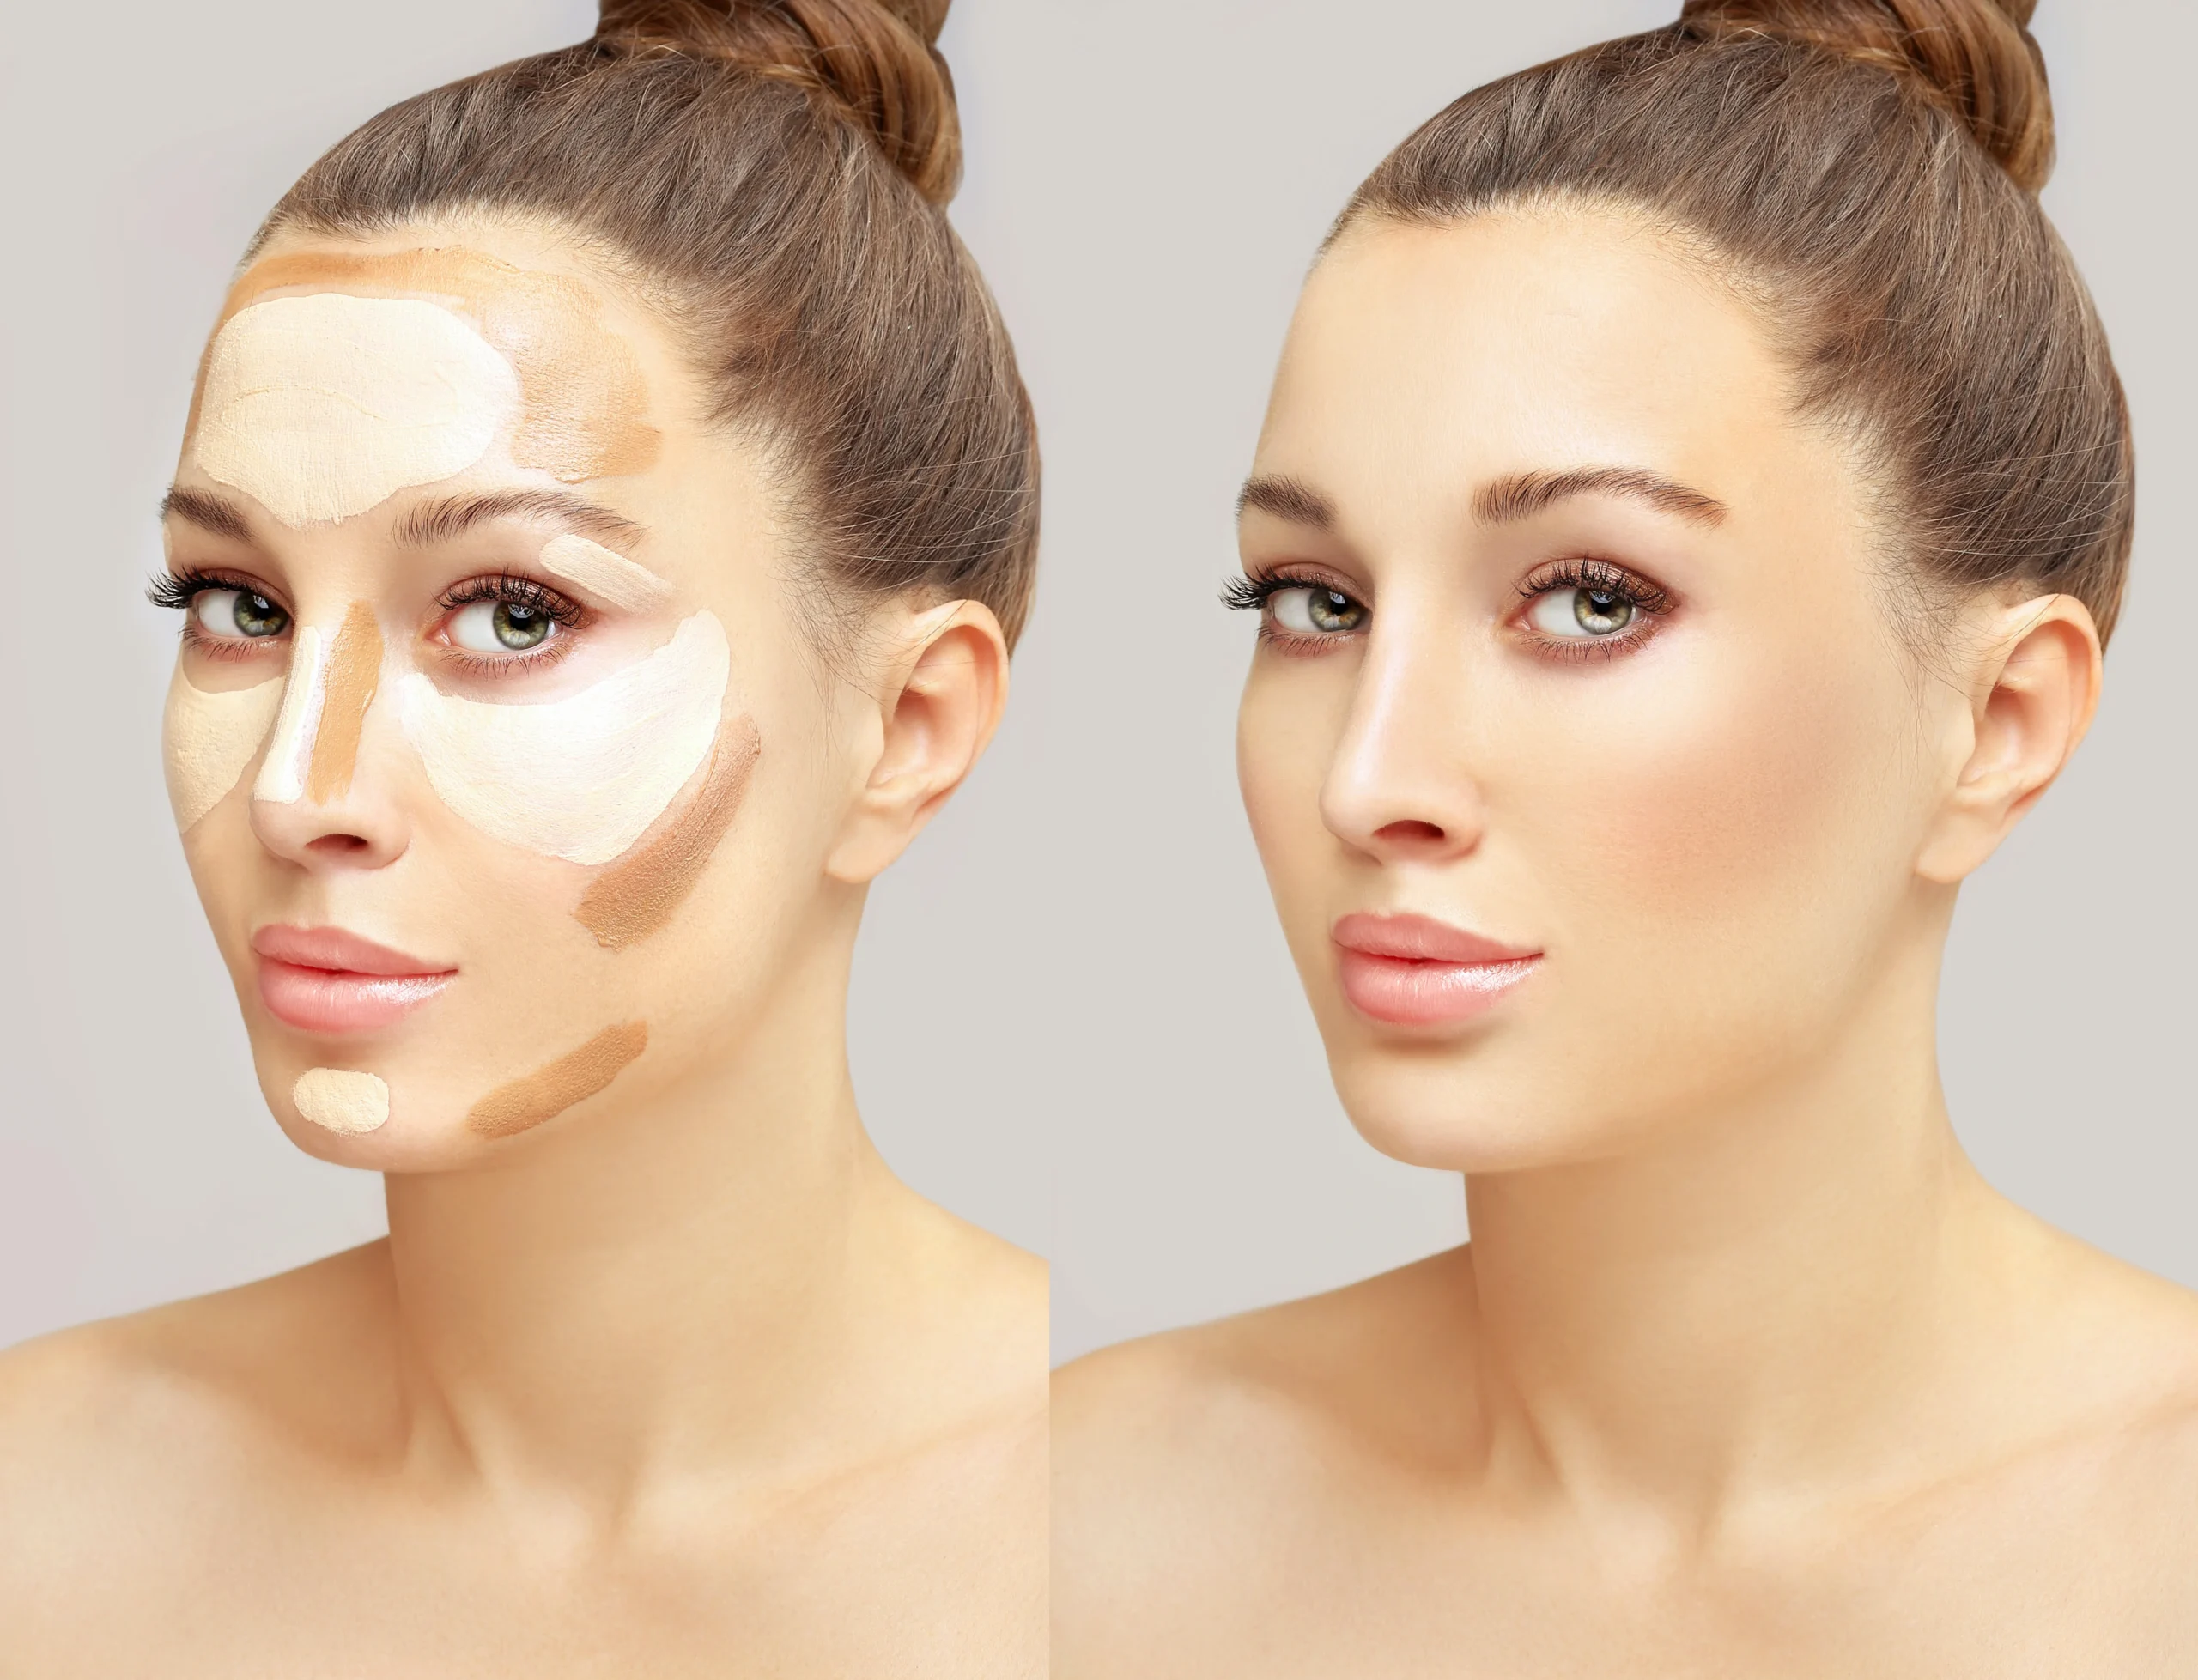
Best Color Corrector And Concealer
Color correction is your secret weapon. Use a peach or orange-toned color corrector to cover bluish or purple spots. And if the color of the spots is yellow or greenish, then go for a lavender or pink-toned corrector. Take a small amount of product and gently apply it with your ring finger or a soft brush. Then use a creamy concealer that matches your skin tone. Avoid matte or dry concealers, as they make fine lines more pronounced.
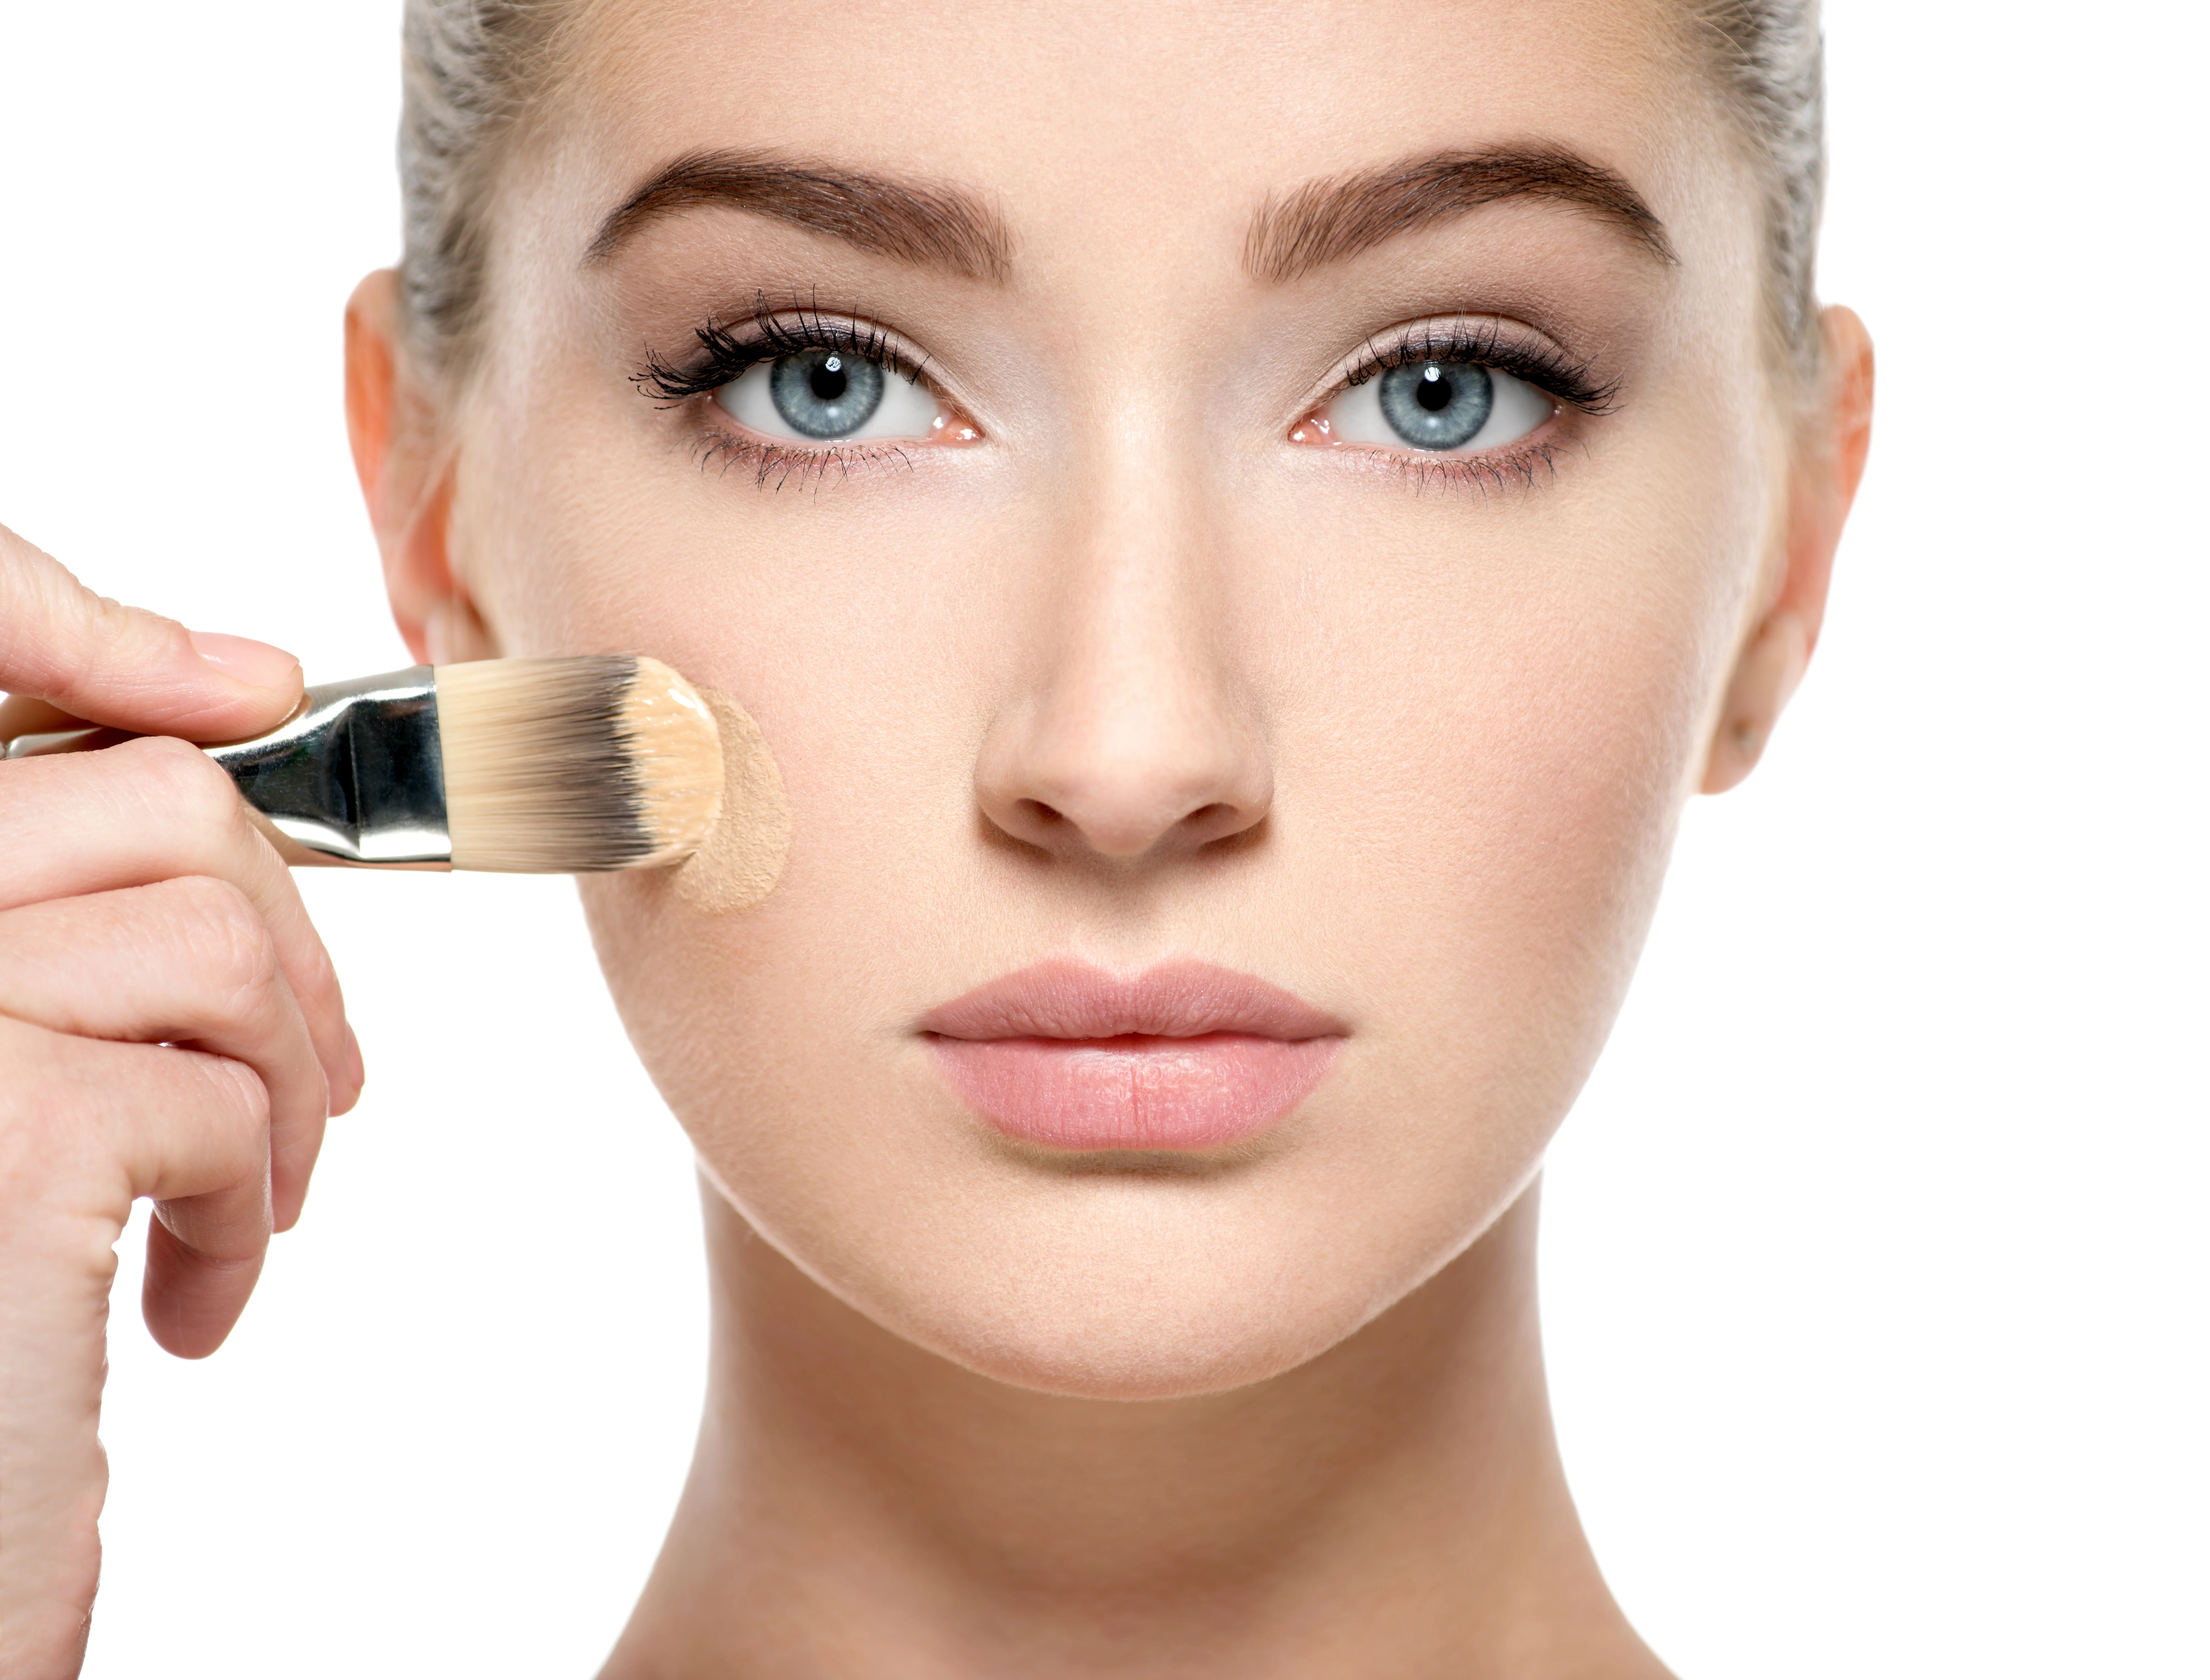
Foundation Suitable For A Natural Finish
Foundation is the final step to tie the entire look together. Choose a foundation with medium to full coverage and a dewy or satin finish. Gently blend with a damp beauty sponge to ensure the makeup is thoroughly combined and evenly distributed. Don’t tug, as this can damage the product underneath. A foundation with reflective pigments helps to cover fine lines and wrinkles, making the skin look radiant and healthy.

Step-By-Step Makeup Techniques
Achieving a balance between proper coverage and natural beauty is key when covering dark circles. The goal is to cover the blemish, but in a way that doesn’t make it obvious.
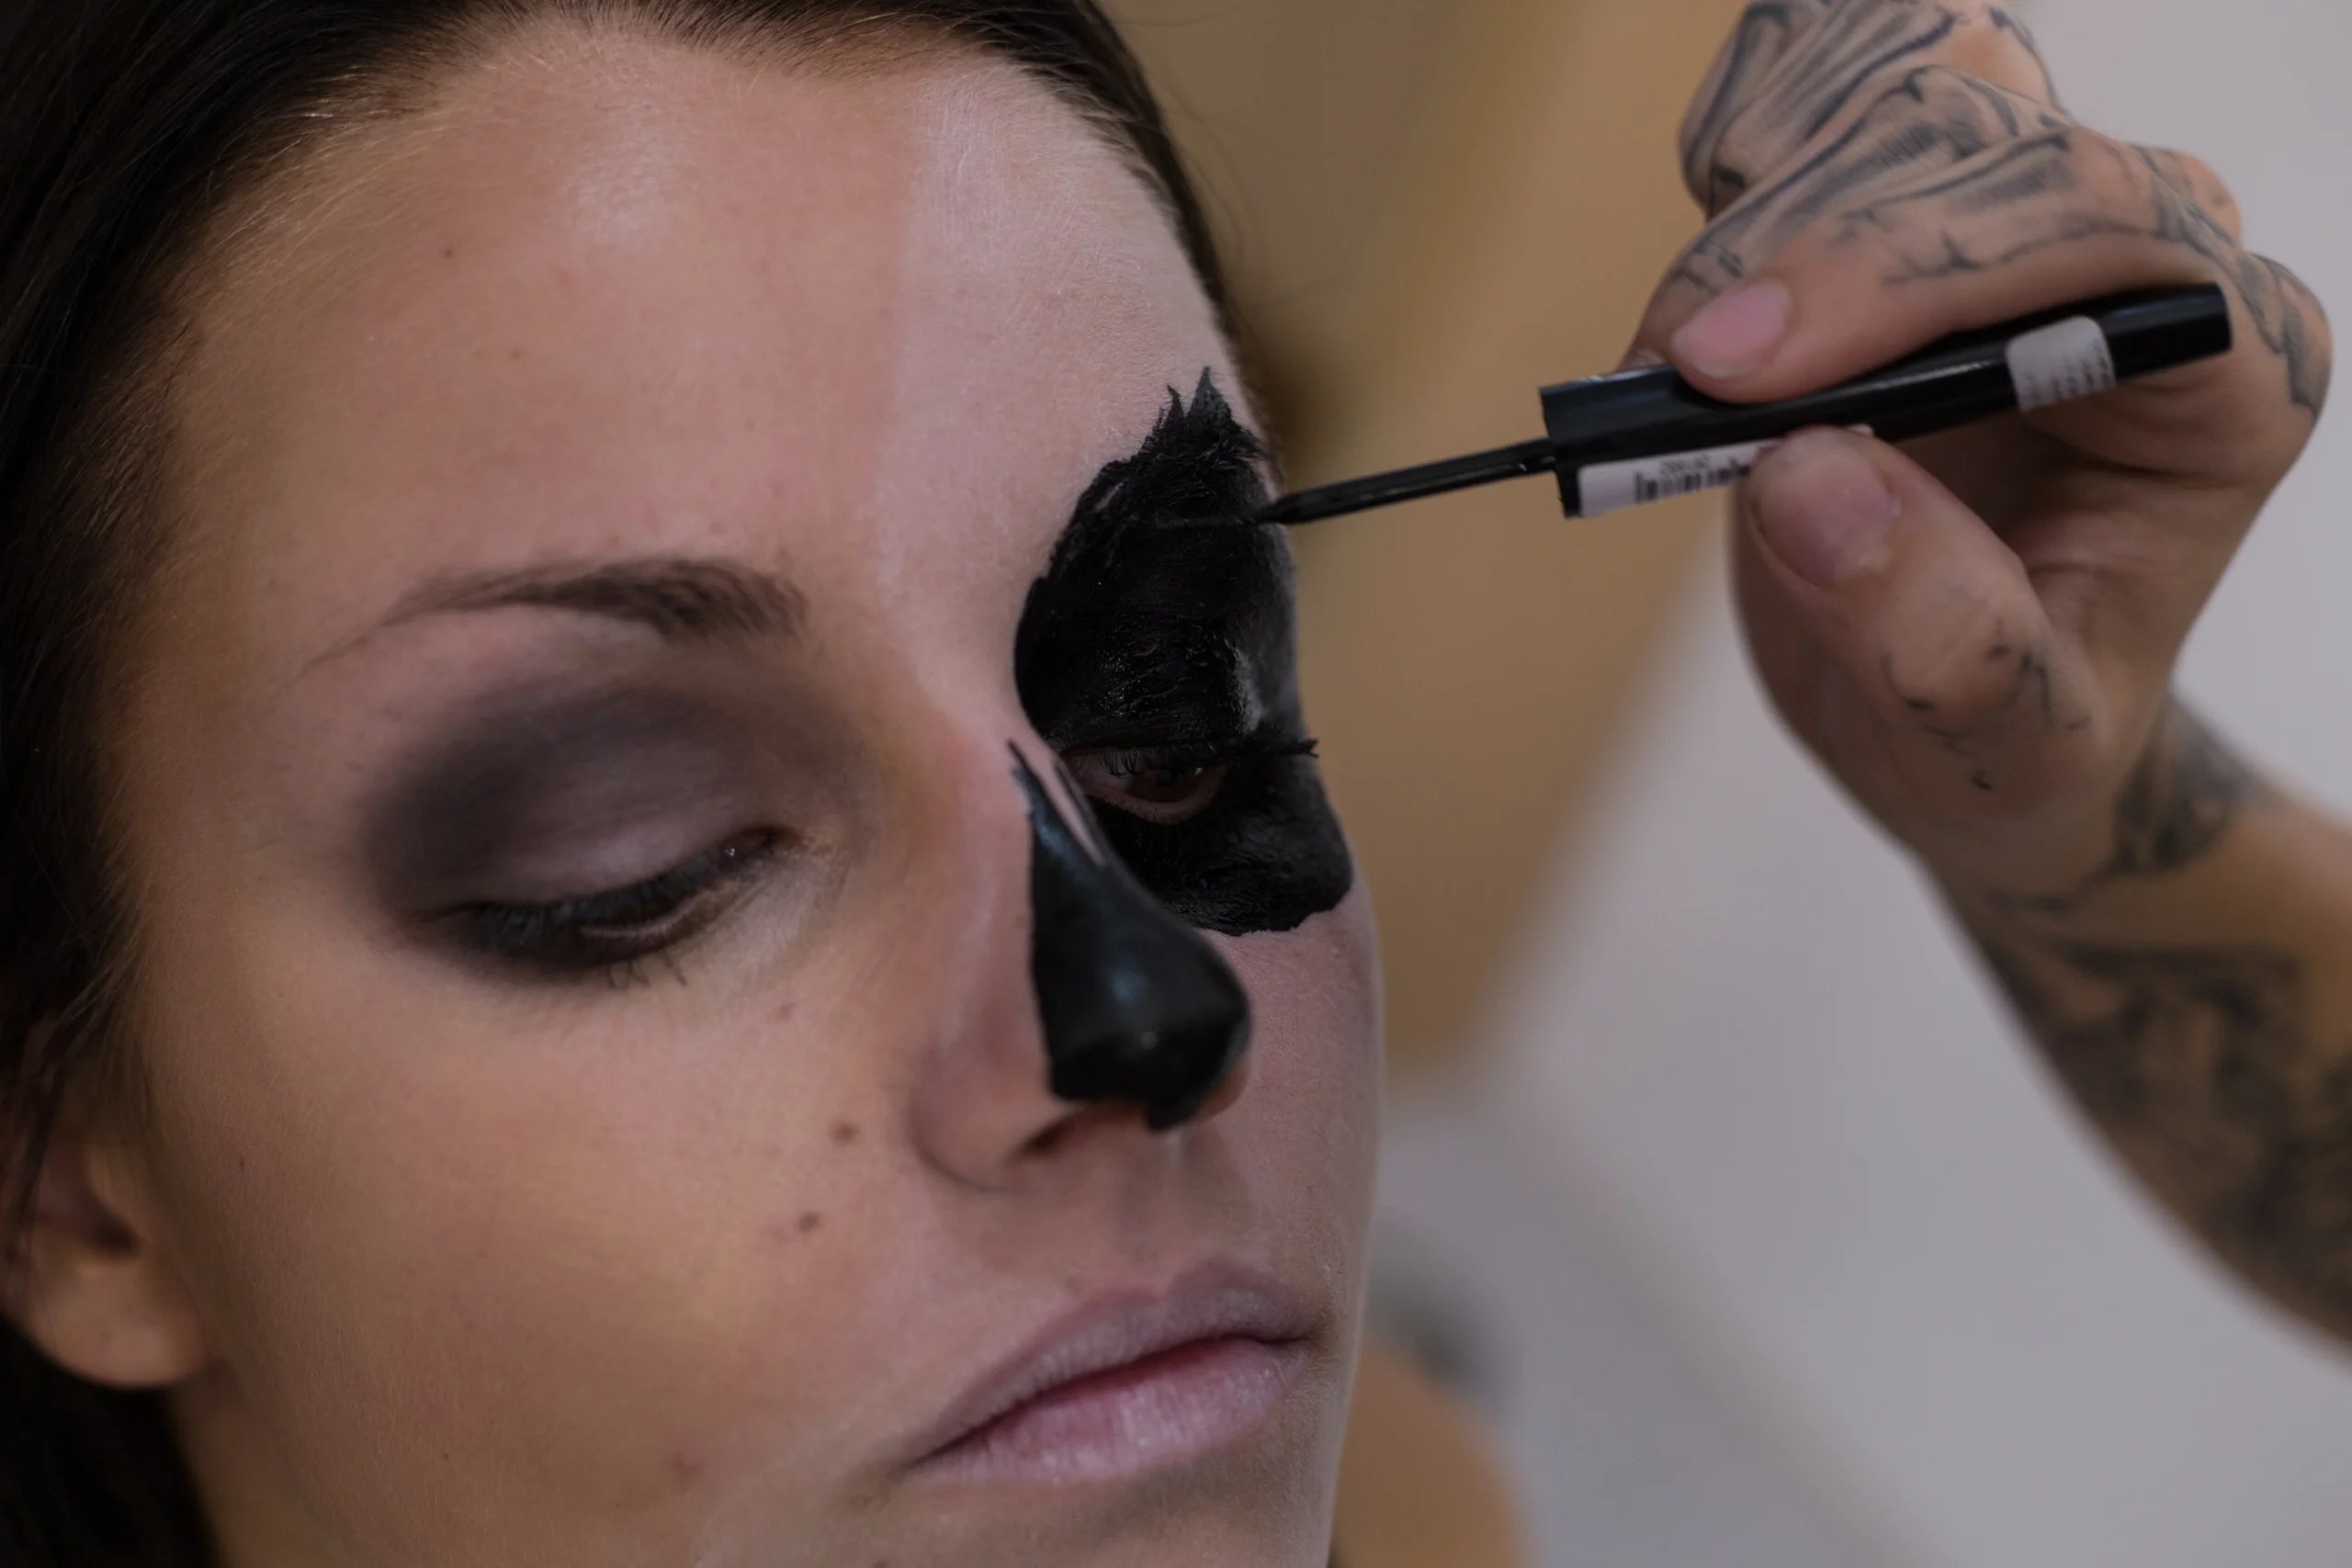
How To Apply Color Corrector Correctly
Start with color correction first. Please choose the right corrector according to the color of your blemishes and apply it gently with your fingertips or a brush. Don’t apply too much at once; build up the coverage gradually. Color correctors basically neutralize the color of blemishes; they don’t completely cover them-this is what concealer does later.
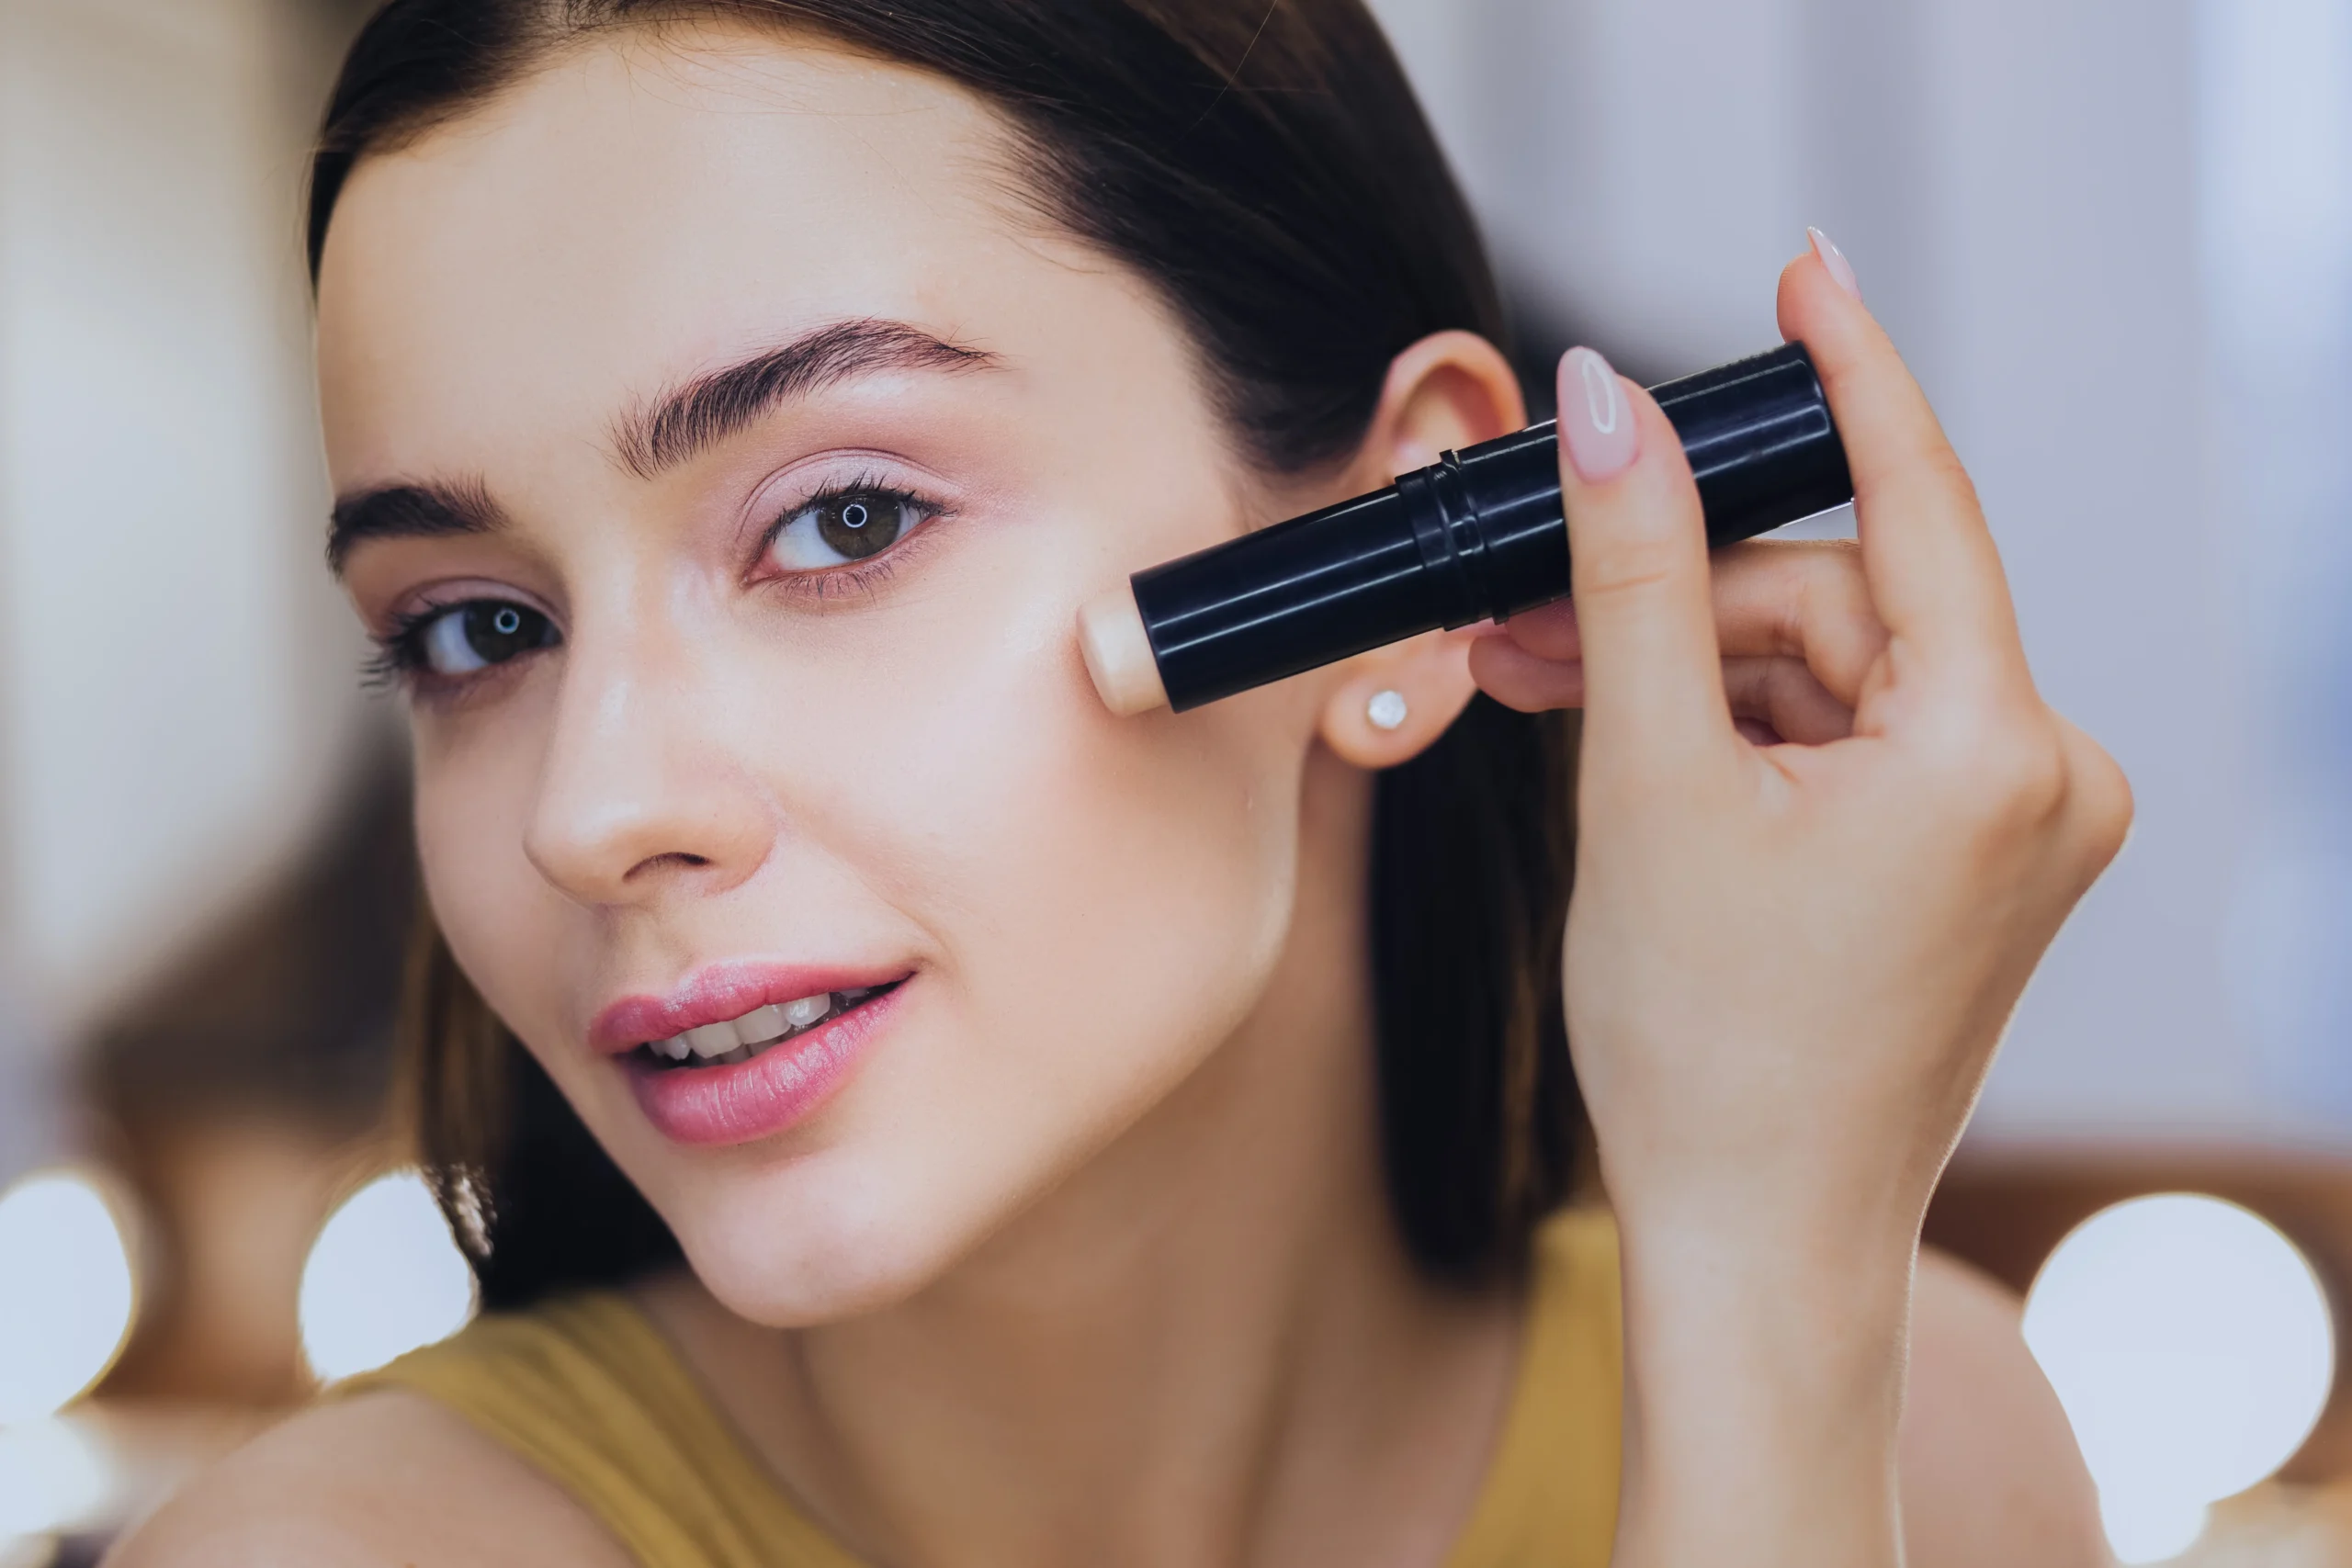
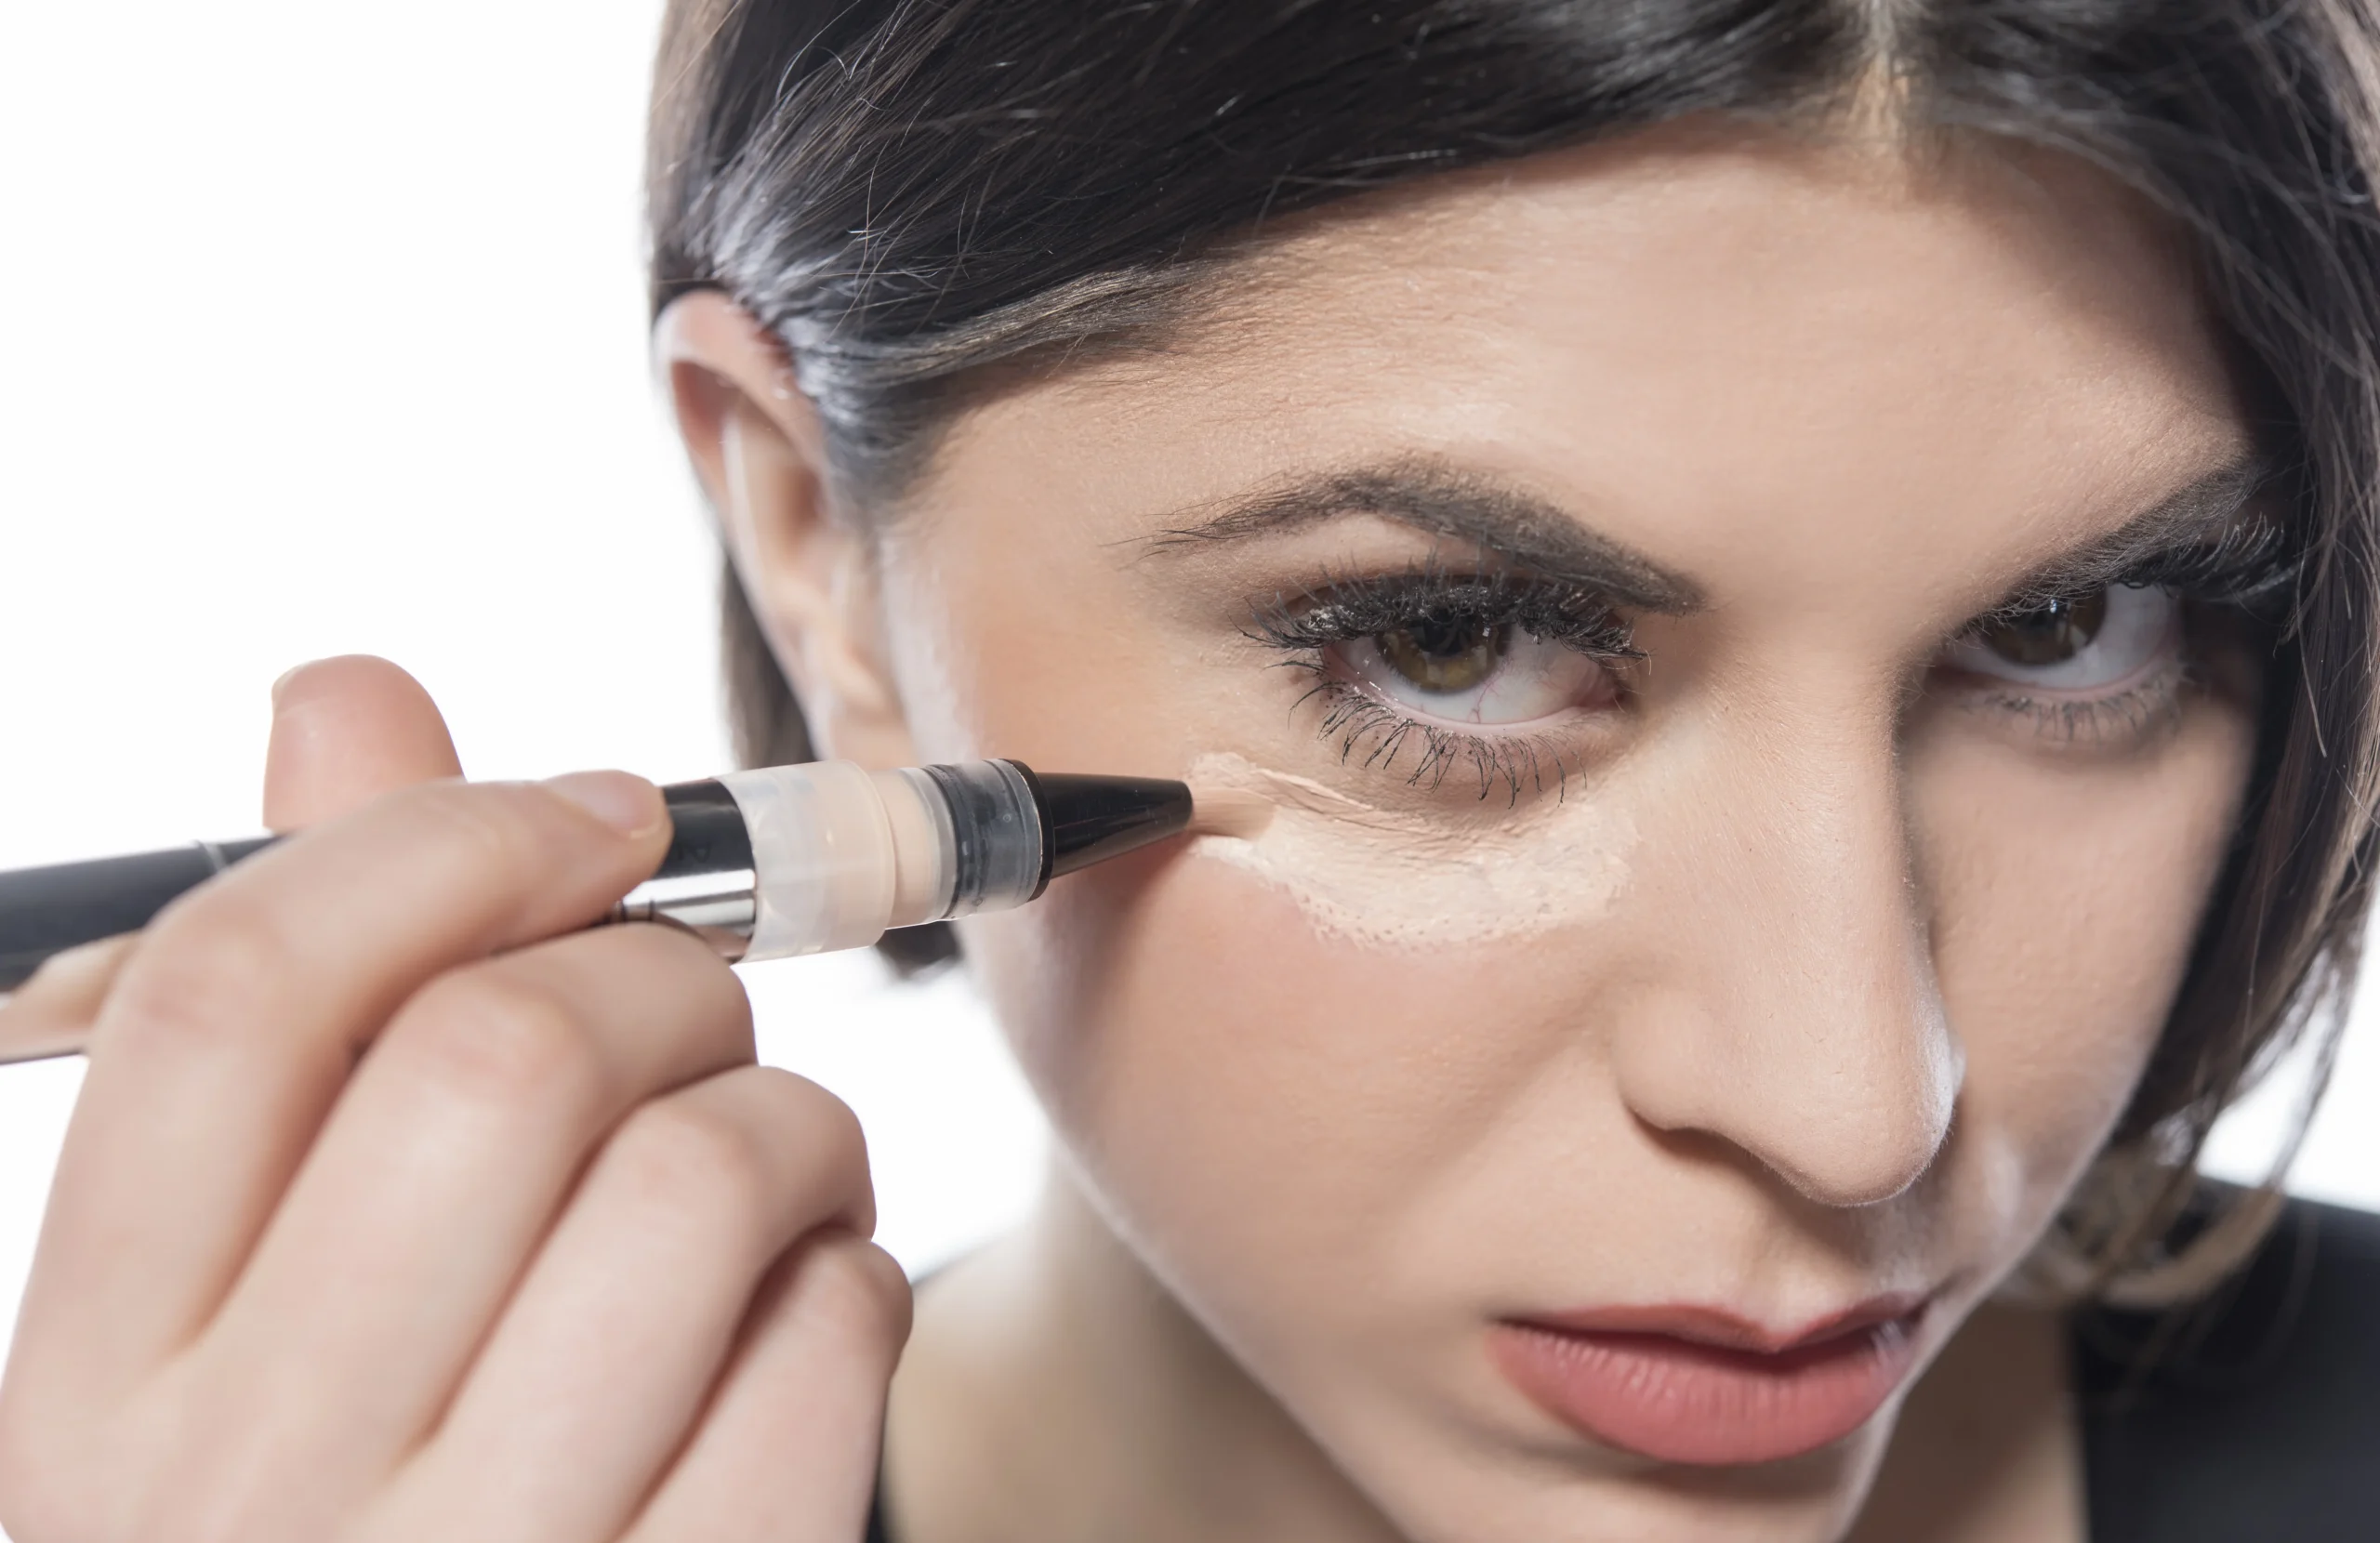
The Correct Technique For Blending Concealer
Once you’ve finished color correcting, apply concealer. Tap gently with your fingers, don’t rub. Blend the edges well so that the makeup looks natural and smooth. If necessary, mix the colors of the two concealers to achieve a match with your skin tone. Using a light setting spray between layers helps the makeup stick better and prevents it from creasing.
Setting The Base For Long-Lasting Coverage
Once the concealer has set, lightly apply translucent powder with a soft brush. This puts the makeup and controls creasing. Don’t press too hard; tapping gently will keep the coverage intact. Finish with a bit of brightening powder-it reflects light and reduces under-eye shadows.
Common Mistakes: How To Cover A Black Eye With Makeup
No matter how good the products you use, even a small mistake can ruin the beauty of your natural skin.
Using Etra Products Or Skipping Skincare Steps
Many people believe that using too much concealer can effectively cover blemishes. In reality, it makes blemishes more visible and gives the skin a heavy, cakey appearance. Proper skin care and light layering always give good results. Each step plays a distinct role: hydration, color correction, concealing, and setting. Maintaining this balance will provide you with perfect and natural coverage.
Choosing The Wrong Shade Or Texture
Using the wrong tone or texture will only make imperfections more noticeable, rather than covering them up. Always test the product in natural light and match it to your overall skin tone. Creamy formulas are best for the delicate skin under the eyes, as they set easily and don’t crack.
Tips To Make Dark Eye Makeup Last All Day
If you want your makeup to last all day, the secret lies in the right finishing touches.
Setting Spray, Powder, And Touch-Up Tips
After finishing your makeup, use a long-wear setting spray to lock in the look. Keep a concealer pen or compact powder with you throughout the day for quick touch-ups. Avoid touching or rubbing your eye area, as this can ruin the base and reveal blemishes. Use light tapping movements when touching up if necessary.
Removing Makeup But Protecting The Skin
Removing makeup incorrectly can ruin your healing process. Just as makeup is applied with care, it needs to be removed with the same care.
Gentle Cleansing Method For Sensitive Skin
Use micellar water or cleansing balm to remove makeup. It dissolves makeup without rubbing. Apply lightly with a soft cotton pad and wait a few seconds, then gently wipe away. Rinse with cold water and finally apply a soothing cream or aloe vera gel. This will soothe the skin and maintain its elasticity.
Discover More Articles On Makeup And Beauty Here
Final Thoughts: How To Cover A Black Eye With Makeup
Using makeup to cover up dark circles isn’t just about hiding blemishes-it’s a confidence-building process that allows you to show off your best self, even while your skin is healing. The process requires gentleness, patience, and a good understanding of color correction. With the right products and proper layering, you can achieve a flawless, natural look that blends seamlessly with your skin.
When covering dark circles, focus on skin preparation first. Makeup applies more easily and lasts longer on moist skin. Using a color corrector correctly can help remove unwanted undertones before applying concealer. Light blending at each step and spraying at the end will maintain your coverage throughout the day.
Remember, the goal is not heavy coverage-it’s believable coverage. Each layer should enhance your natural beauty, not hide it. Whether you’re heading to the office, an event, or going out, knowing how to cover up dark circles will help you look fresh and clean with confidence. At the same time, the skin underneath will slowly heal.
Ultimately, confidence is your most beautiful ornament. And when it’s paired with a skilled makeup artist, even the toughest blemishes fade away. Embrace the process, trust your tools, and let your radiant beauty shine through every step of the healing process.