A makeup color correction guide isn’t just a beauty trend-it’s an essential makeup technique that transforms uneven skin into radiant, flawless skin. Suppose you suffer from redness, dark circles, dullness, or pigmentation. In that case, color correction can transform your base makeup from ordinary to an airbrushed finish.
This in-depth guide covers everything from identifying your skin concerns to which corrector shade to choose and how to layer products for a professional look. With the proper techniques, tools, and knowledge, color correction will become a natural part of your routine. You’ll also learn how techniques differ for different skin tones, which formulas work best, and what common mistakes to avoid. Let’s begin your journey to the complexion.
Understanding Makeup Color Correction
Color correction is a technique that removes unwanted skin tones using colors. It covers and creates an even base before applying foundation or concealer. Using a corrector correctly will significantly enhance your makeup level and reduce the need for heavy coverage.
The Scientific Explanation of Color Correction
Color correction works on the principle of complementary colors. Colors on opposite sides of the color cancel each other out. For example, green neutralizes red, orange covers purple tones, and lavender or purple helps reduce yellow tones. You can cover skin problems using these color pairs without foundation or concealer.
The Importance of Color Correction In Makeup
Regular concealers often fail to cover stubborn discoloration. This is where color correction comes in-it works on the underlying tone of the skin problem, not the outer layer. It improves the finish of makeup, prevents cakeiness, and ensures a natural and smooth look.
Professional makeup artists use this technique because it turns the skin into a perfect canvas before makeup begins.
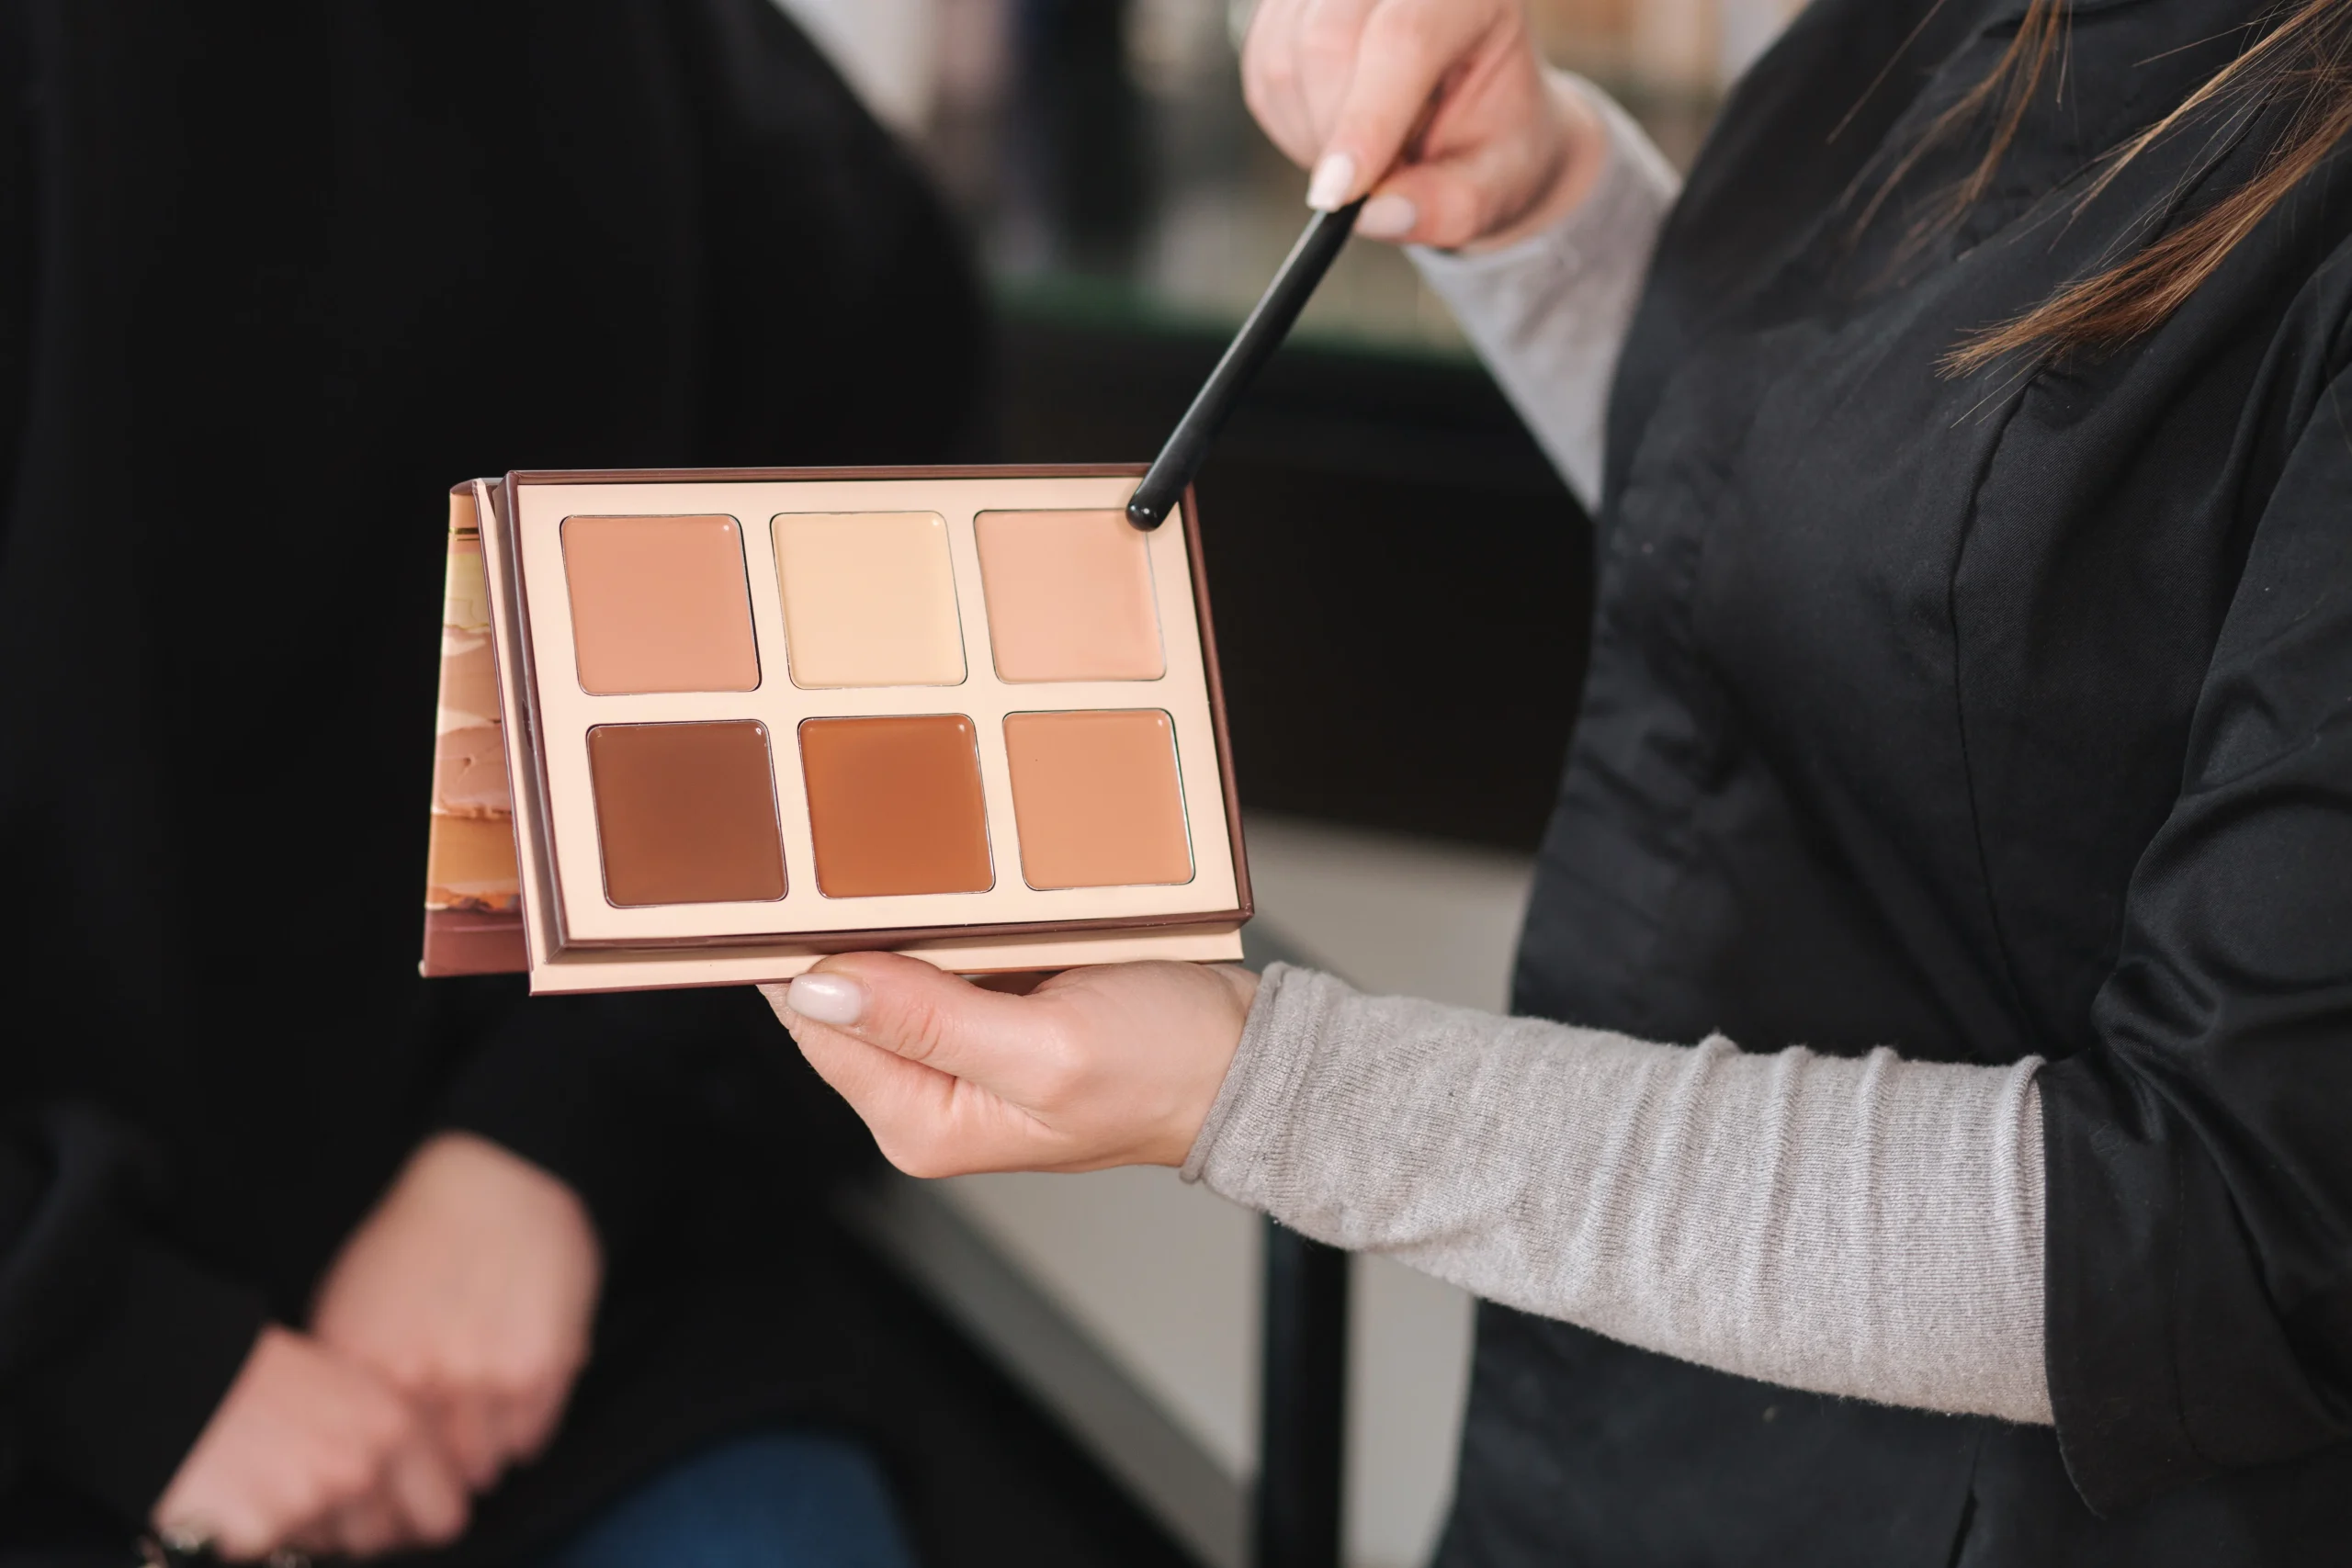
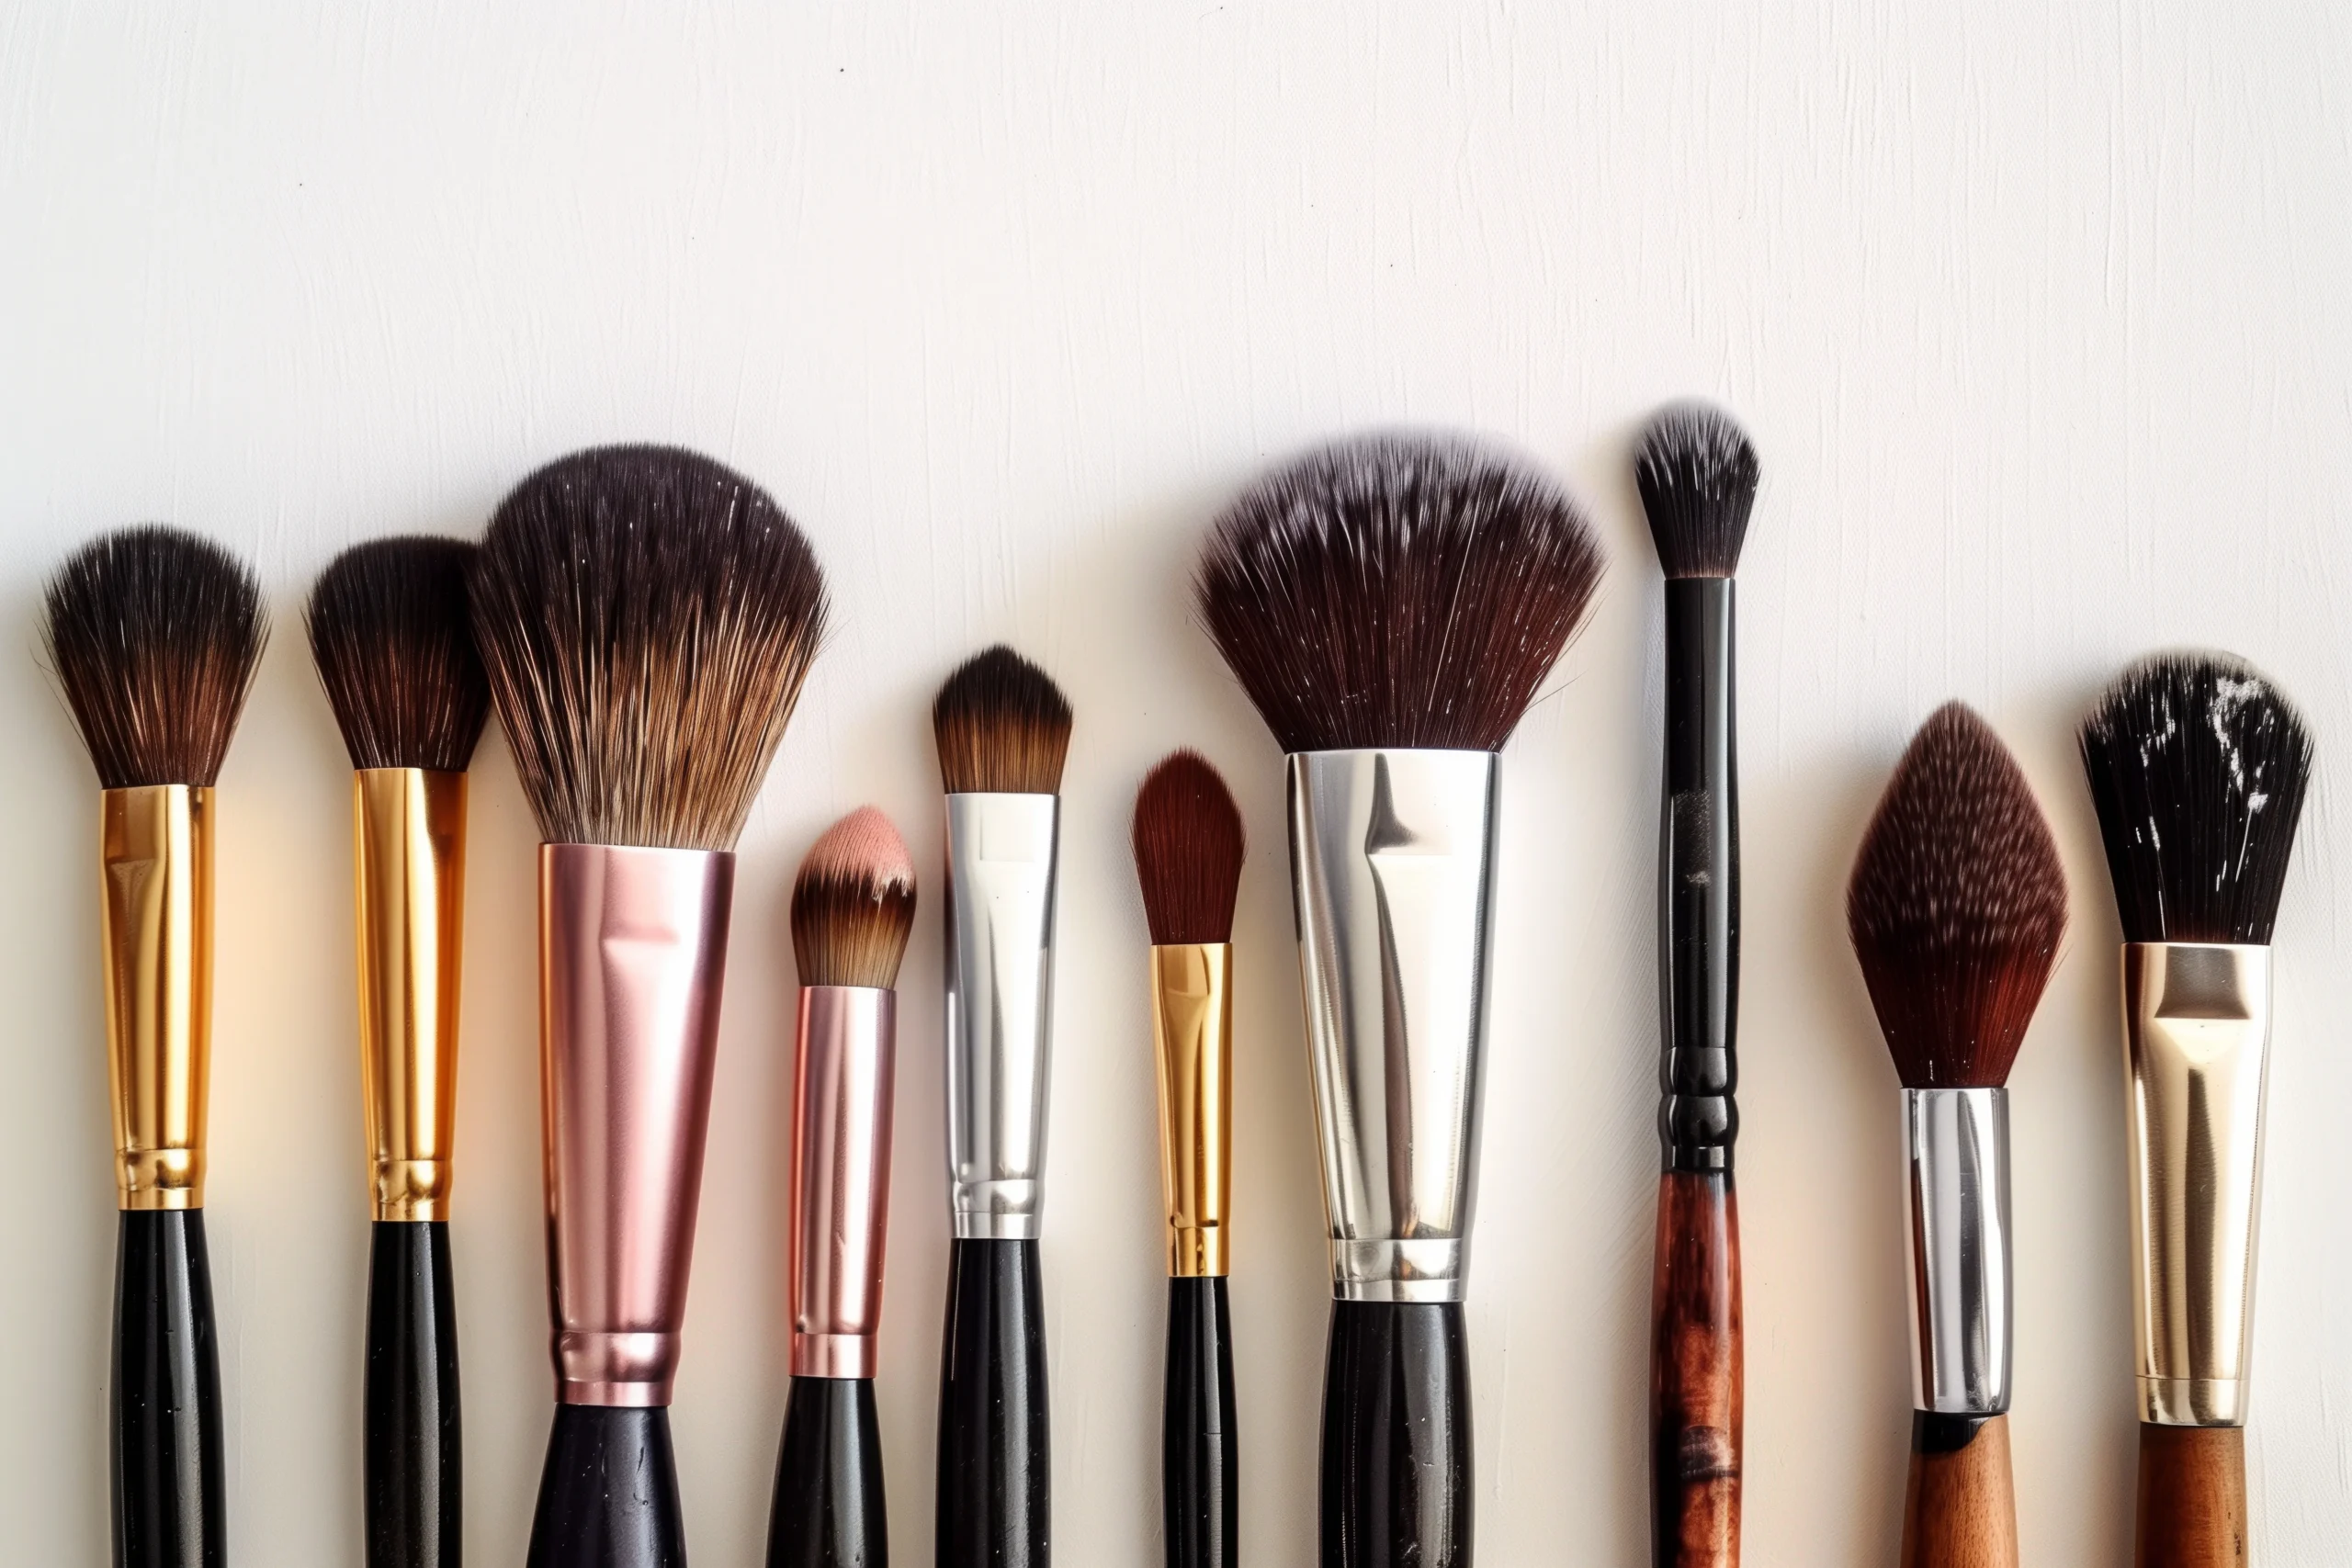
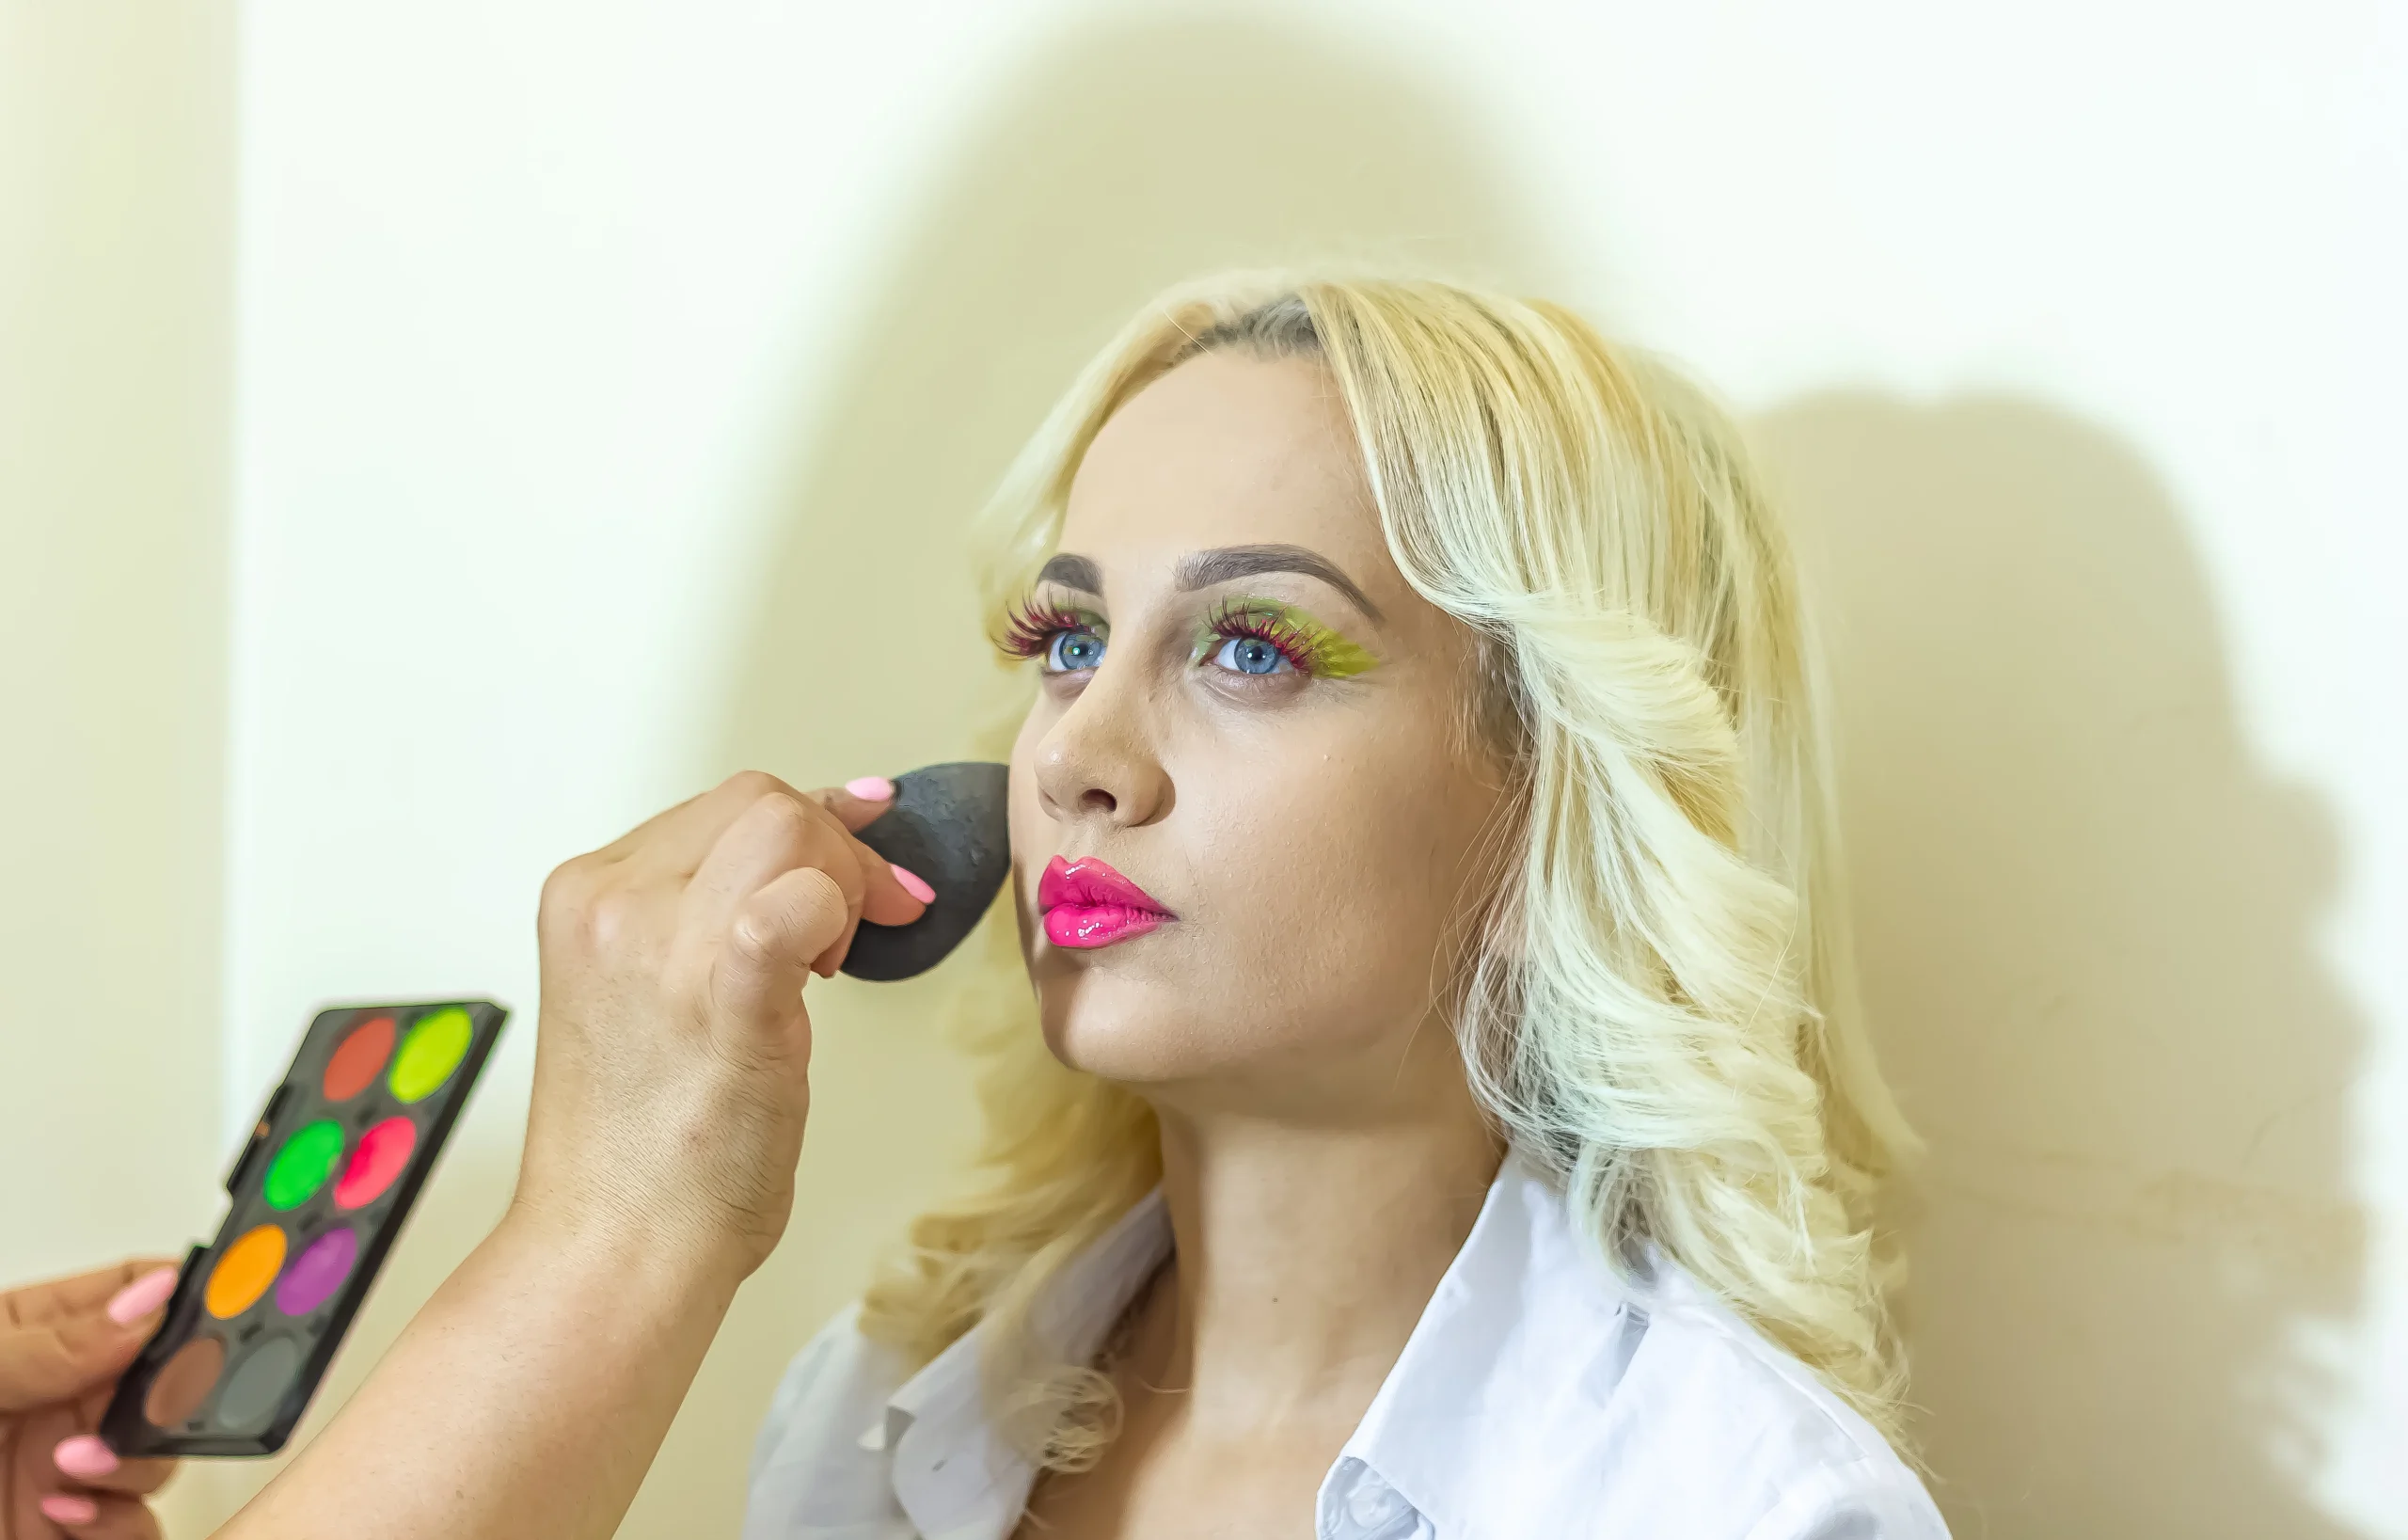
Main Products Used IN Color Correction
Color correctors come in various forms: cream, liquid, stick, or palette.
- Cream formulas are for dry skin because they are easily absorbed.
- Liquid correctors are easy to layer, especially on oily or textured skin.
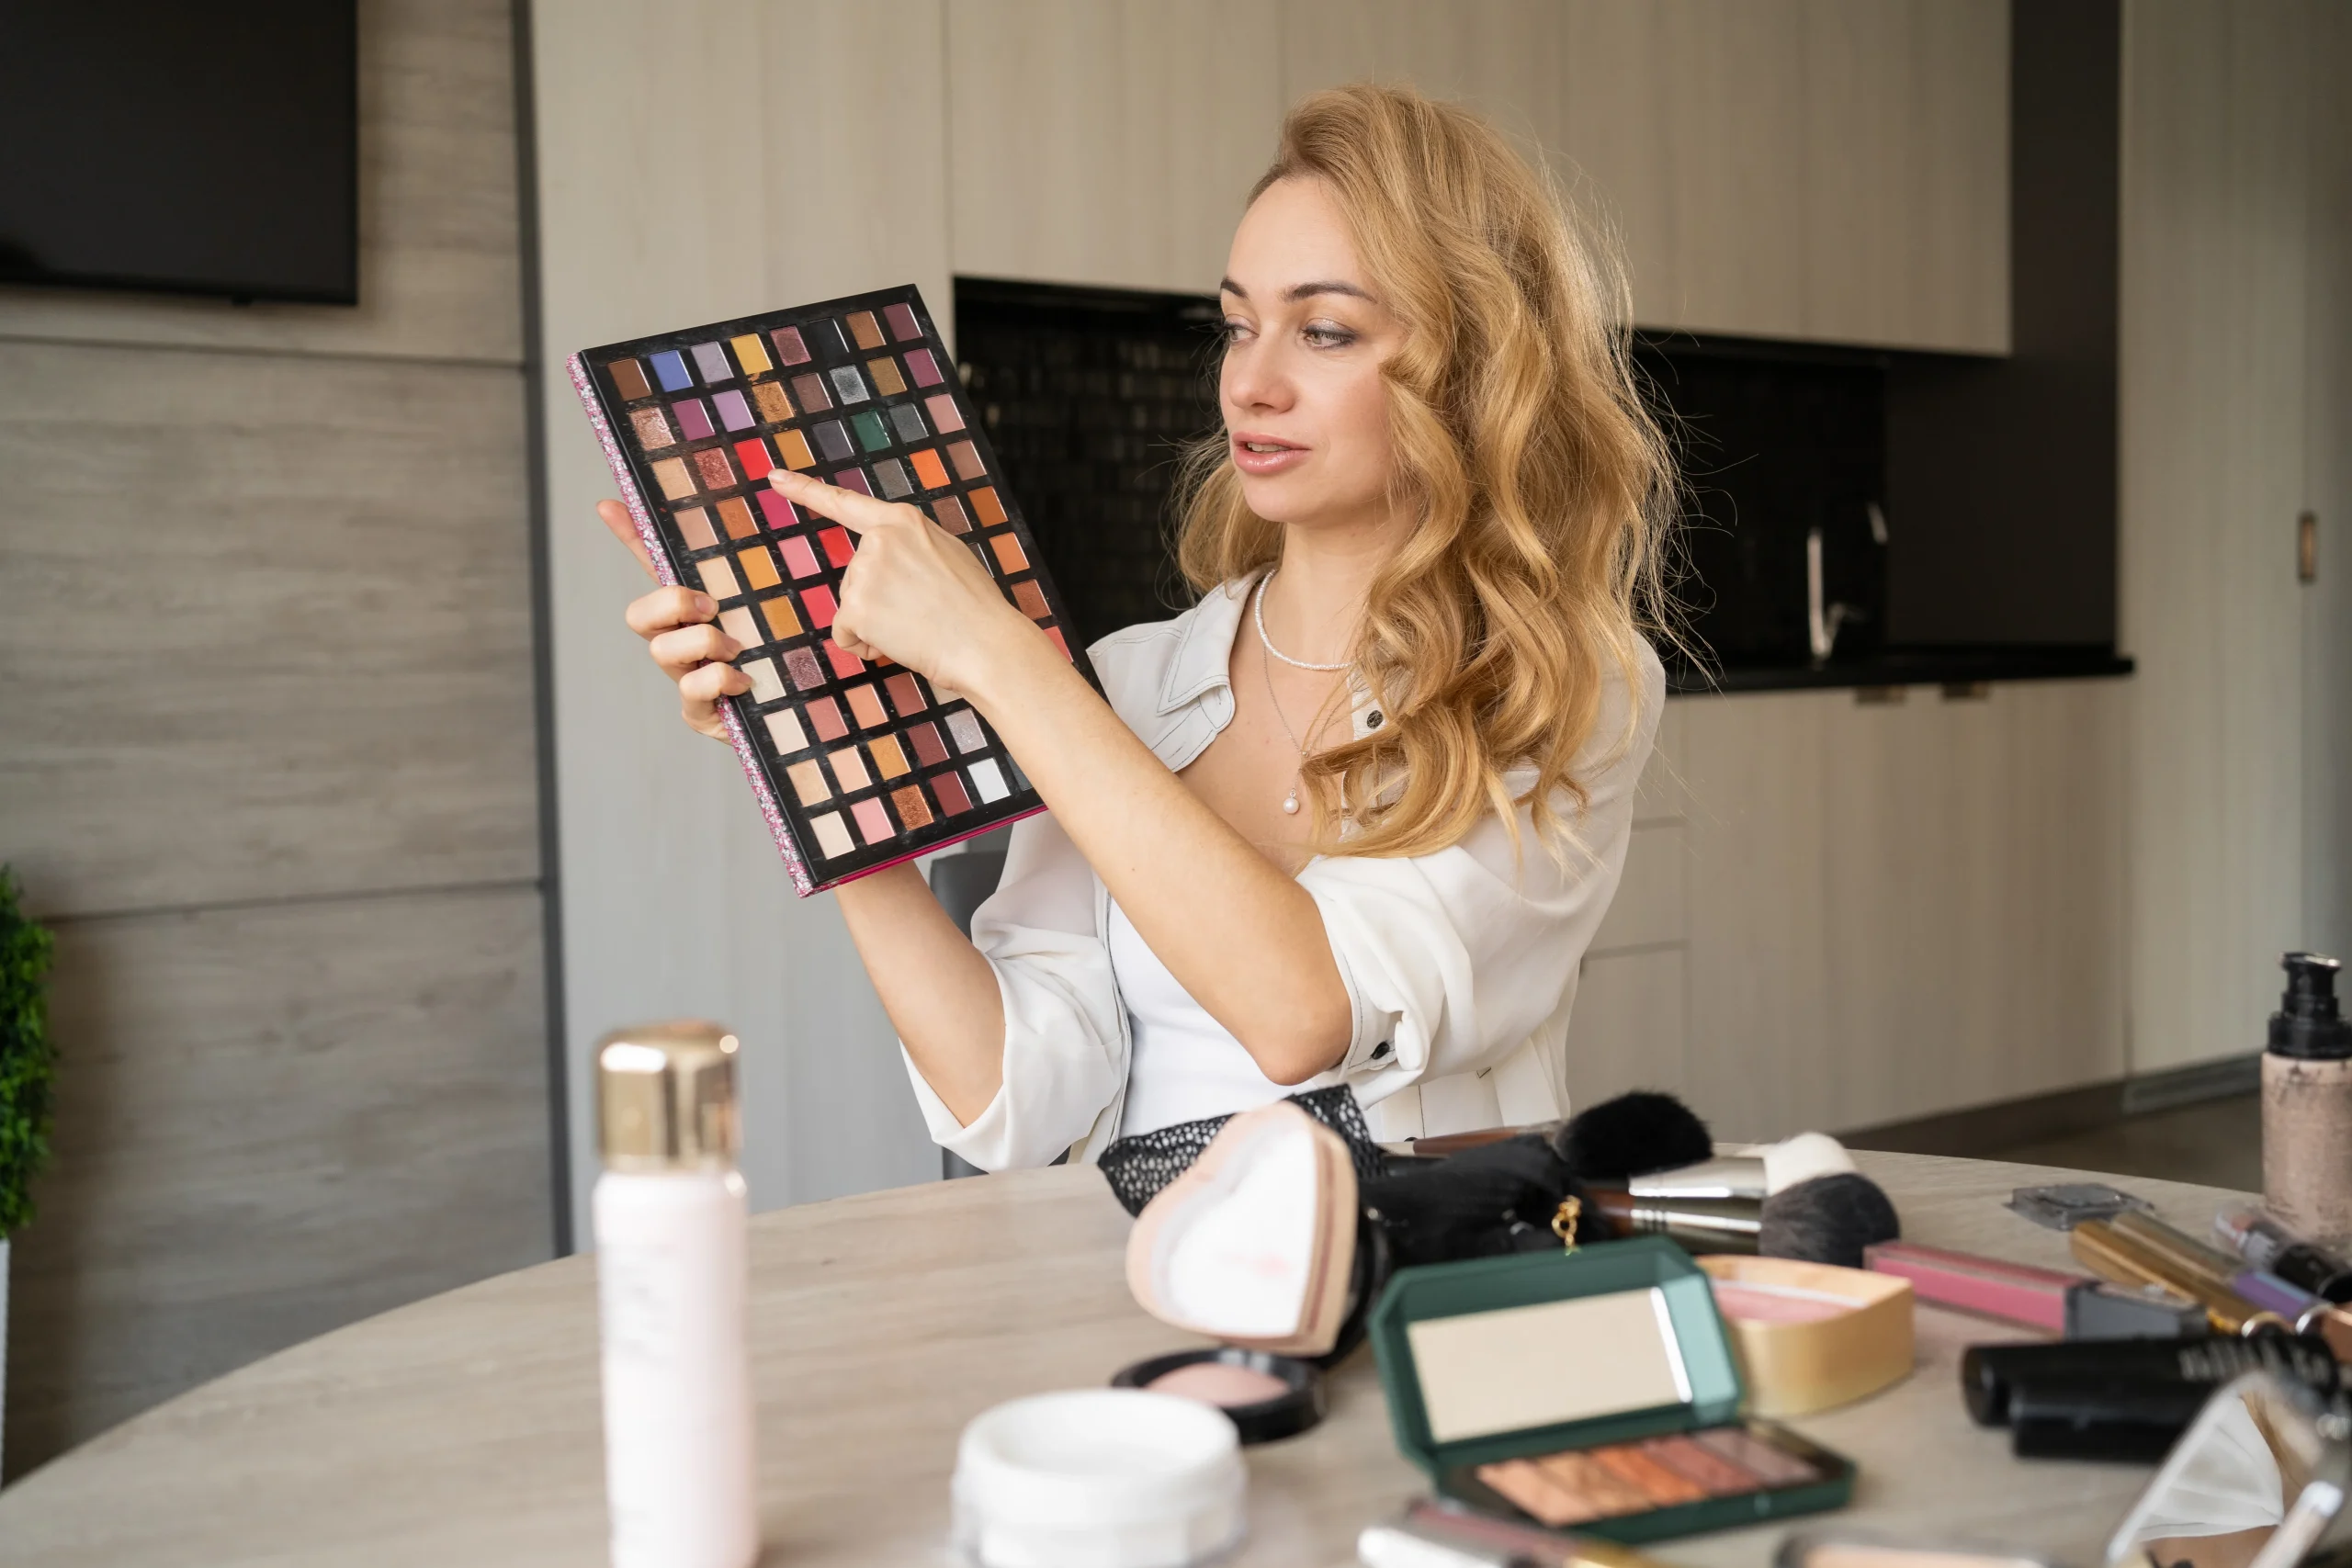
- Palette forms usually come in multiple shades, which can help address different skin concerns.
Choosing the right formula depends on your skin type and preferred makeup technique.
Identifying Your Skin Problems
Before choosing the right color corrector, it’s crucial to analyze your skin’s specific needs. Different skin concerns require different shades and formulas. You can make particular corrections by identifying the problem correctly, making your entire makeup routine more effective.
Redness and Rosacea
A green corrector will be your best friend if you suffer from red skin due to acne, rosacea, or general skin irritation. Green is the opposite of red on the color wheel, so it’s great for cooling down flushed areas around your nose, cheeks, and acne.
Dark Circles and Pigmentation
Dark circles usually have bluish or purple undertones, especially on fair skin. Peach and orange correctors neutralize these shadows. The darker your skin tone, the darker the orange, the better it will cover the darkness. Even in the case of hyperpigmentation, you can use targeted correction to spot treat specific areas, without using additional concealer.
Dullness and Uneven Skin Tone
If your skin looks tired, grey, or yellow, a lavender or purple corrector will brighten it and bring life to your complexion. These tones are great for use on the forehead, chin, or dull areas. Adding a touch of lavender under your foundation will instantly give you a glowing effect.
Choosing The Right Color Corrector
The key to successful concealer use is choosing the right shade. You must select the shade according to your skin concerns and tone. The guide below will help you easily find the right concealer and brighten your skin tone.
Green Corrector for Redness
Green concealer is a godsend for covering up red tones. If you’re struggling with acne, inflammation, or rosacea, a green corrector neutralizes redness and creates a calming canvas. Apply thinly to problem areas, blend with a light hand, and apply foundation.
Peach and Orange Corrector for Dark Circles
Peach correctors work great for light to medium skin tones to cover up blue under-eye circles. Orange shades are more effective for medium to deep skin tones. These warm colors eliminate darkness and prepare the under-eye area for concealer, preventing the grayness that can sometimes appear when using the wrong corrector.
Purple and Lavender Corrector for Radiance
The purple corrector will bring back radiance if your skin lacks or looks dull. Apply lavender lightly to the forehead, T-zone, or cheeks. This subtle glow adds dimension to the skin and eliminates yellow tones. Be sure to blend well for a soft, luminous finish.
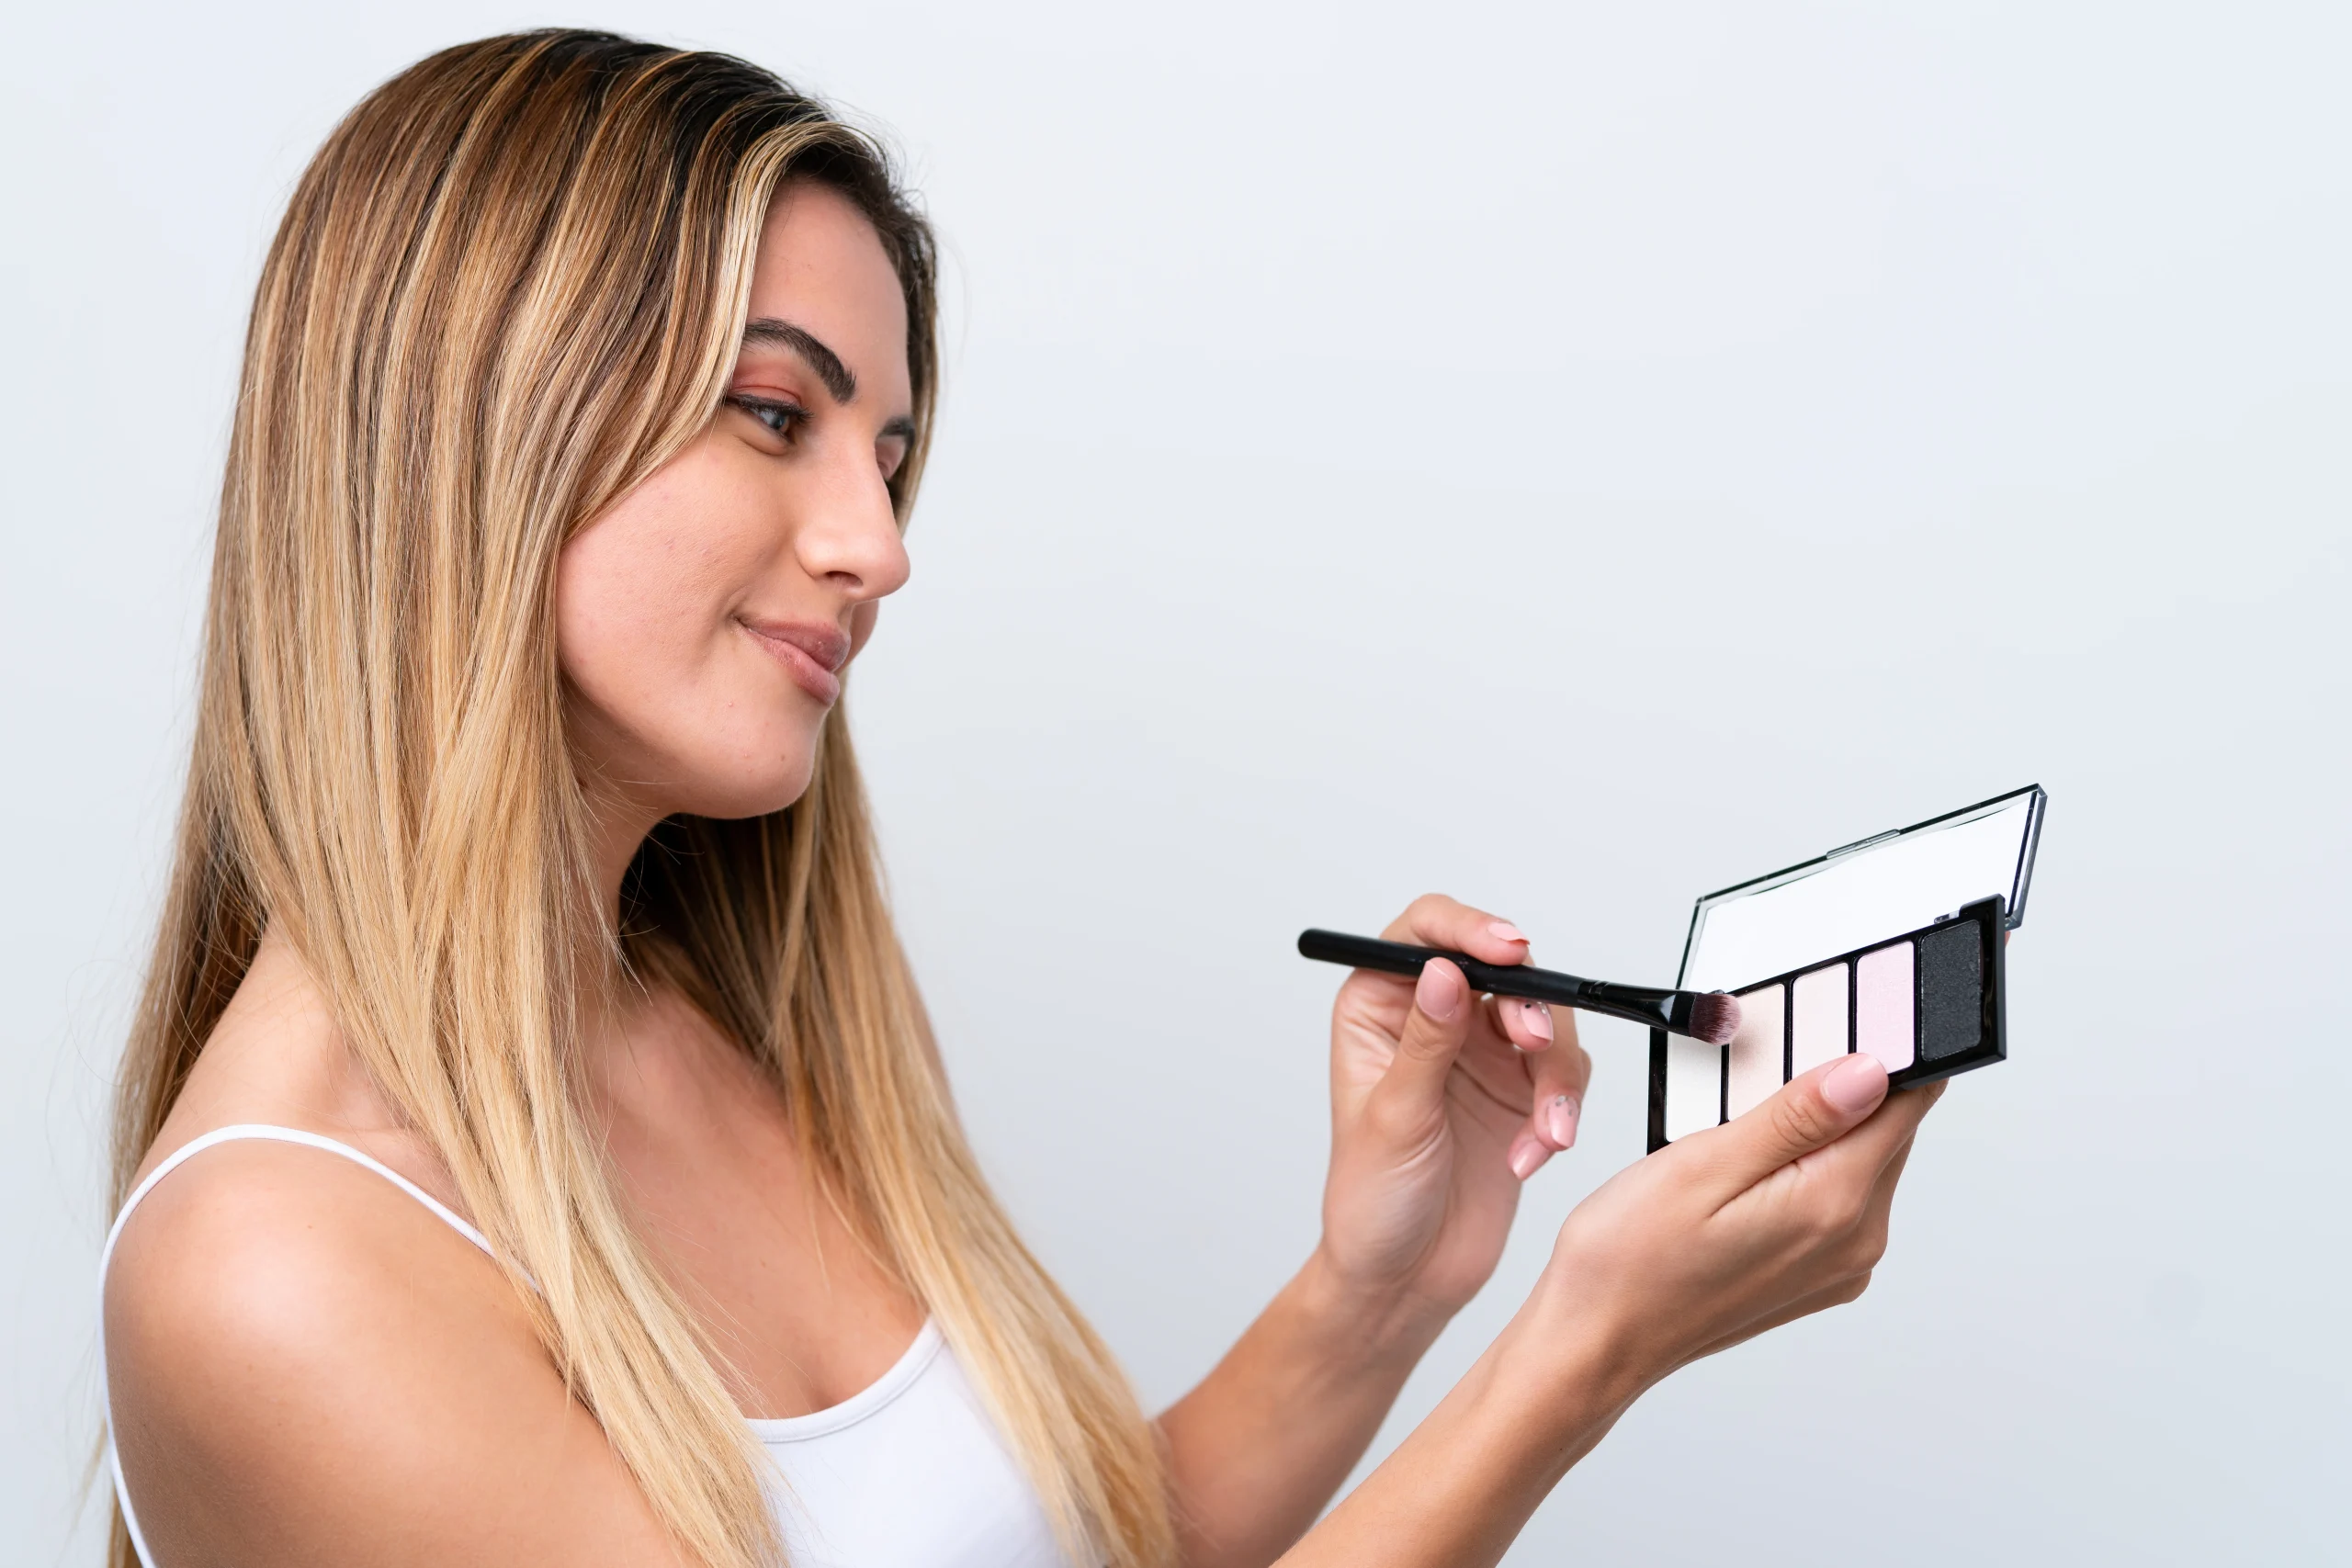
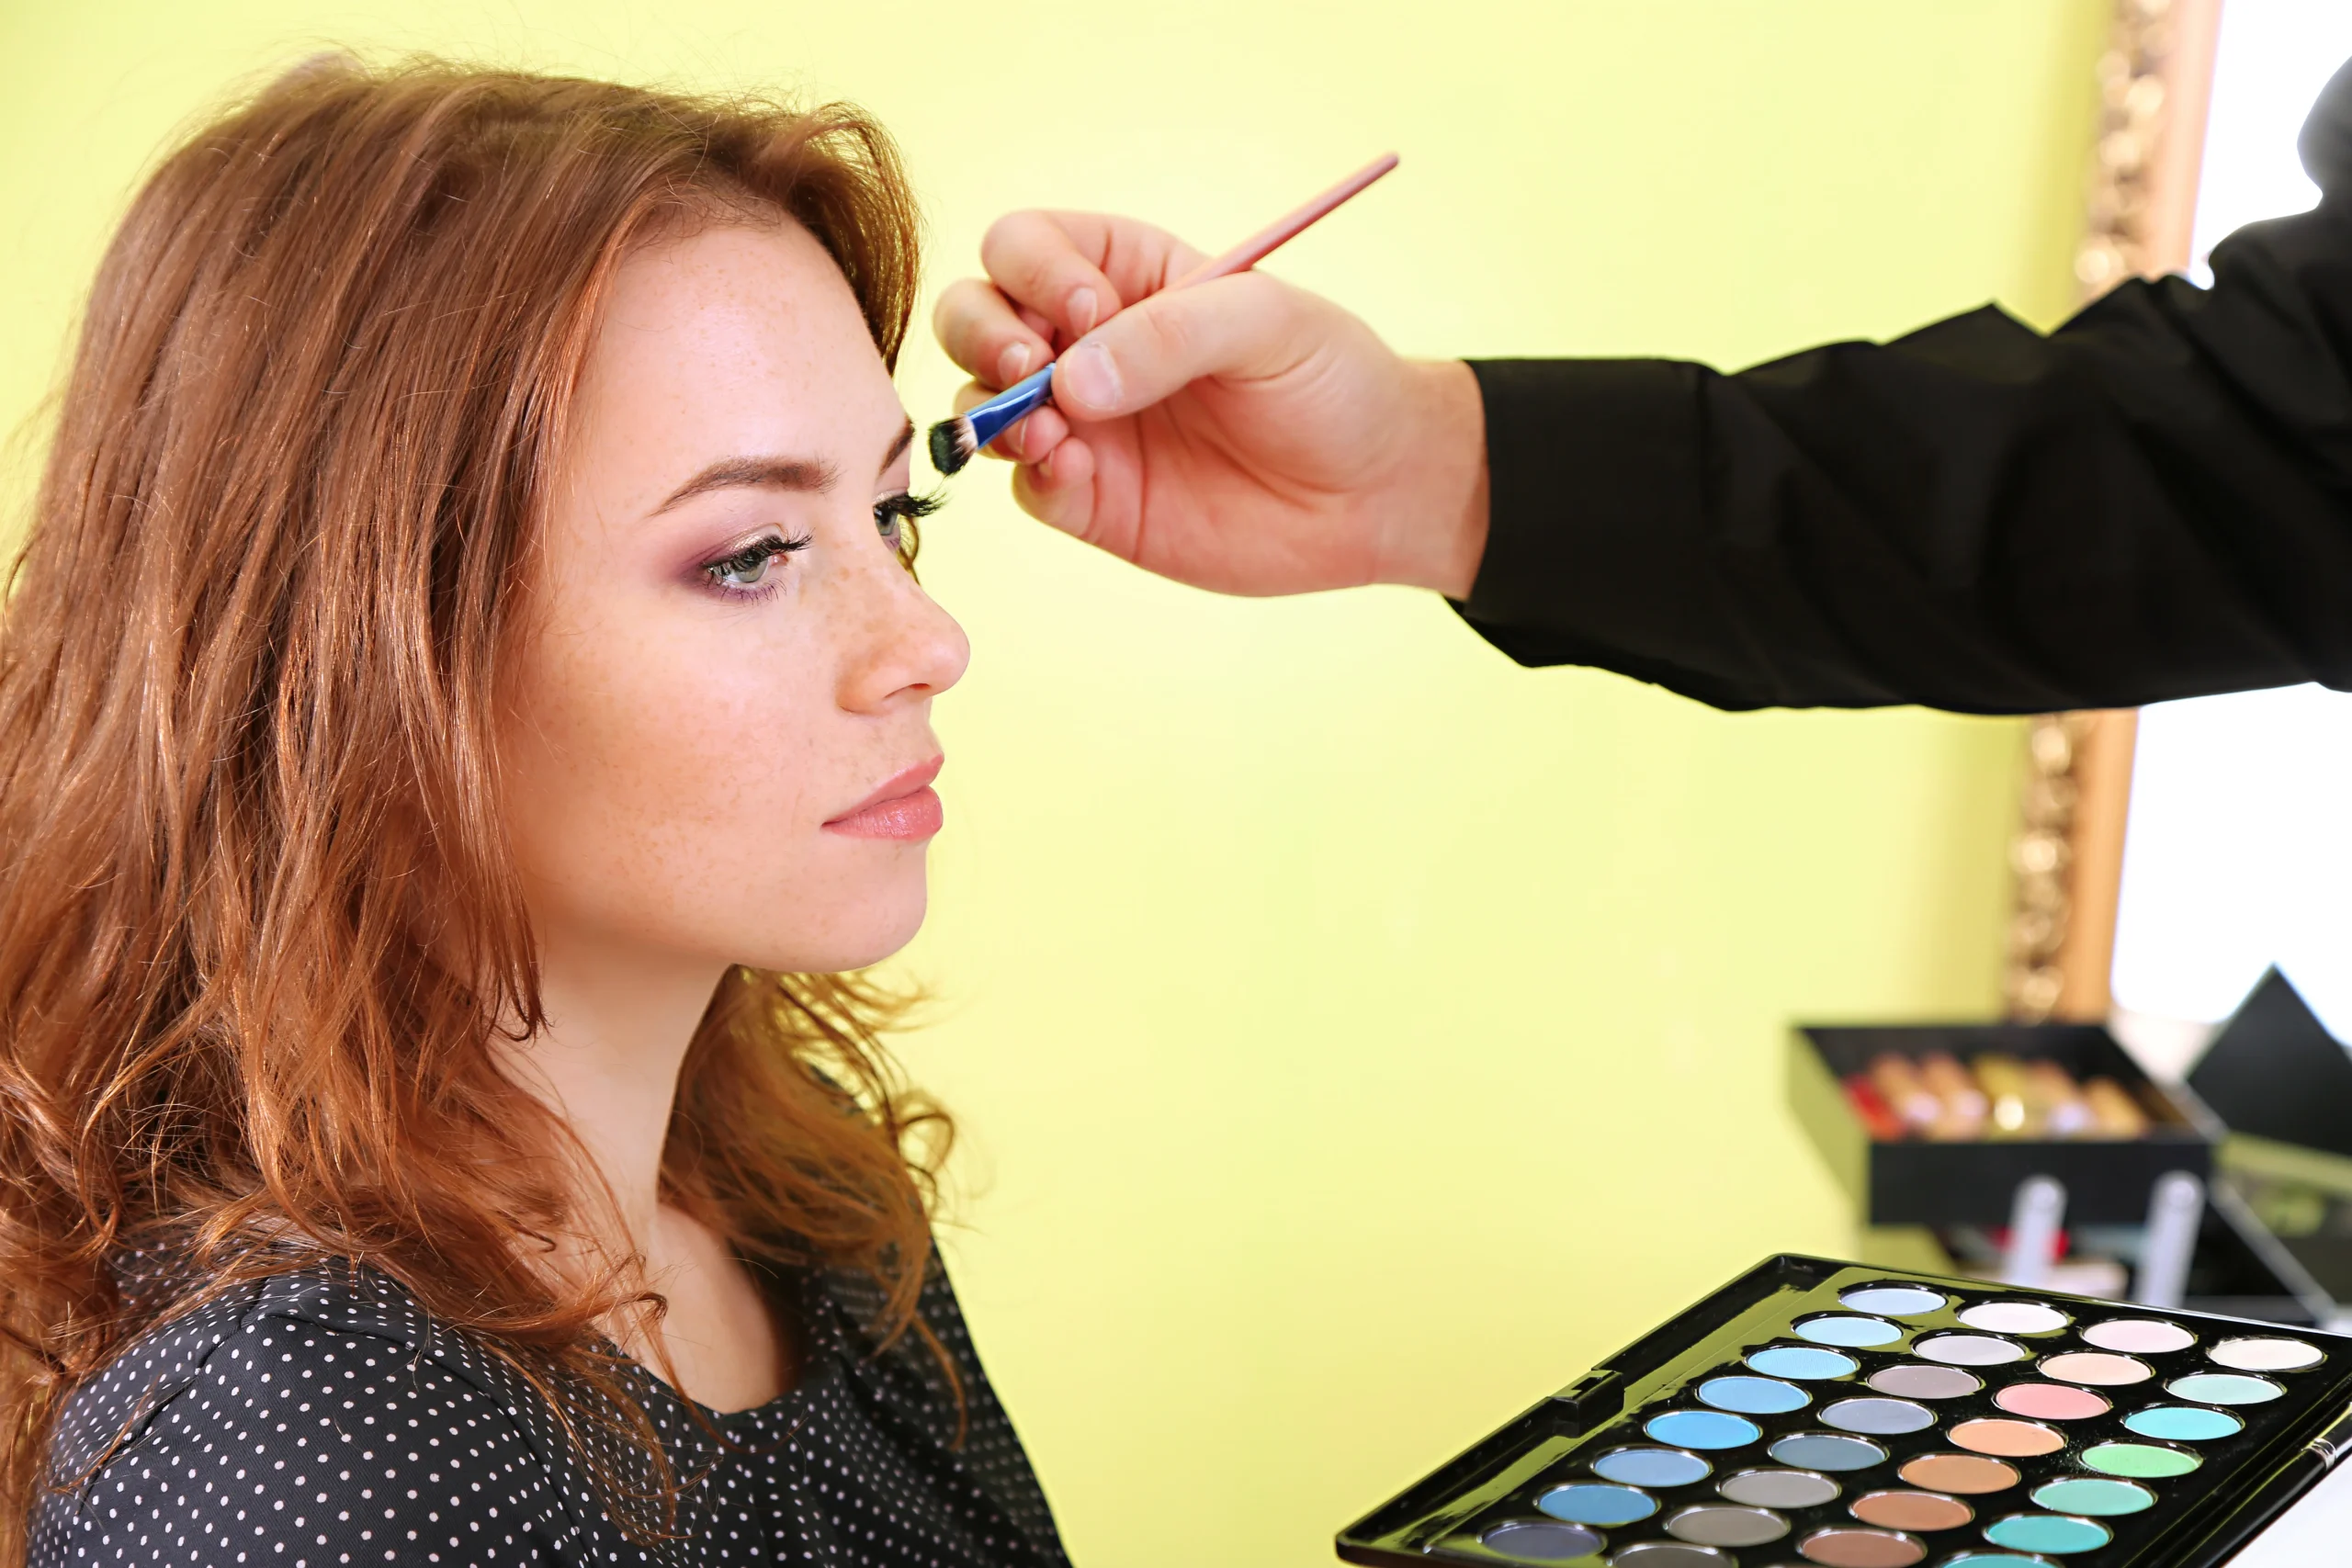
How to Apply Color Corrector Like a Professional
A makeup color correction guide is only practical when you follow the correct application technique. Using a color corrector isn’t about slathering on the products-it’s about applying it in the right places, blending it strategically, and layering it with the right products. Below, see how you can perfectly apply color correction to support your makeup routine.
Preparing The Skin Before Correction
Start with clean and well-moisturized skin. Hydration ensures that makeup will glide on easily and concealer will blend well. Use a light, oil-free moisturizer according to your skin type.
If you have large pores or texture on your skin, use a primer that smooths the skin’s surface and helps products adhere better. Many makeup artists recommend using a pore-filling primer around the nose and cheeks, especially if you want to correct redness.
Hydrating eye cream on the under-eye area reduces dryness and creasing. If you don’t prep your skin correctly, your correction won’t last long, and your makeup will also come off.
Layering The Product But Not Cakey
It’s common to see people do it, which is one of the biggest mistakes—a thin layer to neutralize discoloration. More product doesn’t mean more coverage; it makes the skin cakey and causes the concealer to peel under the foundation or creases.
Use your fingers, a damp sponge, or a brush to lightly pat the concealer onto your skin. Then, allow it to set before applying foundation. When layering your base products, use a pressing or stippling motion to ensure the concealer doesn’t budge.
Blending Techniques for Seamless Results
Proper blending makes all the difference. Press the concealer on-don’t rub it. A damp beauty sponge helps the product blend into the skin and prevents streaks. Using a synthetic-bristle brush on the under-eye area helps with precise application and coverage.
Ensure no sharp lines between the corrector and your natural skin tone when blending. You want a smooth transition between the corrected area and your natural skin. Once blended, use a light foundation or concealer to even out your entire face.
Common Mistakes to Avoid
Even with the best products, color correction can go wrong without the proper technique. This makeup color correction guide highlights some of the biggest mistakes that beginners and experts sometimes make. Avoiding the following errors will help you achieve flawless, long-lasting results.
Applying Additional Correctors
Many people think that using more products will result in better corrections. But the reality is that excess product makes the skin look artificial and cakey. A thin layer is enough; you can layer it up if necessary.
Excess product can accumulate in fine lines, especially around the eyes and lips, where the skin is thinner. Instead of covering up the problem, it can make it more visible. Always start small and increase gradually if necessary.
Using The Wrong Shade
Another big mistake is using the wrong color corrector. For example, using green under your eyes won’t reduce dark circles; instead, it can make you look sick. Similarly, orange on fair skin can look too harsh and make it challenging to cover.
To avoid this problem, matching the corrector to the situation and your skin tone is essential. Peach or mint green suits fair skin, while dark orange or rich red shades work well for deep skin tones.
Not Using Setting Products
The correction will be in vain if you can’t set your concealer. Many people forget to use setting powder, which can cause the product to move or fade throughout the day.
After applying the corrector over the foundation or concealer, set everything with a fine-grained setting powder. Mattifying powders are good for oily skin, while translucent powders have a soft-focus effect. Use a setting spray to blend all the layers for a flawless finish.
Makeup Color Correction Guide for Different Skin Tones
A high-quality makeup color correction guide must include advice tailored to different skin types, as every skin type has different undertones and concerns. So one rule won’t work for all skin types. Whether you have fair, medium, or dark skin, there’s a correcting technique that’s right for you.
For Fair Skin
Fair skin is often prone to mild redness, blue under-eye shadows, and dullness. Light green, pink, and lavender correctors work best for this skin tone. However, avoid using too heavy correctors; they can easily show through the foundation.
You can add brightness using a light peach or pink corrector around the nose or lips.
For Skin With Medium and Olive Undertones
Medium and olive skin tones are prone to redness, dark circles around the lips, and uneven skin tone. Correctors in peach, orange, and olive tones work well for this skin tone.
Olive skin can sometimes look dull or gray, so you can use a peach or lavender corrector. Use a peach under the eyes and an olive-tone corrector on dark circles to create a continuous, smooth base.
For Dark Skin
Dark skin is most prone to hyperpigmentation. Deep orange, red, and correctors work best for this skin tone. Use green correctors with caution. Choose forest green or a deeper shade rather than light mint.
Orange-red correctors are very effective for melasma or dark spots. Dark skin can handle bolder colors more easily, but it’s important to layer the right concealer after the corrector.
Check Out More Beauty and Makeup Articles Here
Final Thoughts: Makeup Color Correction Guide
Makeup color correction is an essential tool for achieving flawless skin. When used correctly, color correction doesn’t just help cover blemishes—it balances your skin tone, enhances your natural beauty, and creates a base for makeup that brightens your entire look. It’s not about hiding anything but expressing your confident self with maximum effect using less product.
If you suffer from redness, dark circles, or dull skin, the right shade of concealer and the proper application technique can make a visible difference. But it’s not just about knowing which color will negate which problem; understanding your skin’s needs, preparing the base properly, and applying it mindfully is the real value of the process.
The more you practice, the more natural and easy color correction will become in your makeup routine. Whether you’re a beginner or a pro, this technique is effective and transformative for everyone. Let this guide become your trusted companion to ensure your skin looks smooth, even, and radiant every time you apply makeup.
In short, a color correction guide is helpful and essential if you take makeup seriously.